
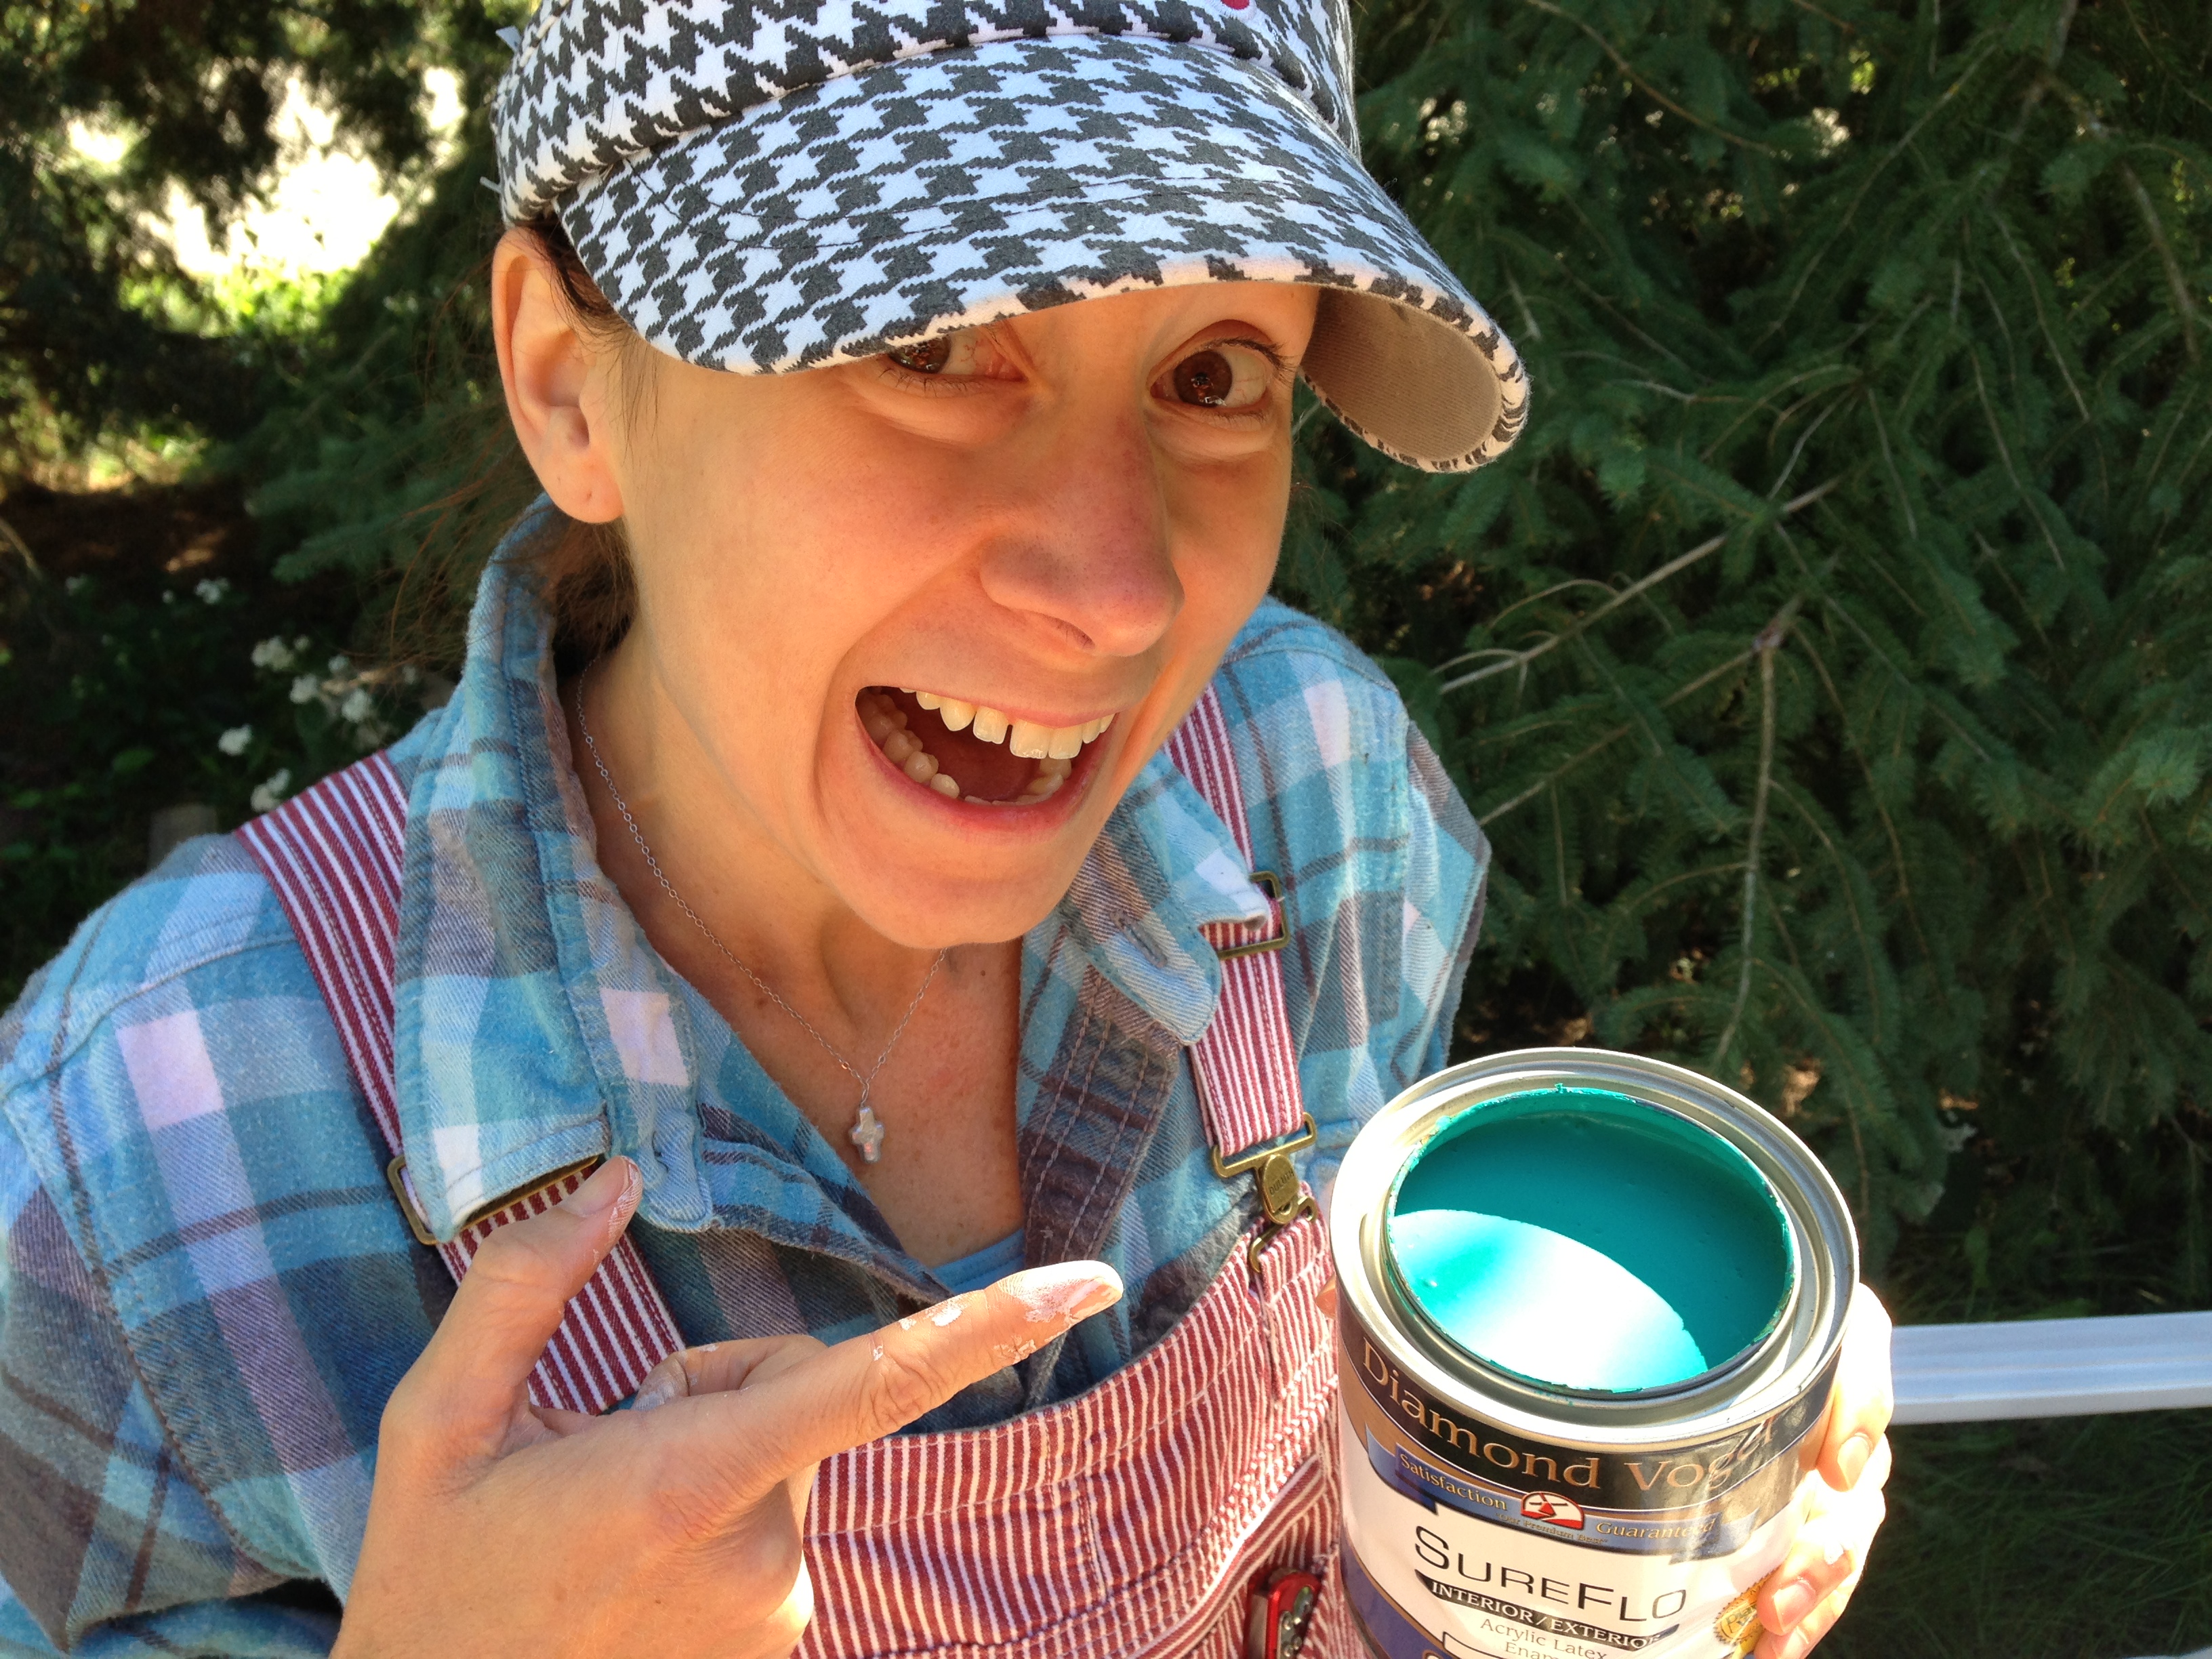
Who’s afraid of color? Not this girl! You may be able to read the pure excitement in my face about the amazing liquid color I’m holding in my hand. Benjamin Moore’s Aruba Blue (2048-30) is one drop-dead amazing hue! And by the end of this post, it will be the welcome our visitors get when they arrive at our farm house door!
But let’s back up a bit. Before I bought the paint, before I even decided what colors I would use, Ben and I were looking online for a Cockamamy Farm logo. We knew that our visual should be a rooster, so we did the never-fail Google image search to see what was out there. And we found this guy.

And we both loved his colors! So together we matched his feathers with four colors in my Benjamin Moore paint deck. And then we came up with the idea of using these colors somewhere in or on the house. I knew I wanted rich jewel tones for the front and back doors so that the exterior won’t feel quite as cold and sterile as it does with gray siding, black trim, and white doors. I mean, it looks good, but it could use a little bit of happy color mixed in. And, in my humble opinion, the doors are the perfect place for some bold color!
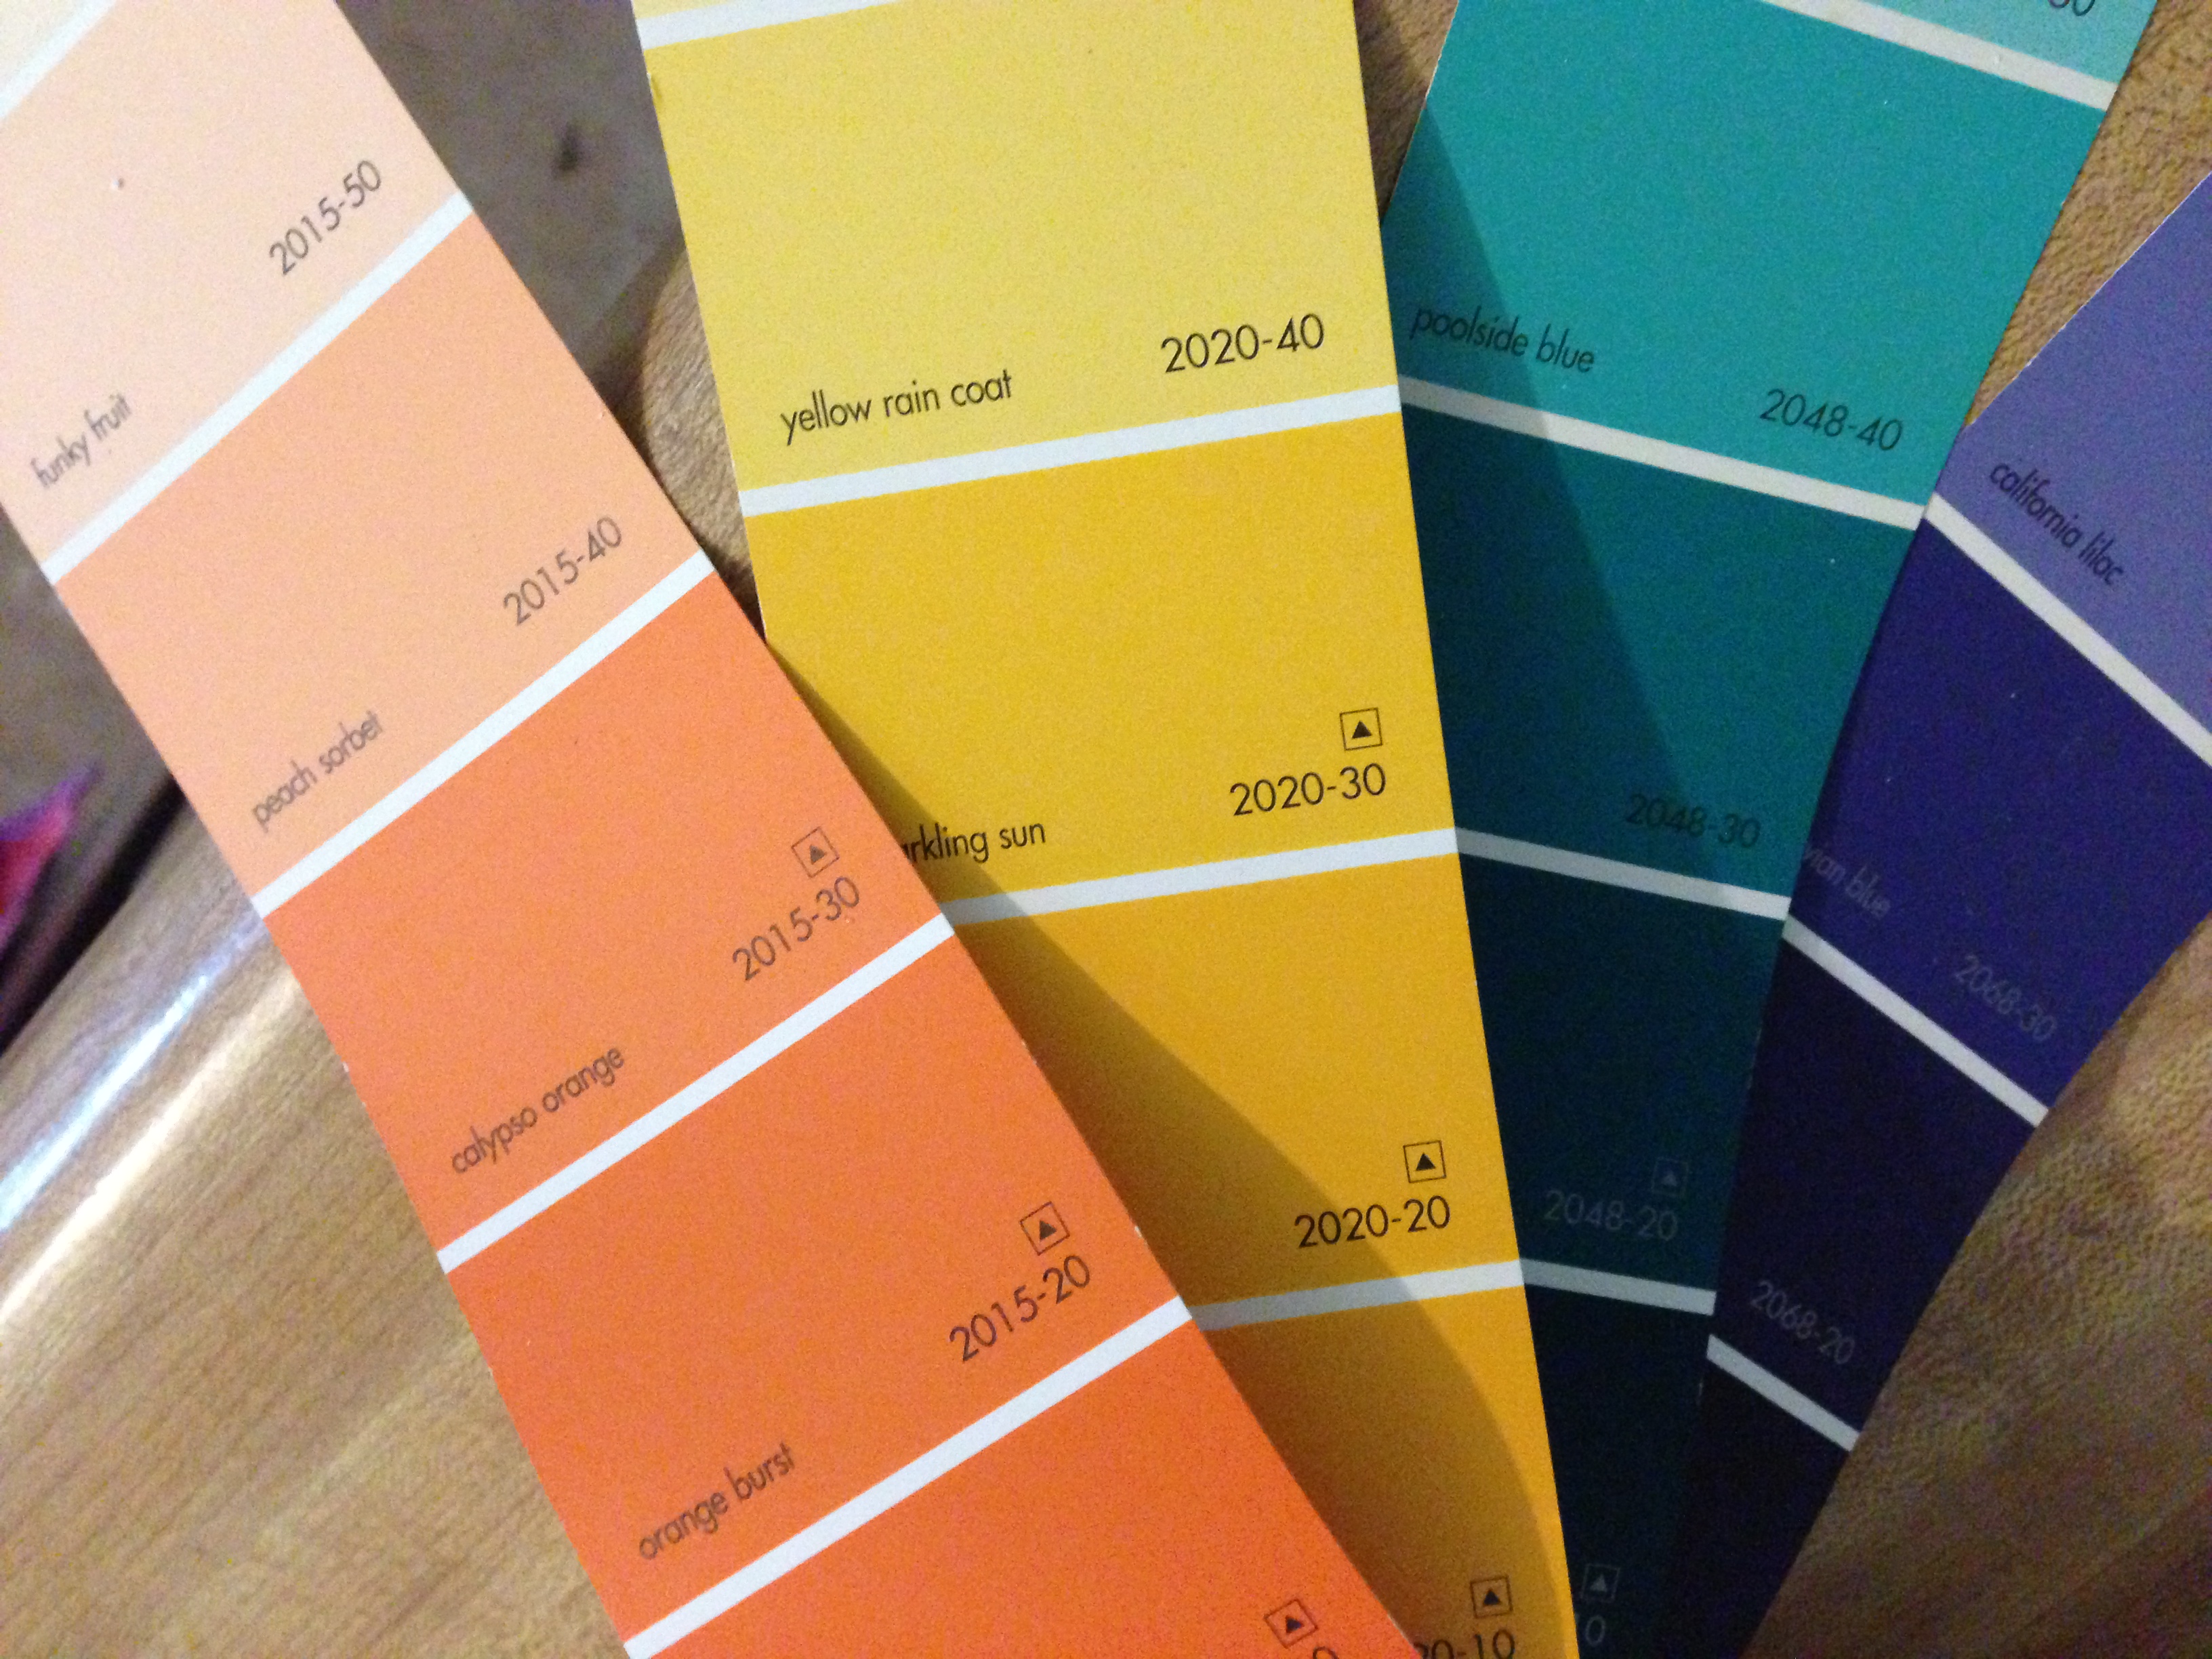
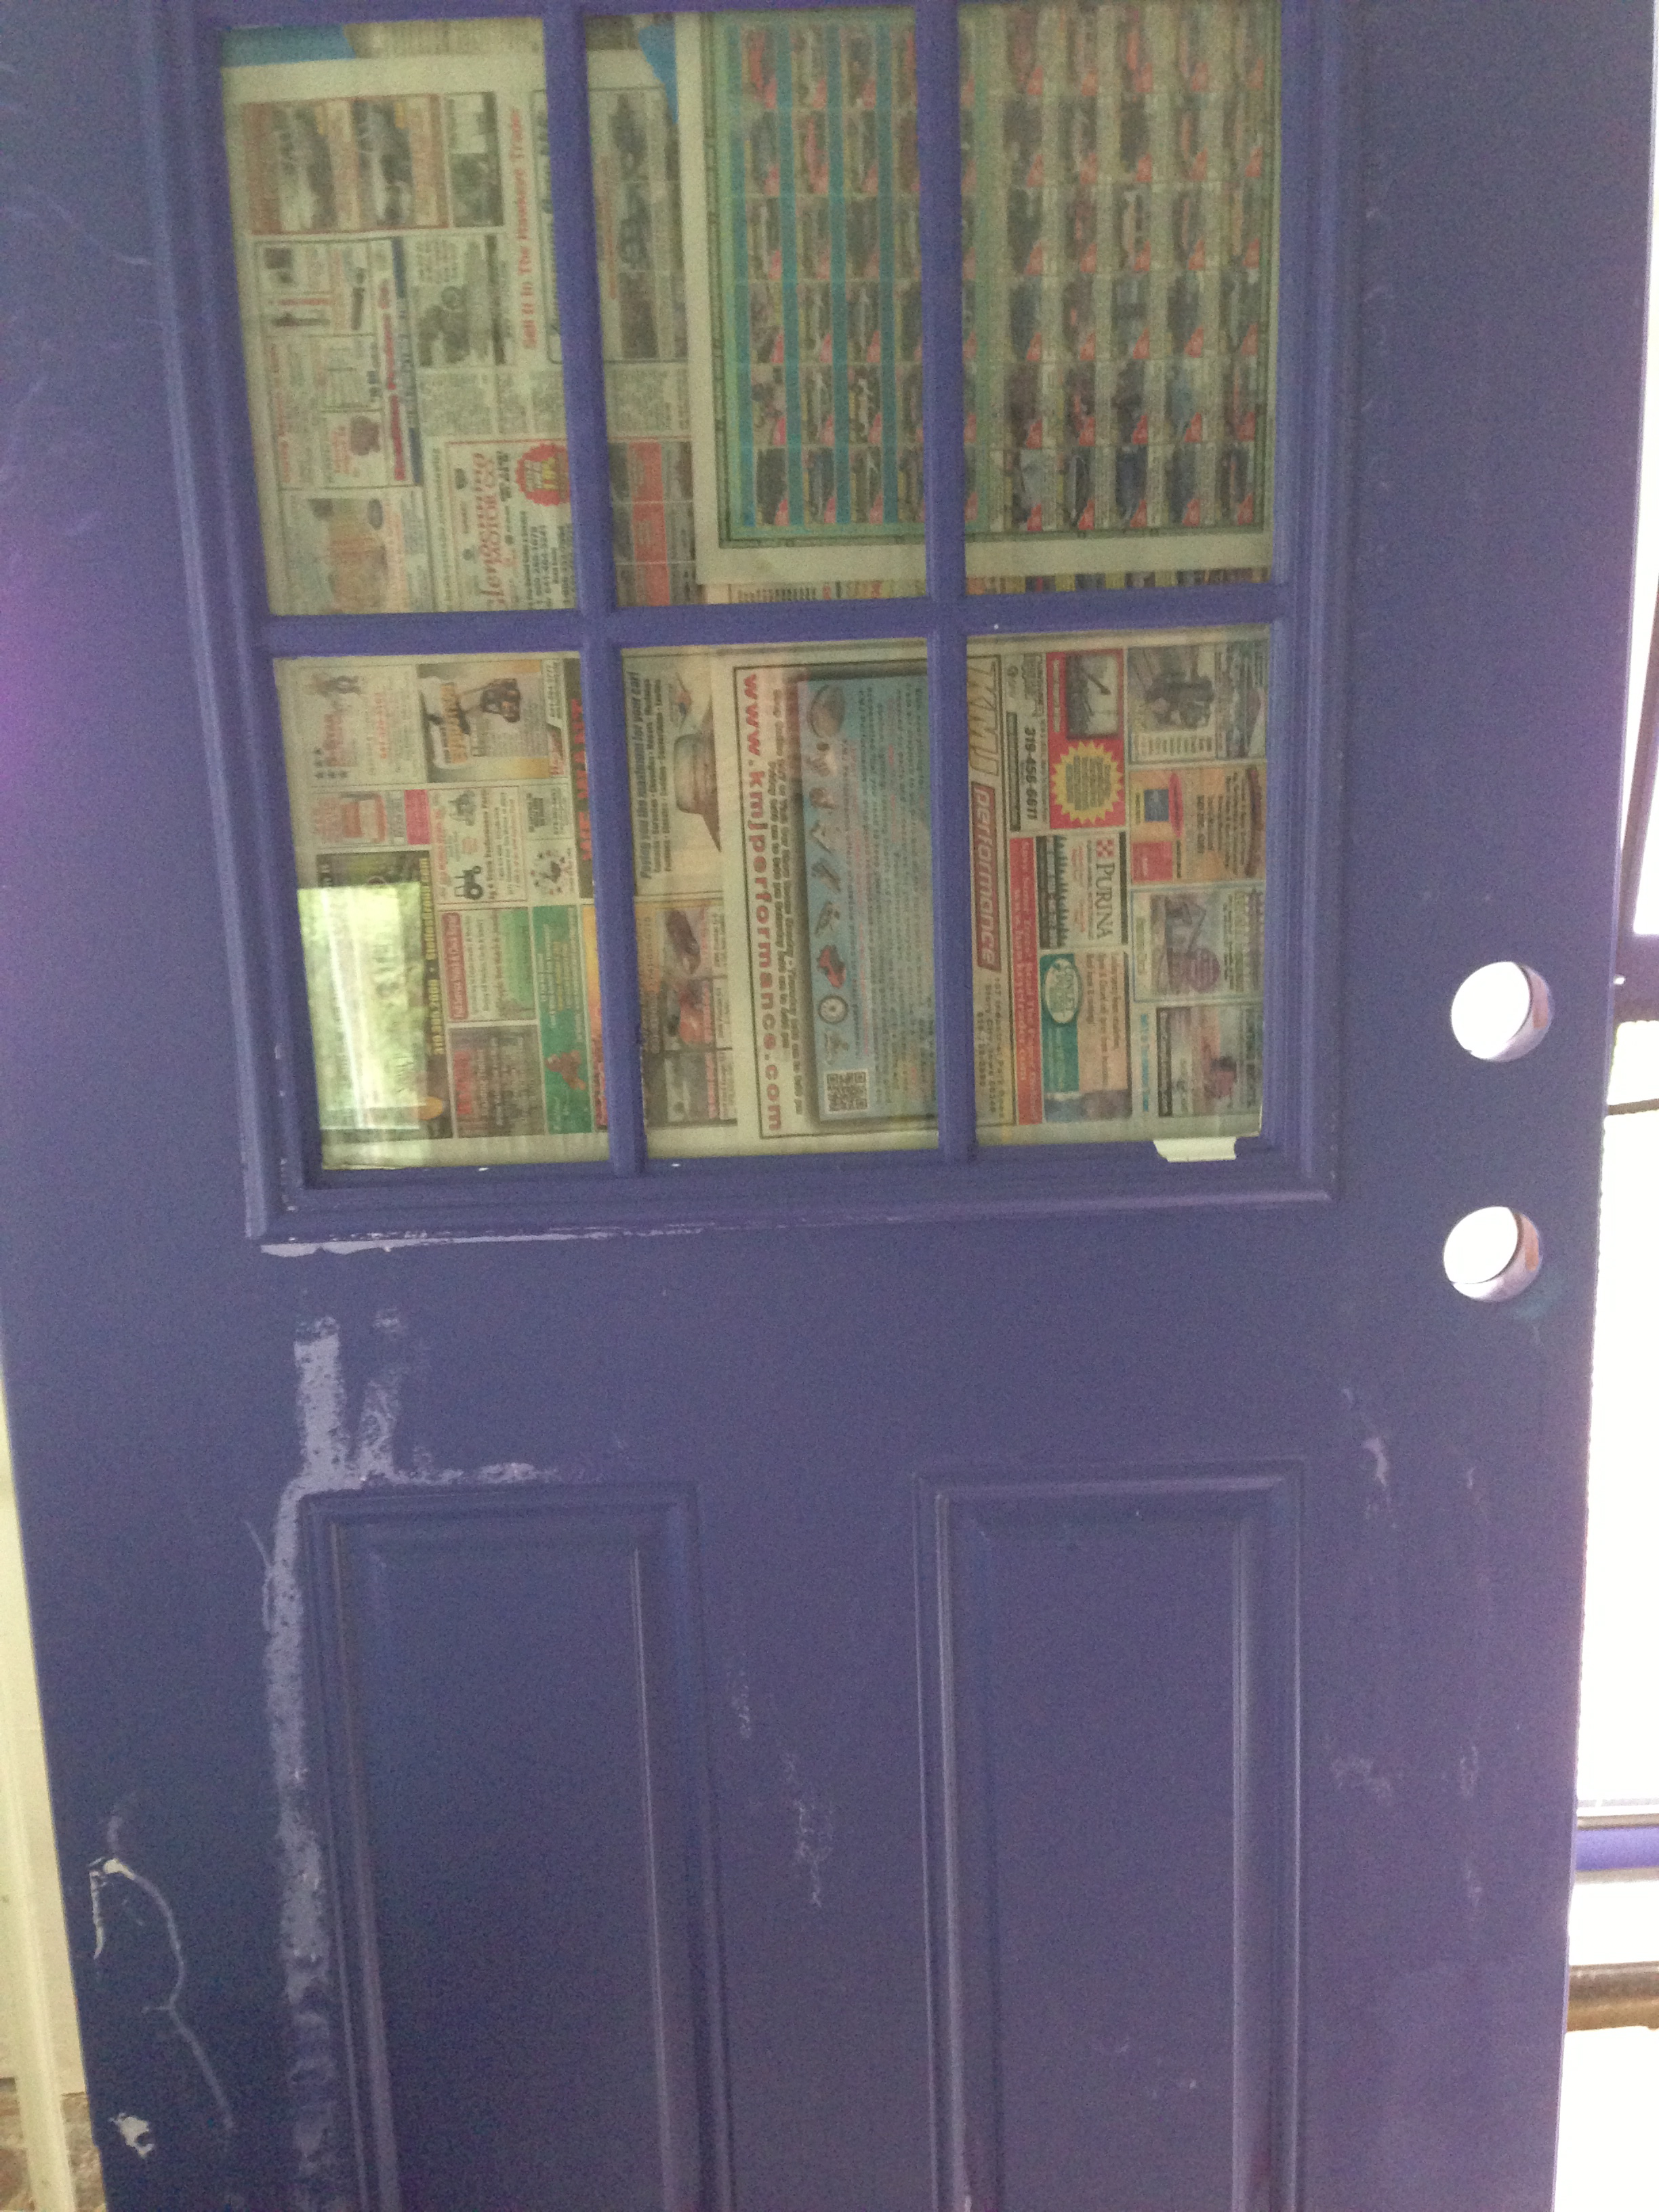
From our four-color rooster palette, we landed on Aruba Blue, that amazing deep-sea green in the can above, for the back door. And a perfect purple (saturated, not too baby-sweet, not too dark) called Scandinavian Blue (2068-30) for the front door and the mailbox. I’m not sure yet where the orange and yellow will appear…although it is very interesting that the cabinets we recently moved into the laundry room/pantry are these exact colors. Coincidence?
I’m not gonna lie: this particular project had a number of frustrations. I started by priming and painting the screen door frames on a gorgeous late-summer day. The paint looked great! Until I noticed several grasshoppers on each door. Enough time had passed that I wasn’t worried they were leaving footprints. But then I saw that they were leaving a trail of white spots behind them. Those grasshoppers were eating the paint! No kidding!

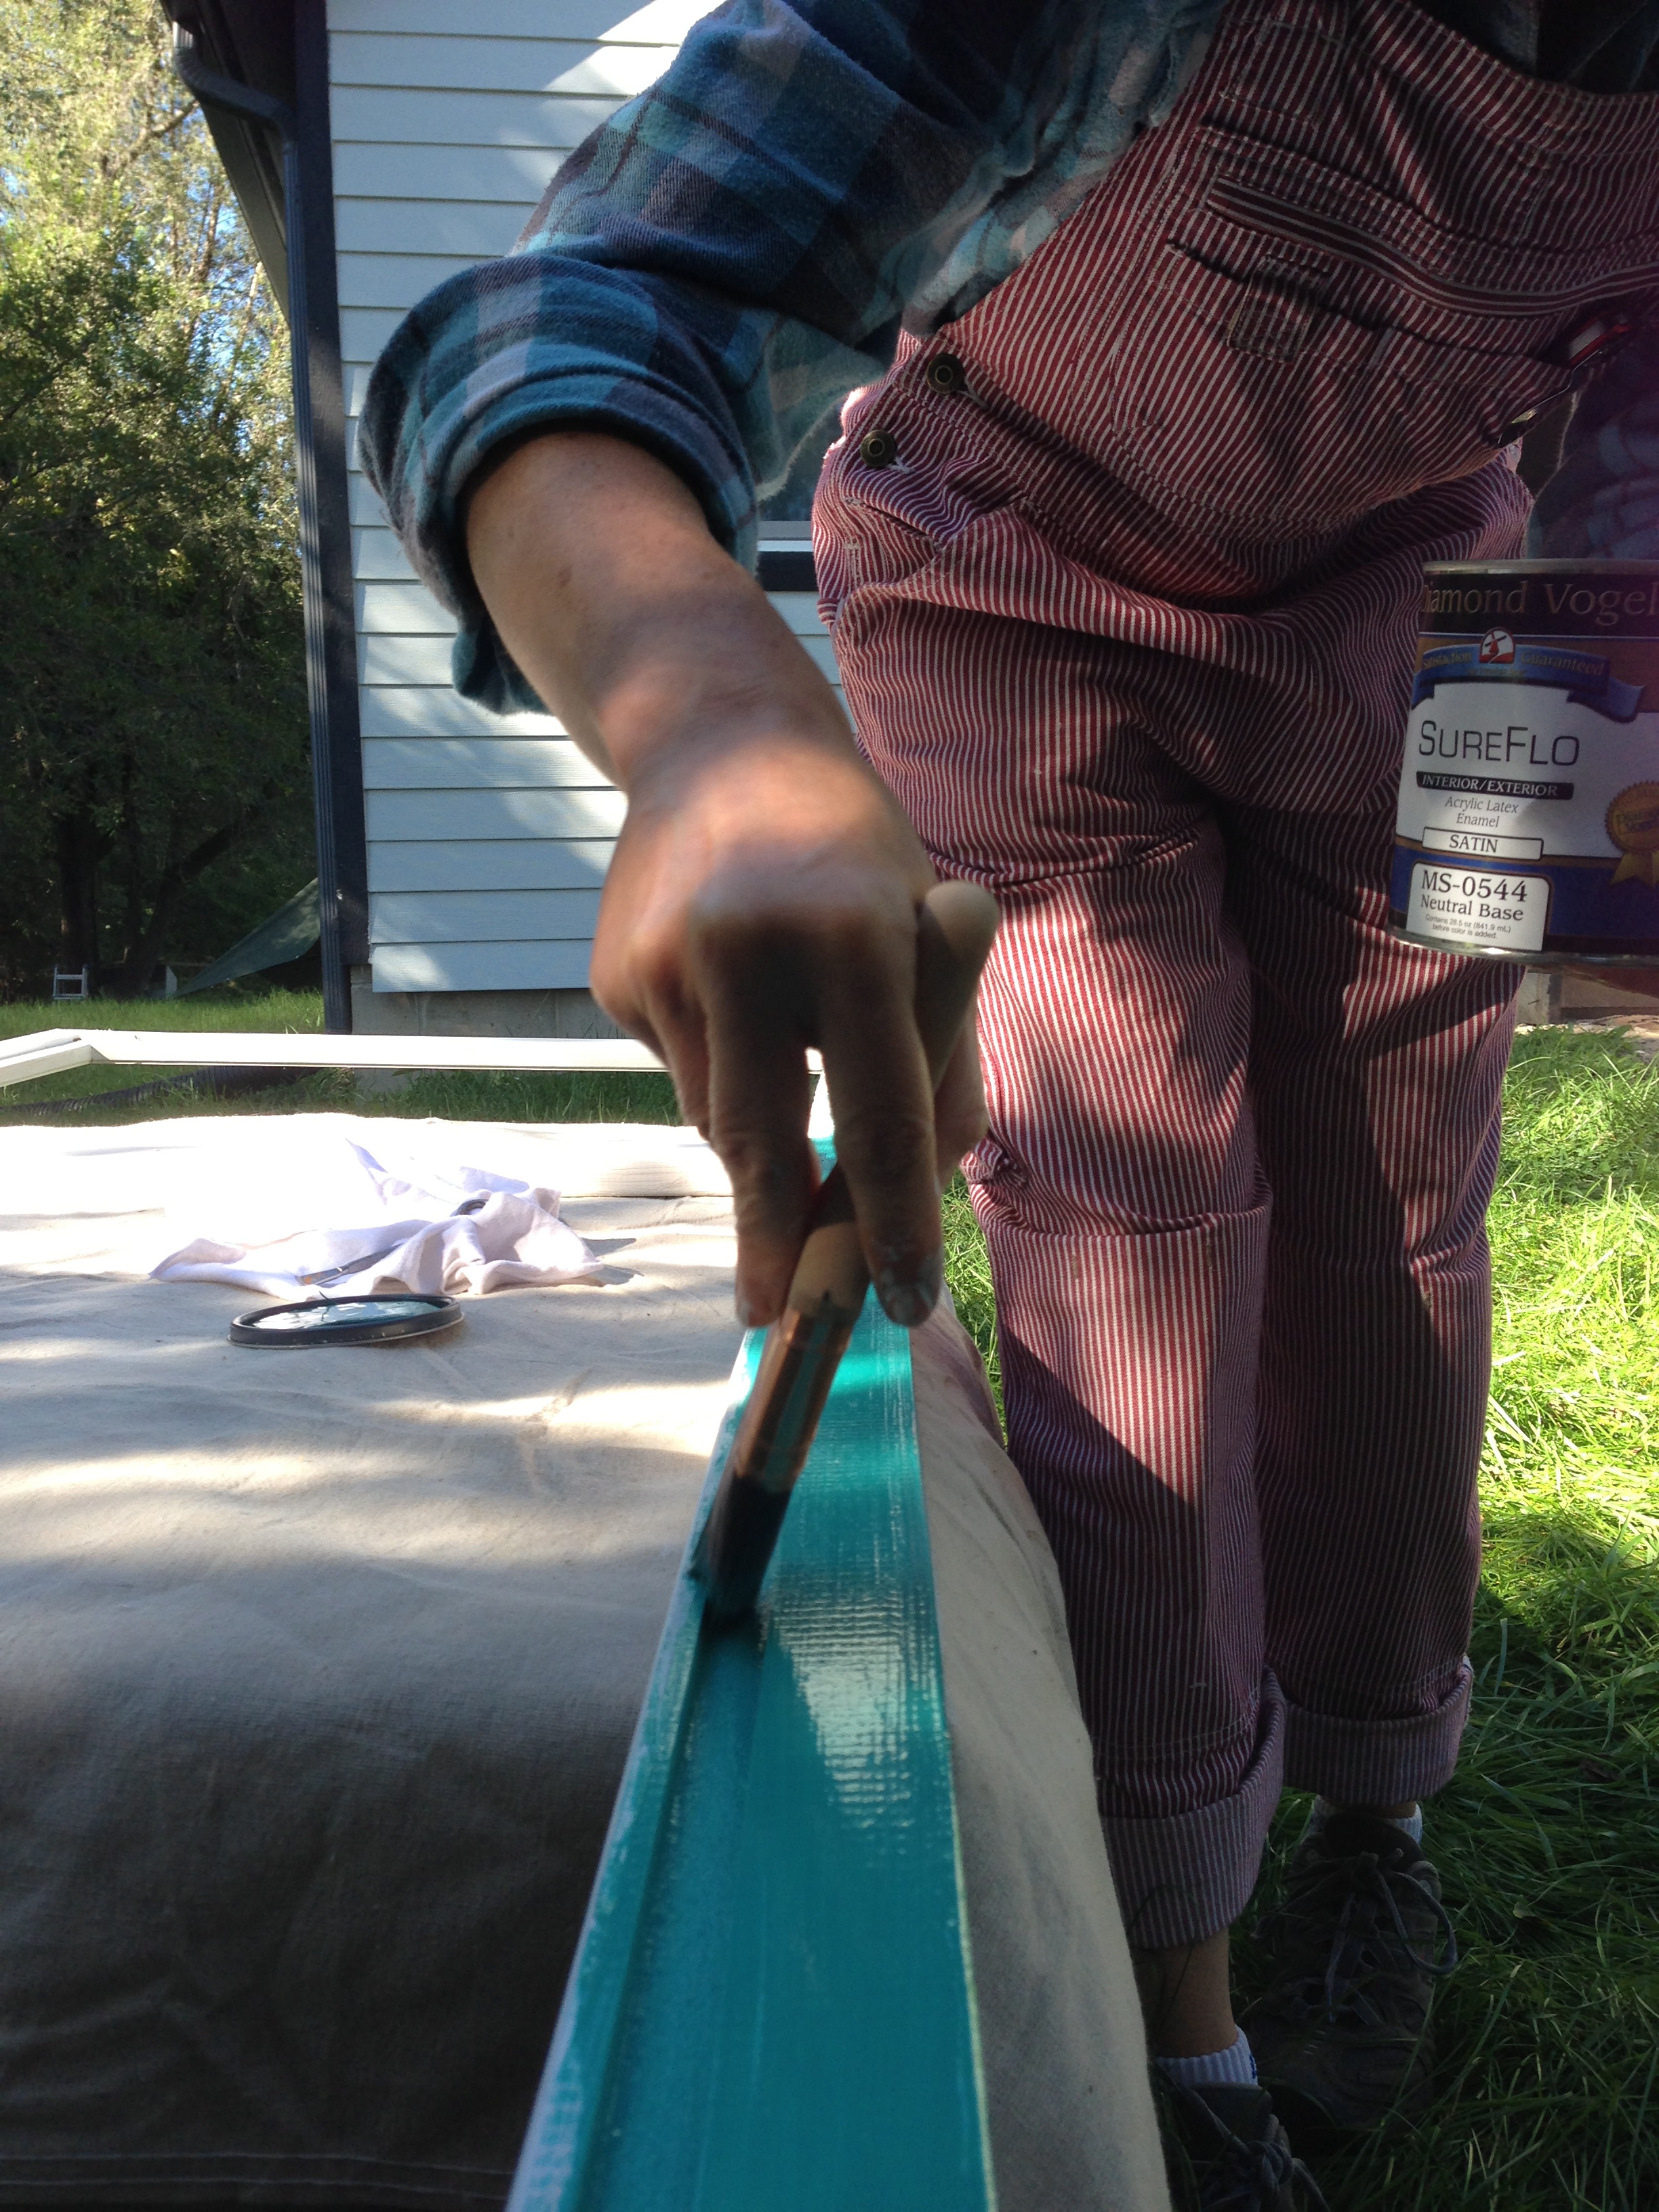
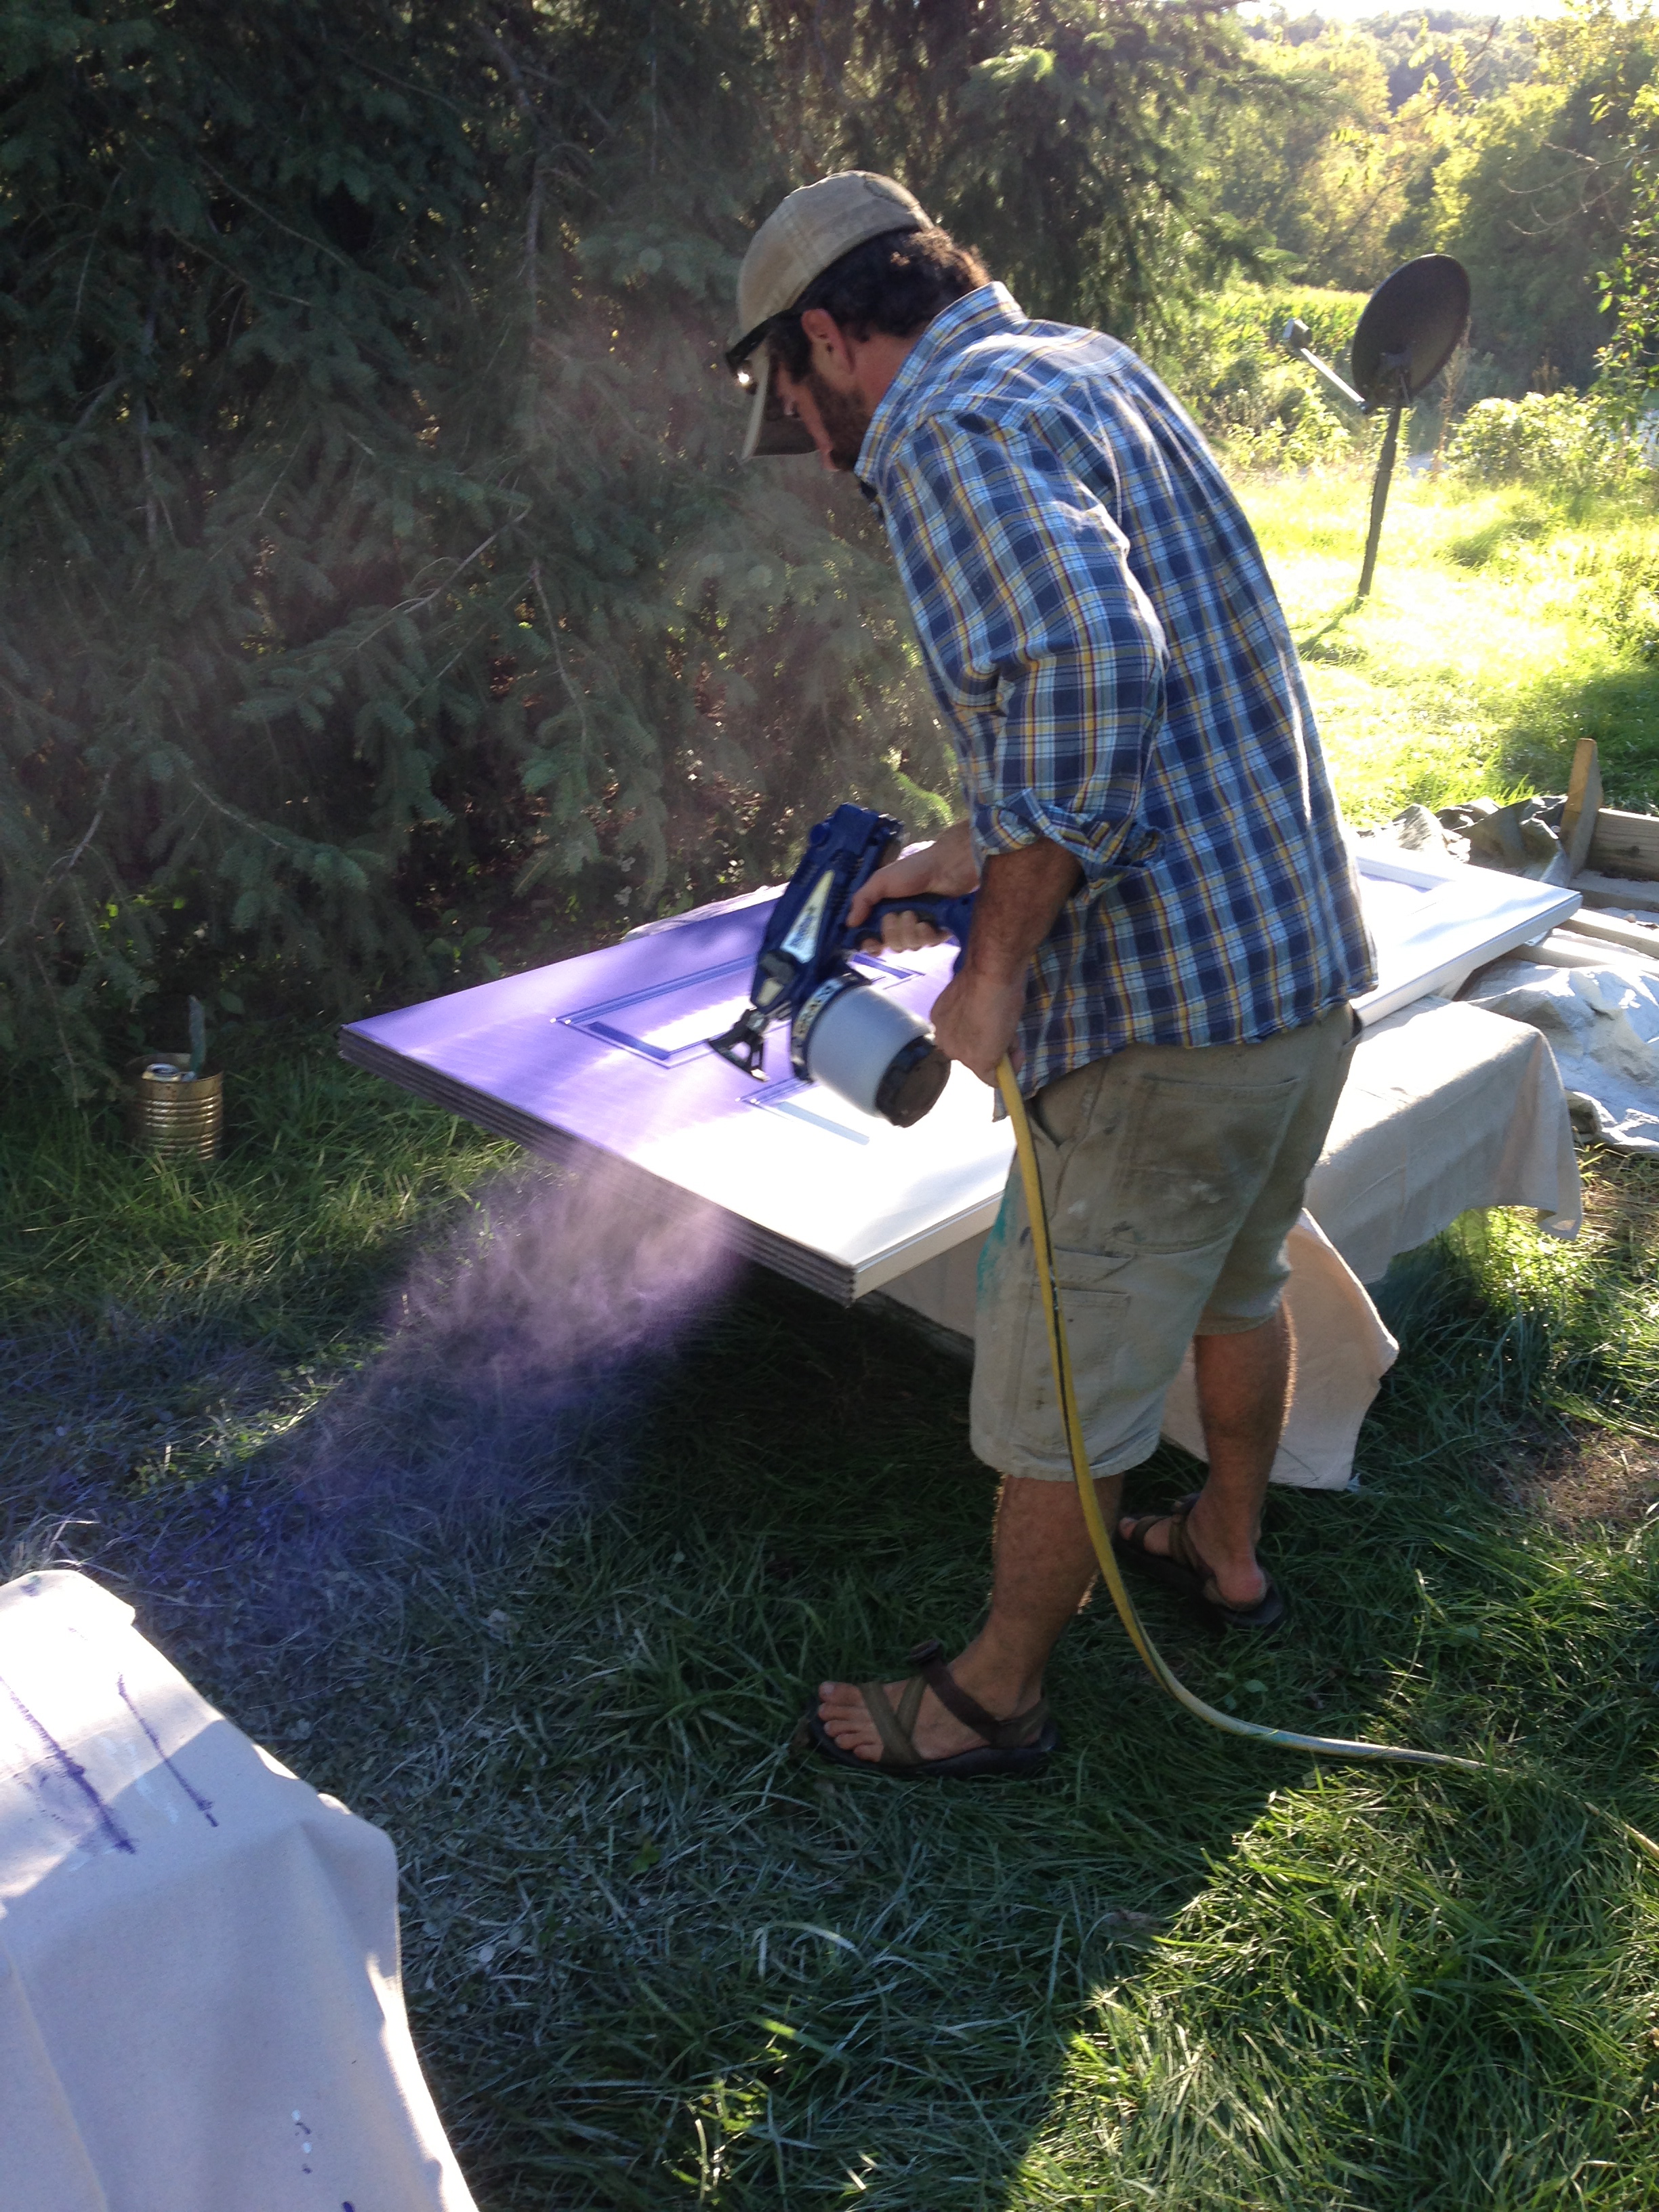
Terribly frustrating to have a gorgeous coat of paint ruined by some snacking grasshoppers. Ugh. Luckily, Beverly visited later that day and was more than willing to do another coat of paint on the screen doors while Ben and I cranked up the sprayer to get going on the entry doors.
Again, a gorgeous coat of paint on each door! We left them outside to dry overnight. And the next morning, we found this:
What!?!? The paint looked professionally perfect when the sun set. And by sunrise it looked like this. After talking to some actual painting pros, it turns out our prep was, well, not professional. I sanded both factory-primed doors and wiped them down with mineral spirits and let them dry for more than 24 hours. Turns out, if you are using latex paint, the use of mineral spirits to “clean” the surface actually leaves an oily residue that makes the paint not stick. And then you end up with this mess. Oops. Rookie mistake.
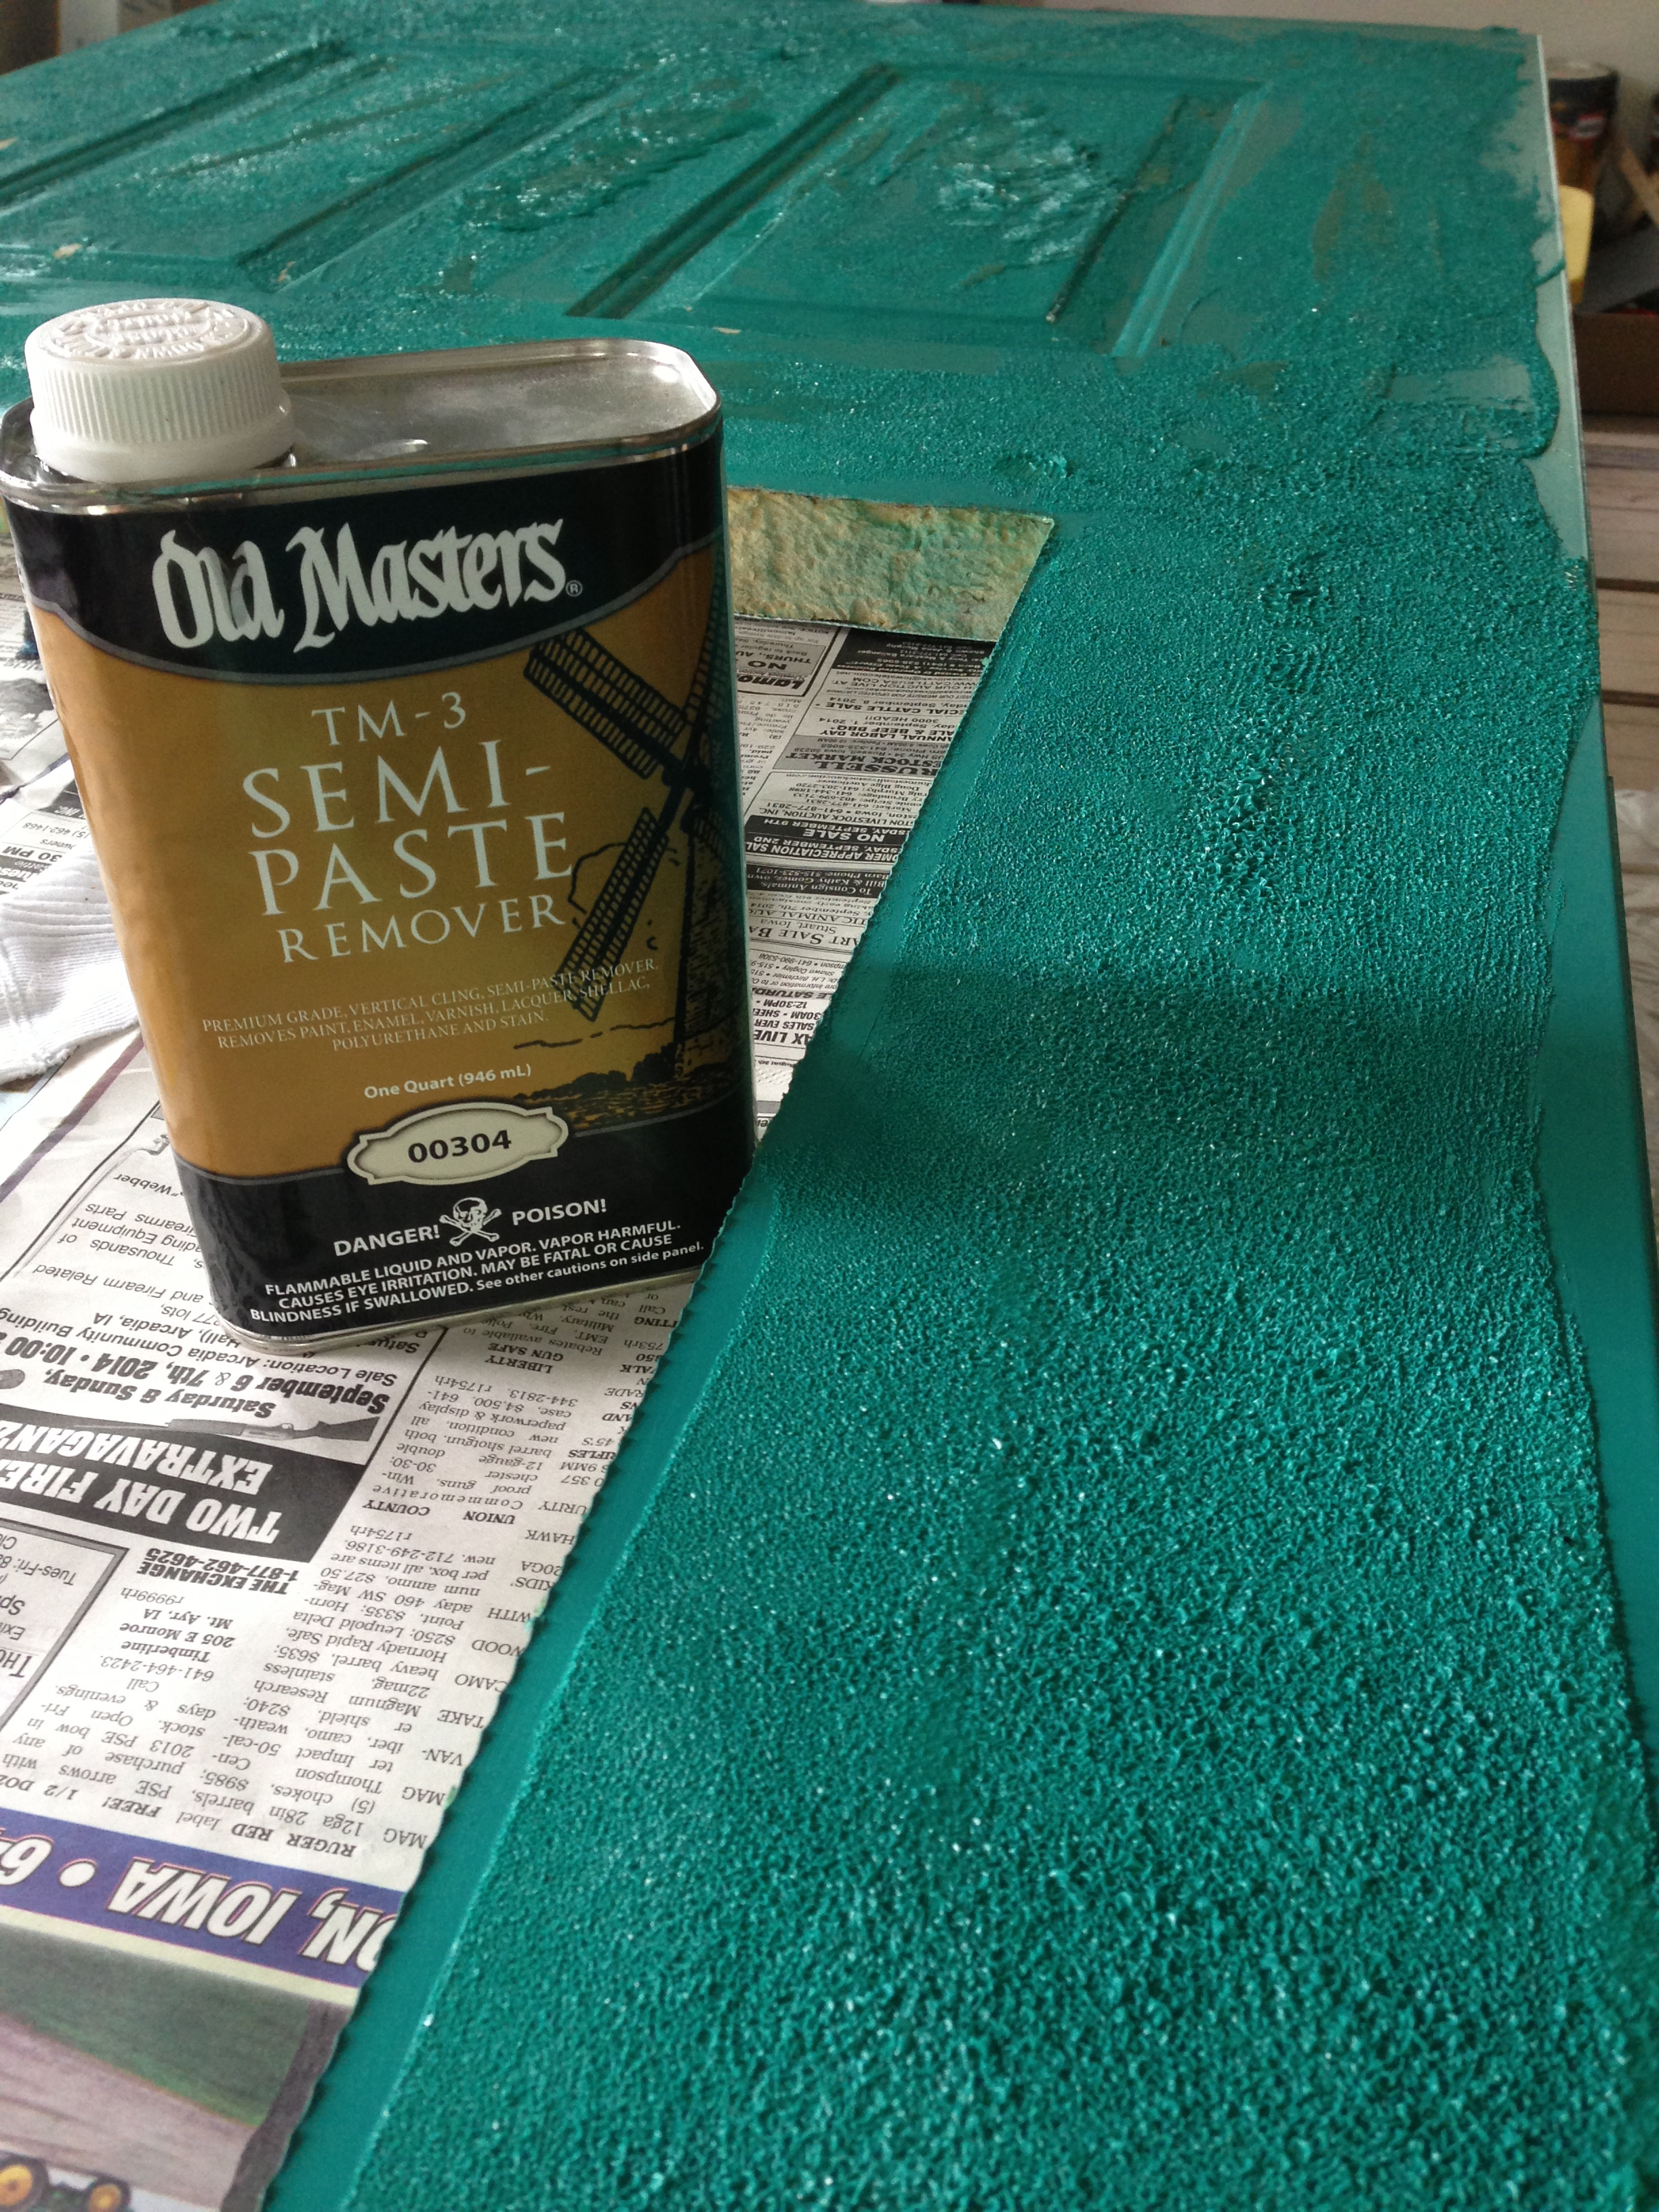
The pros recommended that I strip both doors and start over. So, I bought the stripper, foam brushes, heavy-duty rubber gloves, and learned how to strip! I have to say, stripping paint has that same sick satisfaction of pulling dried Elmer’s glue off your fingers, or peeling the dead skin from a sunburn. Fess up! I know I’m not alone in enjoying those things!
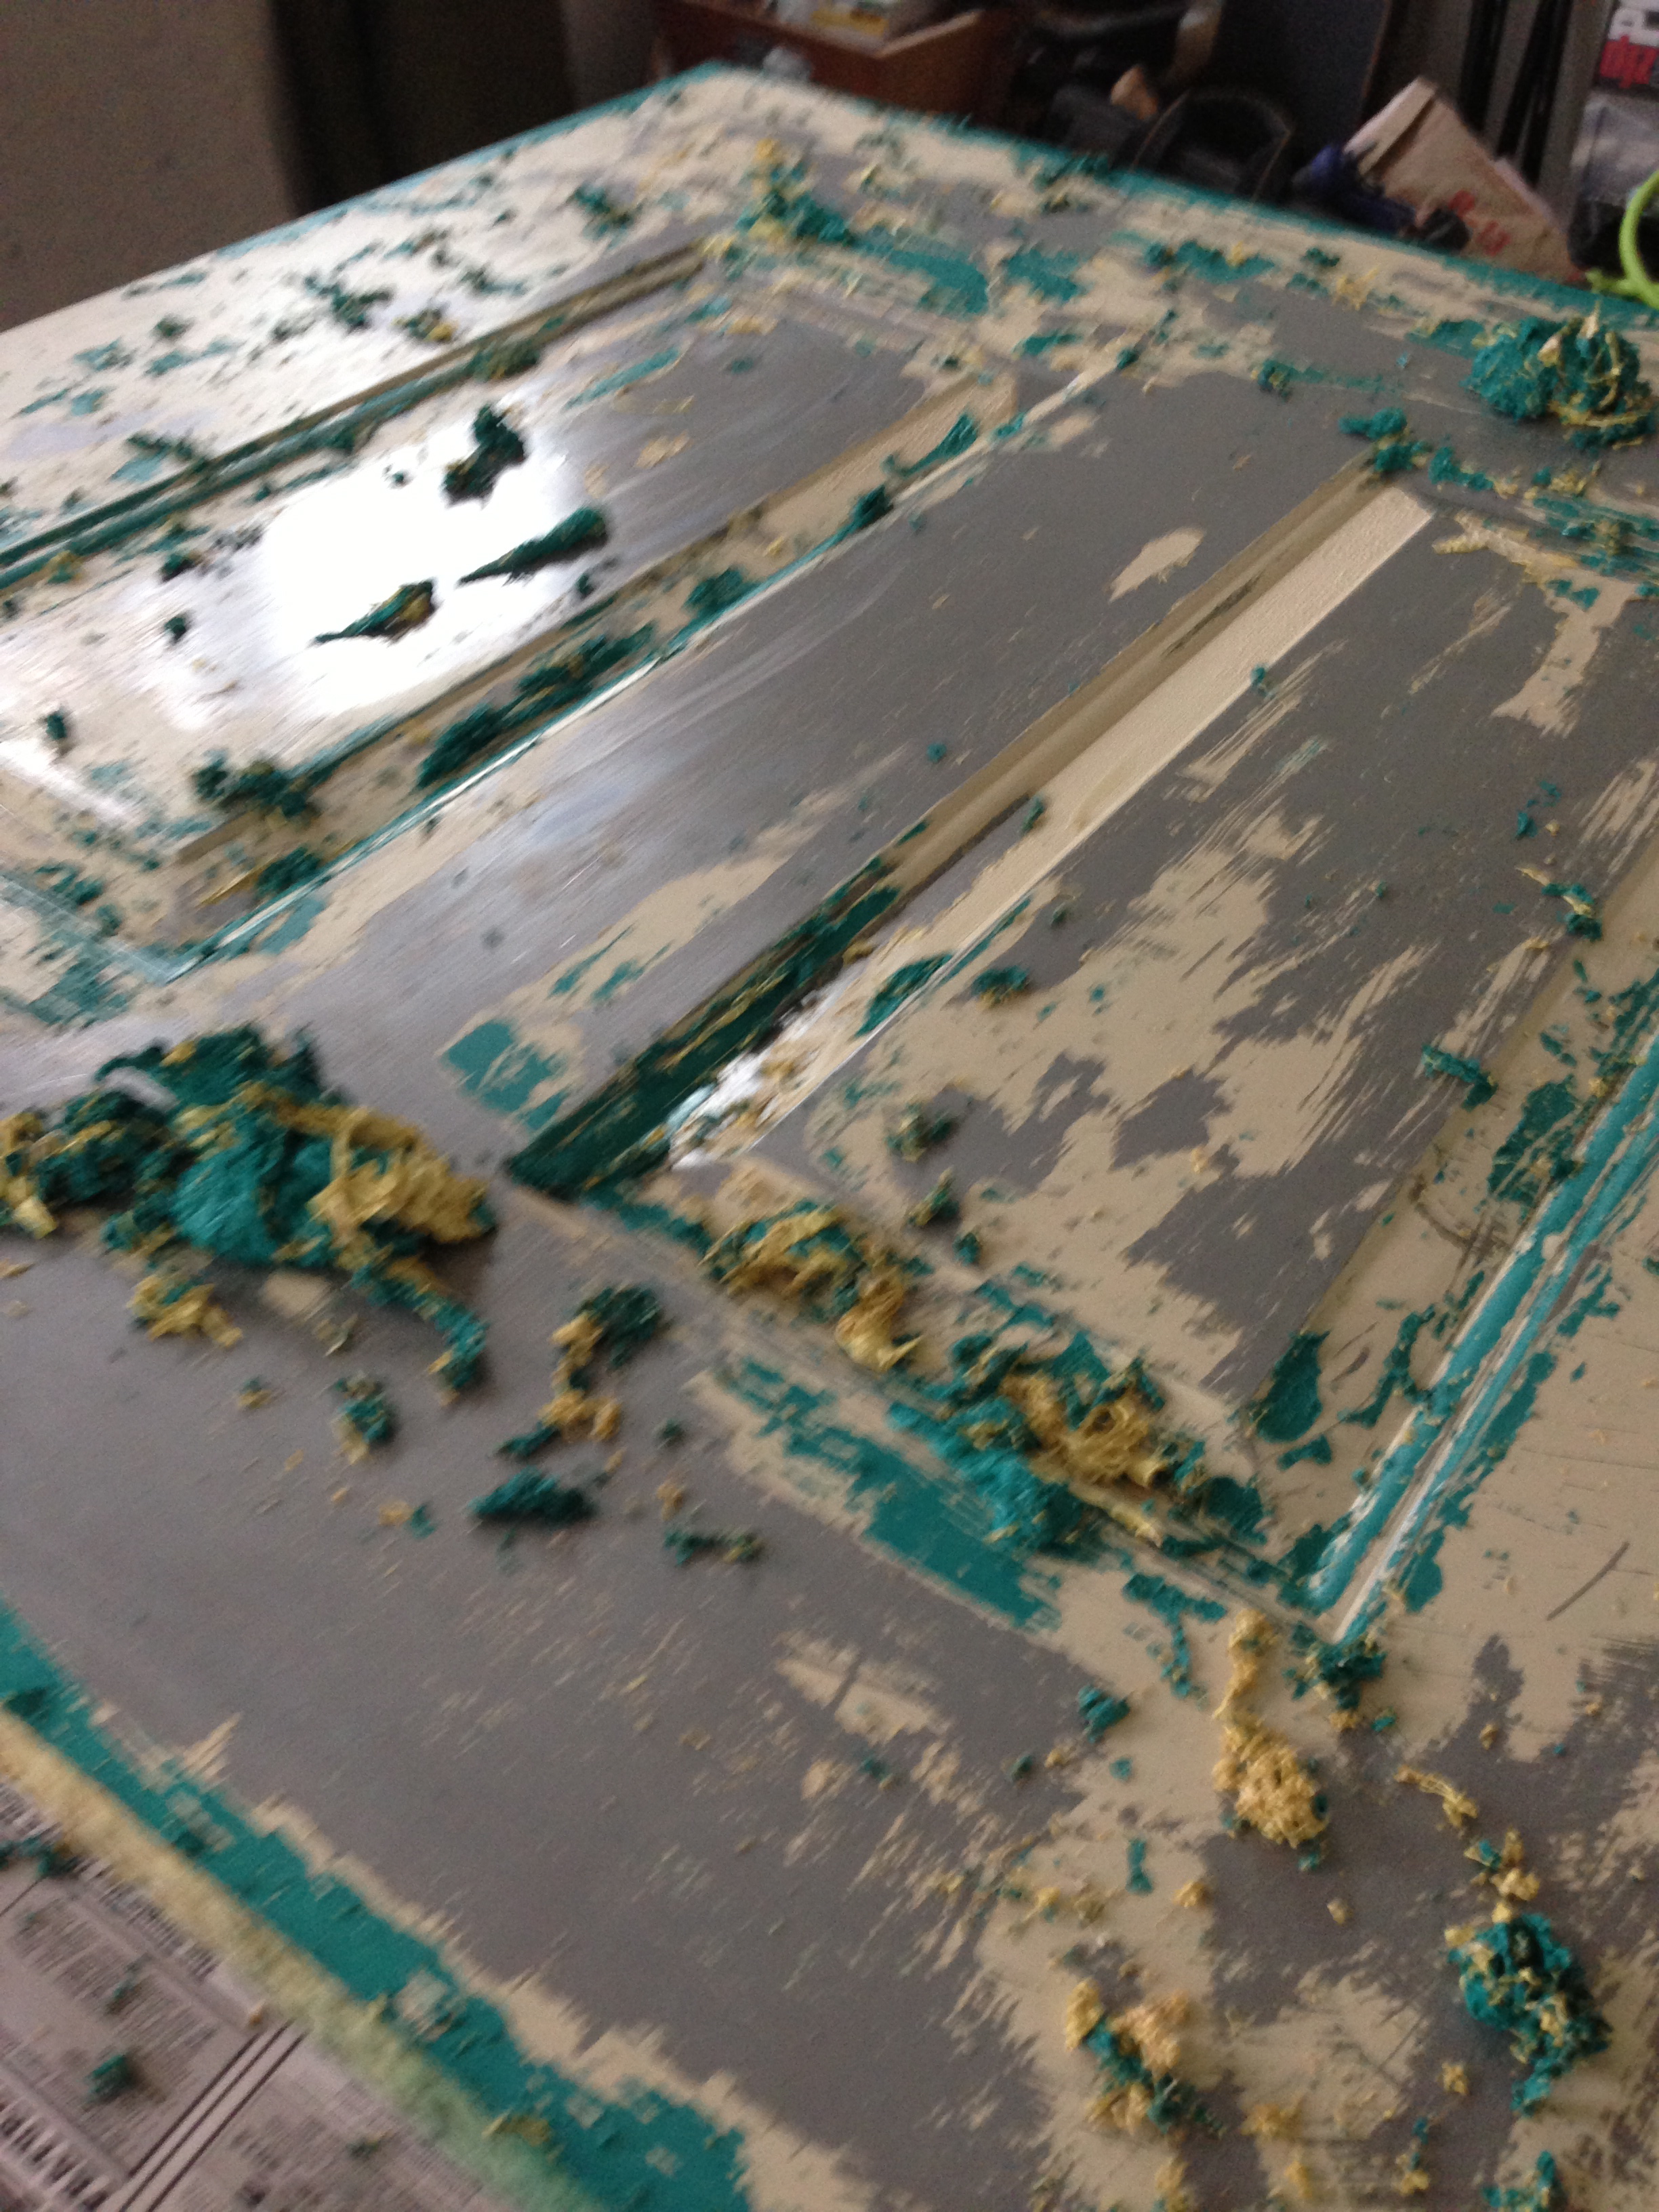
The stripper worked maybe too well on the back door! That door was on the house when we bought it. We had no idea how old it was or how long it had been installed, its factory finish (it was never painted) aging in the elements. When I stripped it, the factory finish came off too, and I ended up with a naked metal door! After a slight panic, I decided to prime it and see what happened. I mean, the door was “free” to us and if we ended up needing to buy a new one, not a big deal. Luckily, after two coats of primer it was just fine and ready for paint.
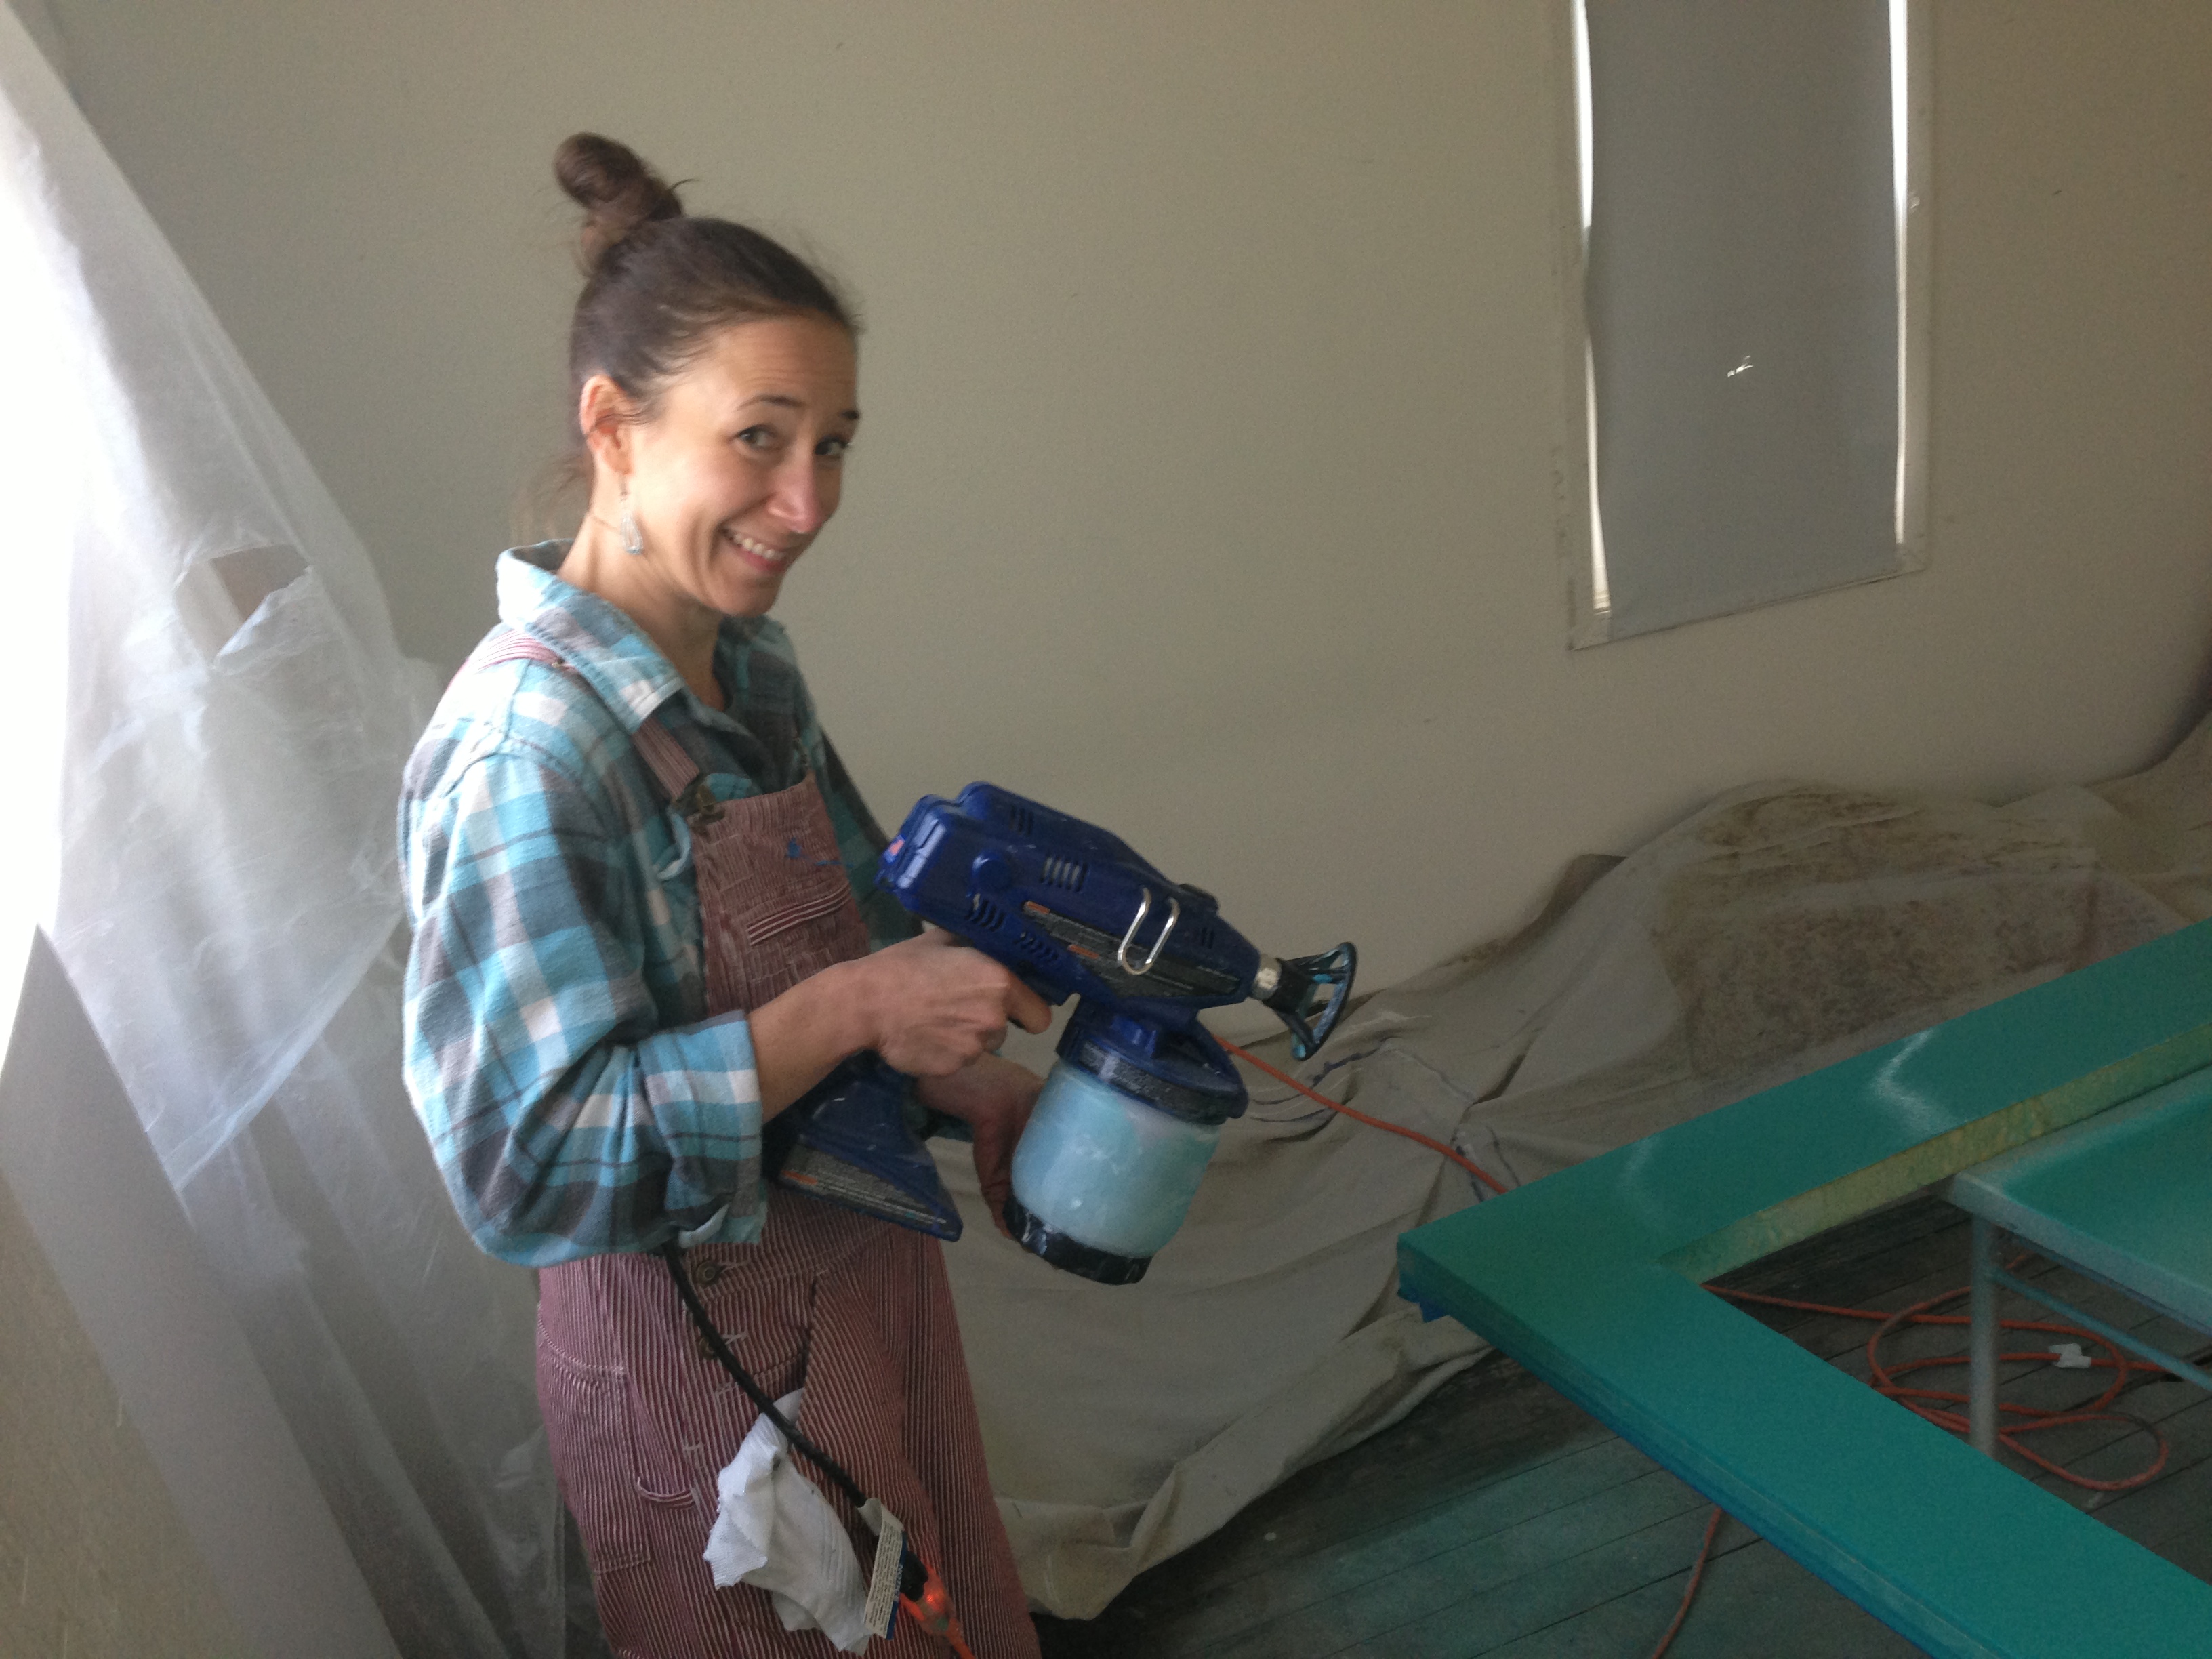
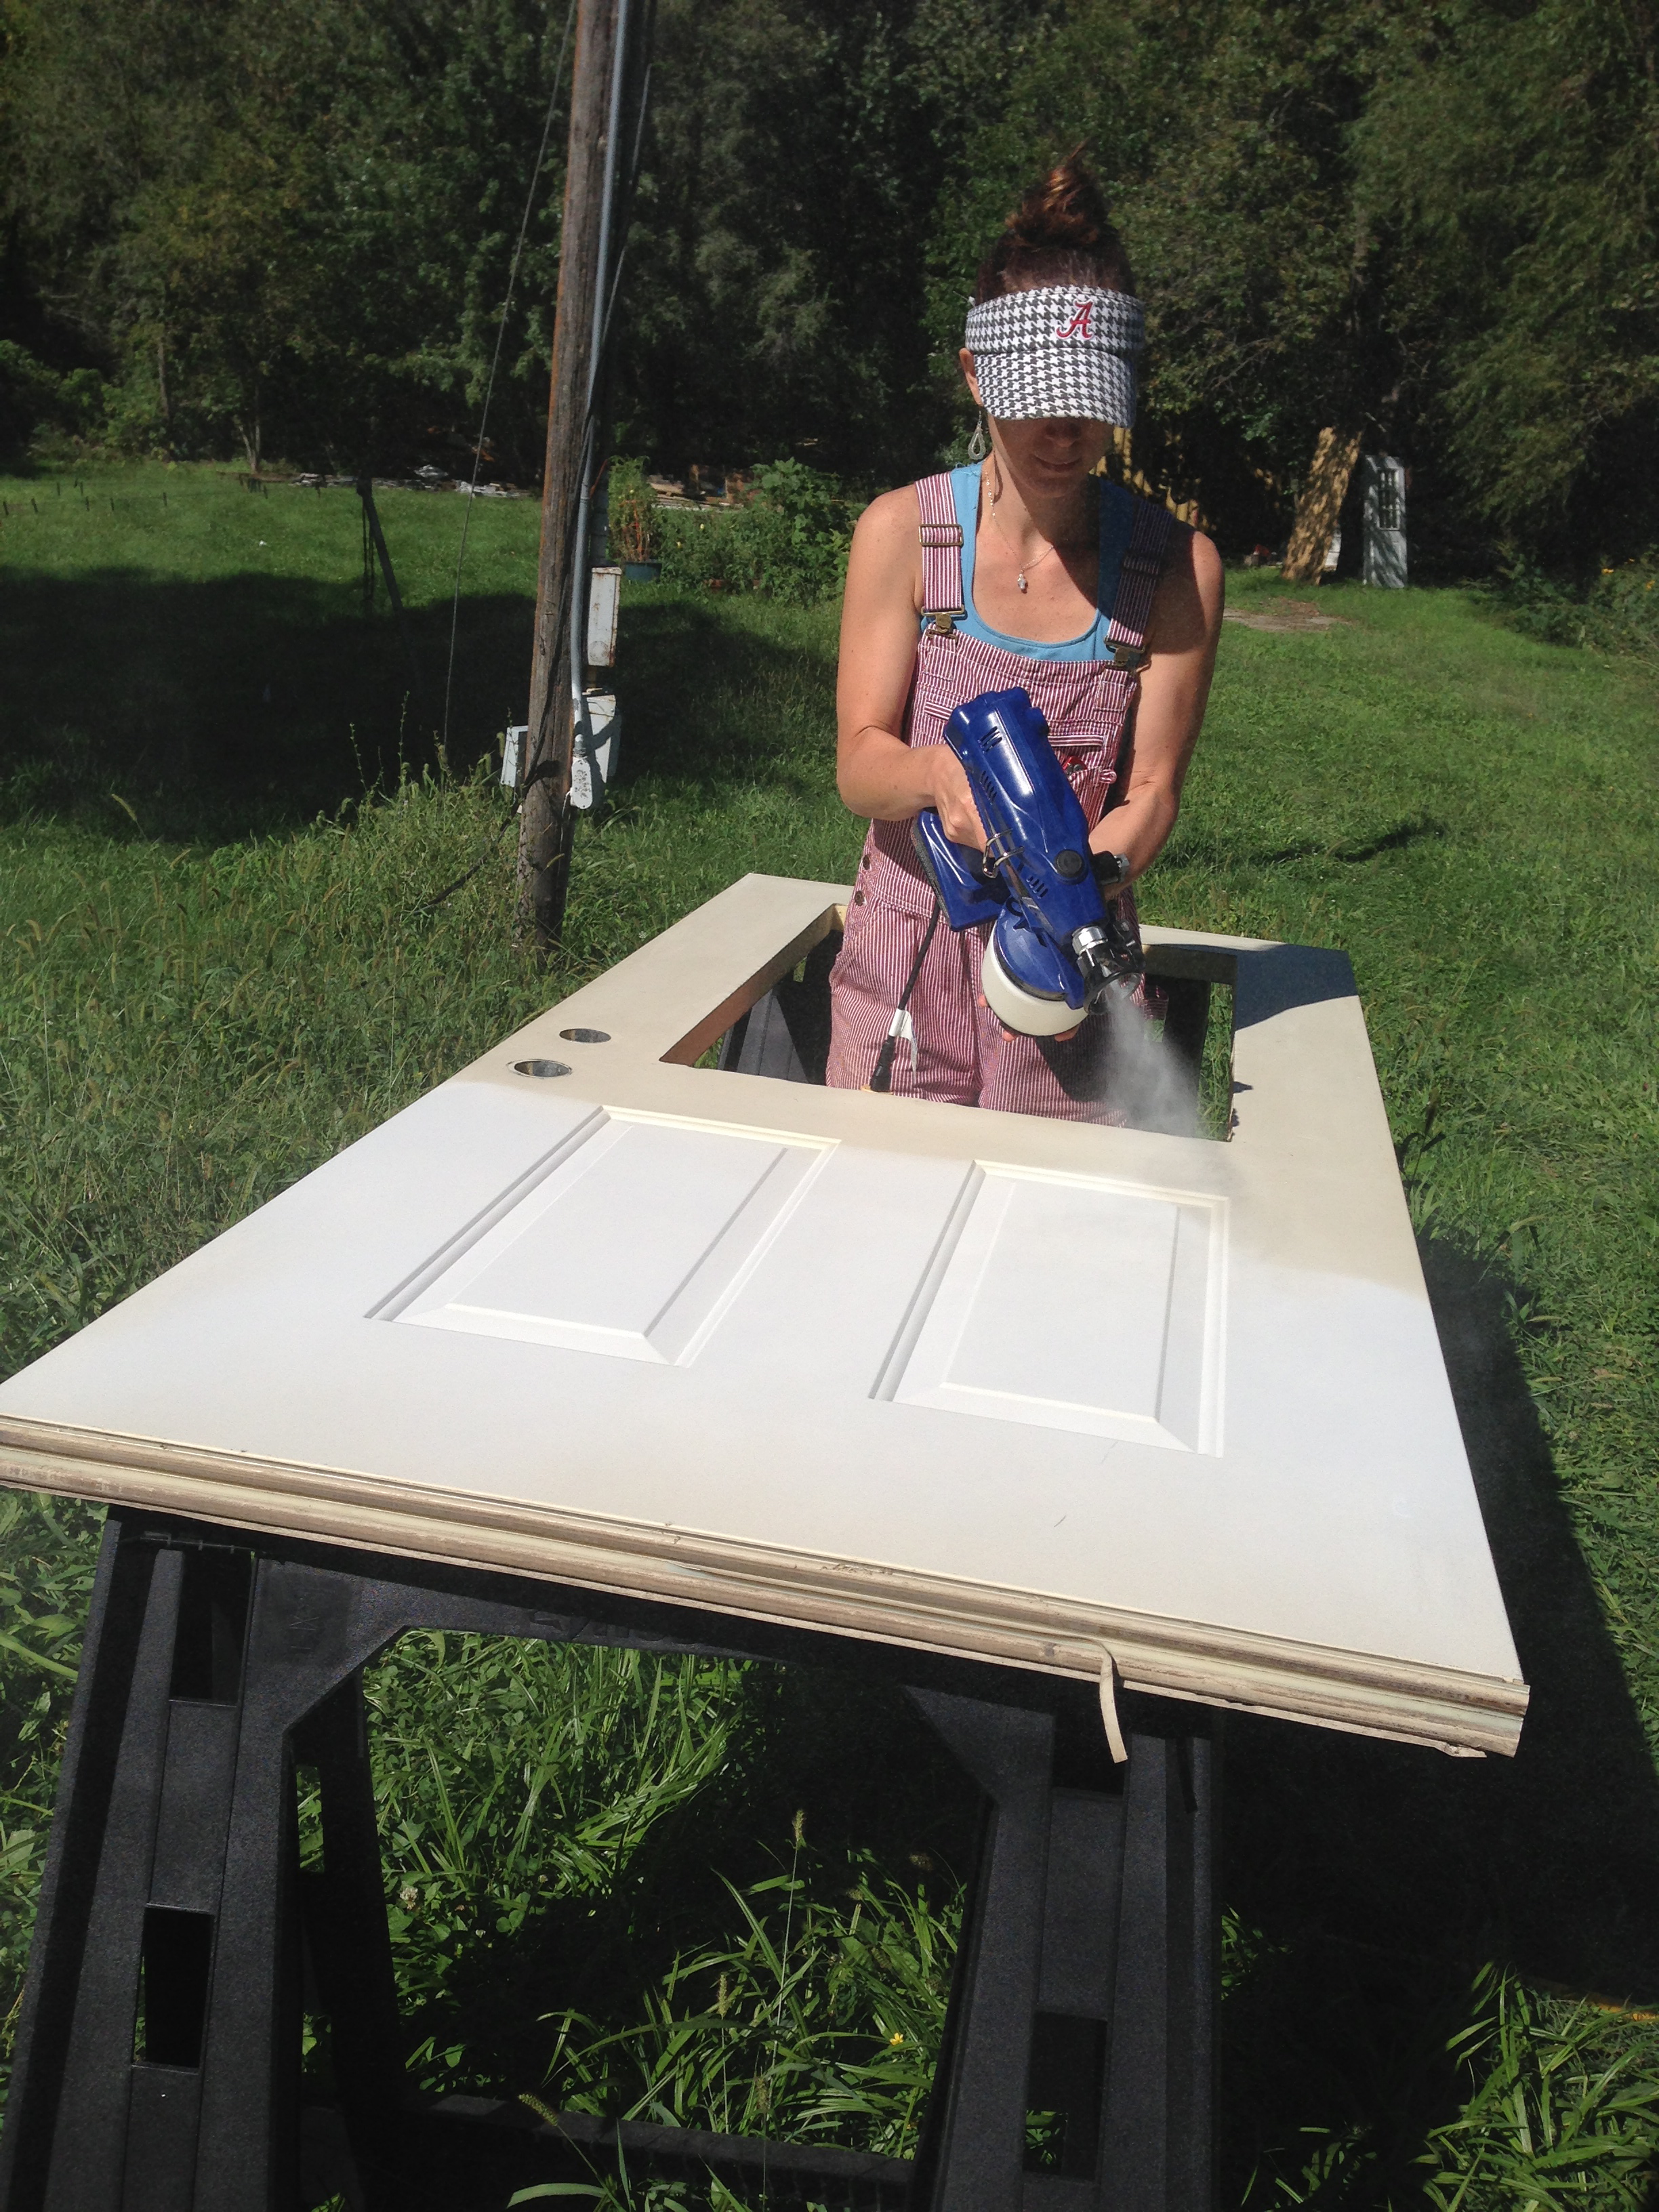
This time around, we set up a “paint booth” in the future dining room by hanging plastic over the windows and from the overhead beam to create a wall (just like when our bedroom was in the space) so that I could safely spray in a controlled environment (i.e. no grasshoppers, mosquitoes, wind, falling leaves, etc). By the way…don’t be fooled by the fact that I’m wearing the same outfit throughout this post. Those are my go-to painting duds. This was by far not a single-day process!
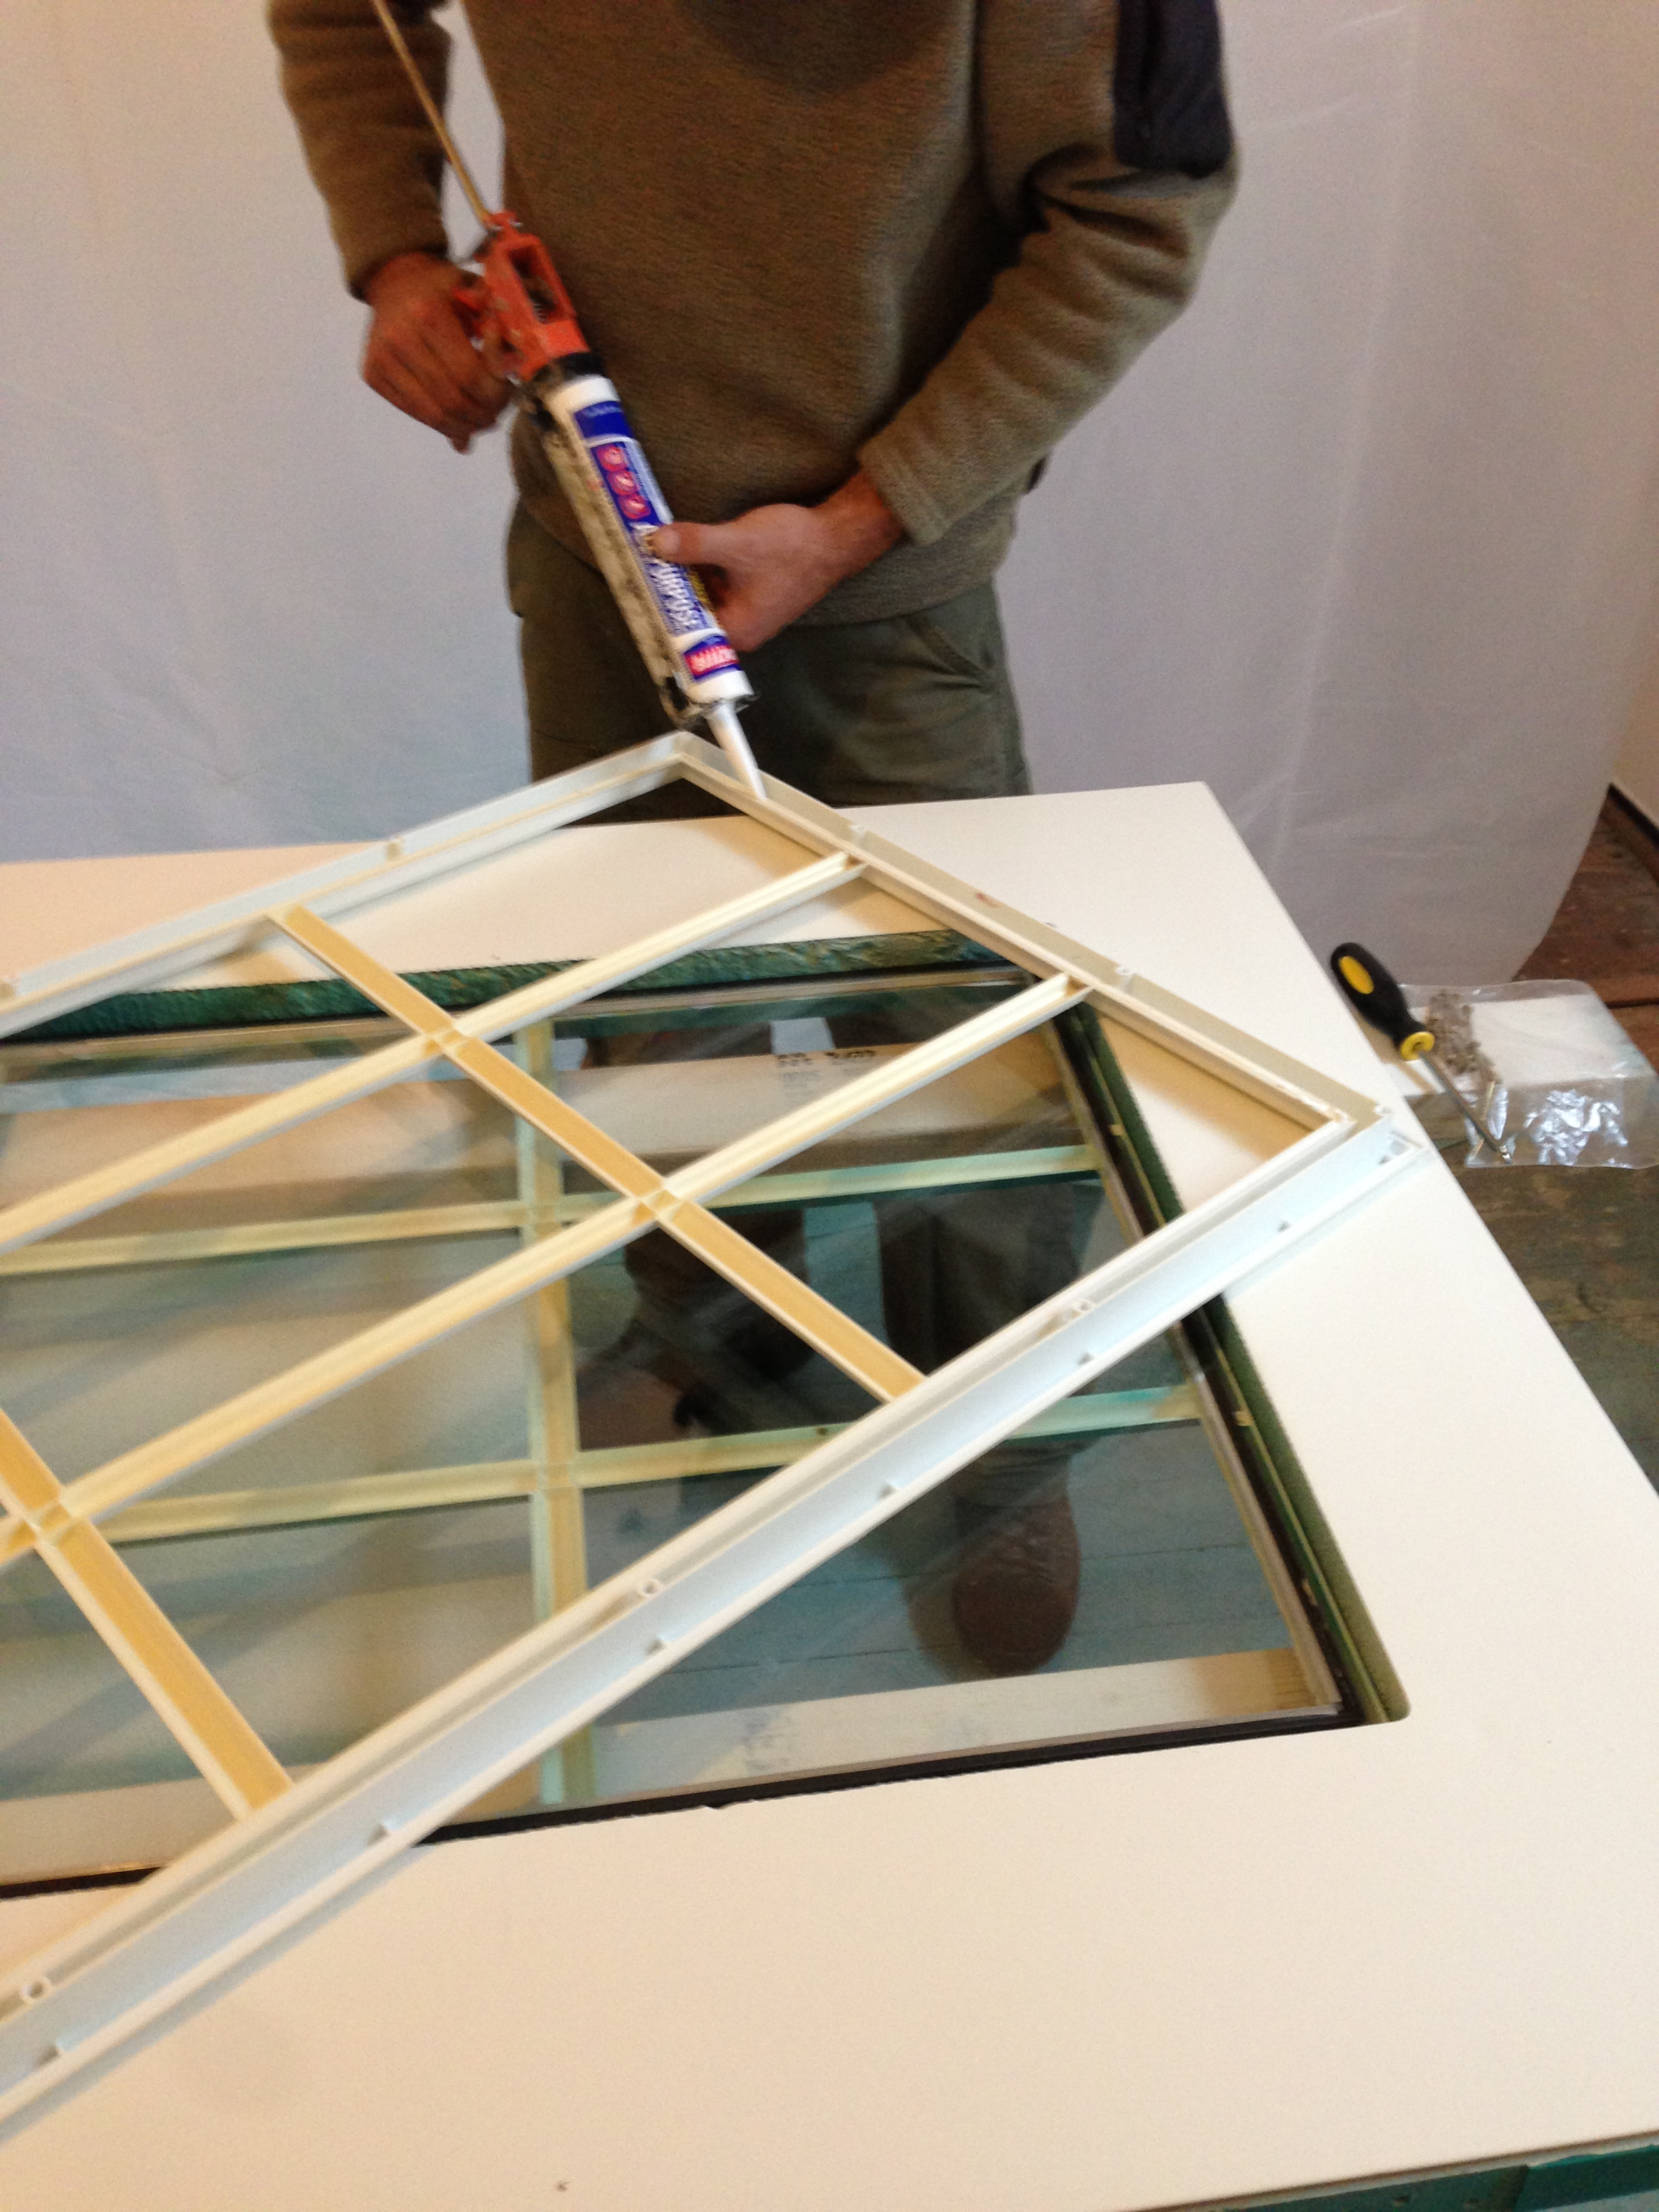
Finally, after each coat of color was a couple of days dry, we could flip the doors to do a final coat of the interior color—Benjamin Moore Swiss Coffee (OC-45), same as the walls but semi-gloss on the doors for easy cleaning—on the inside face of the door. Then, we re-glazed the glass and caulked the plastic grills before installing them.
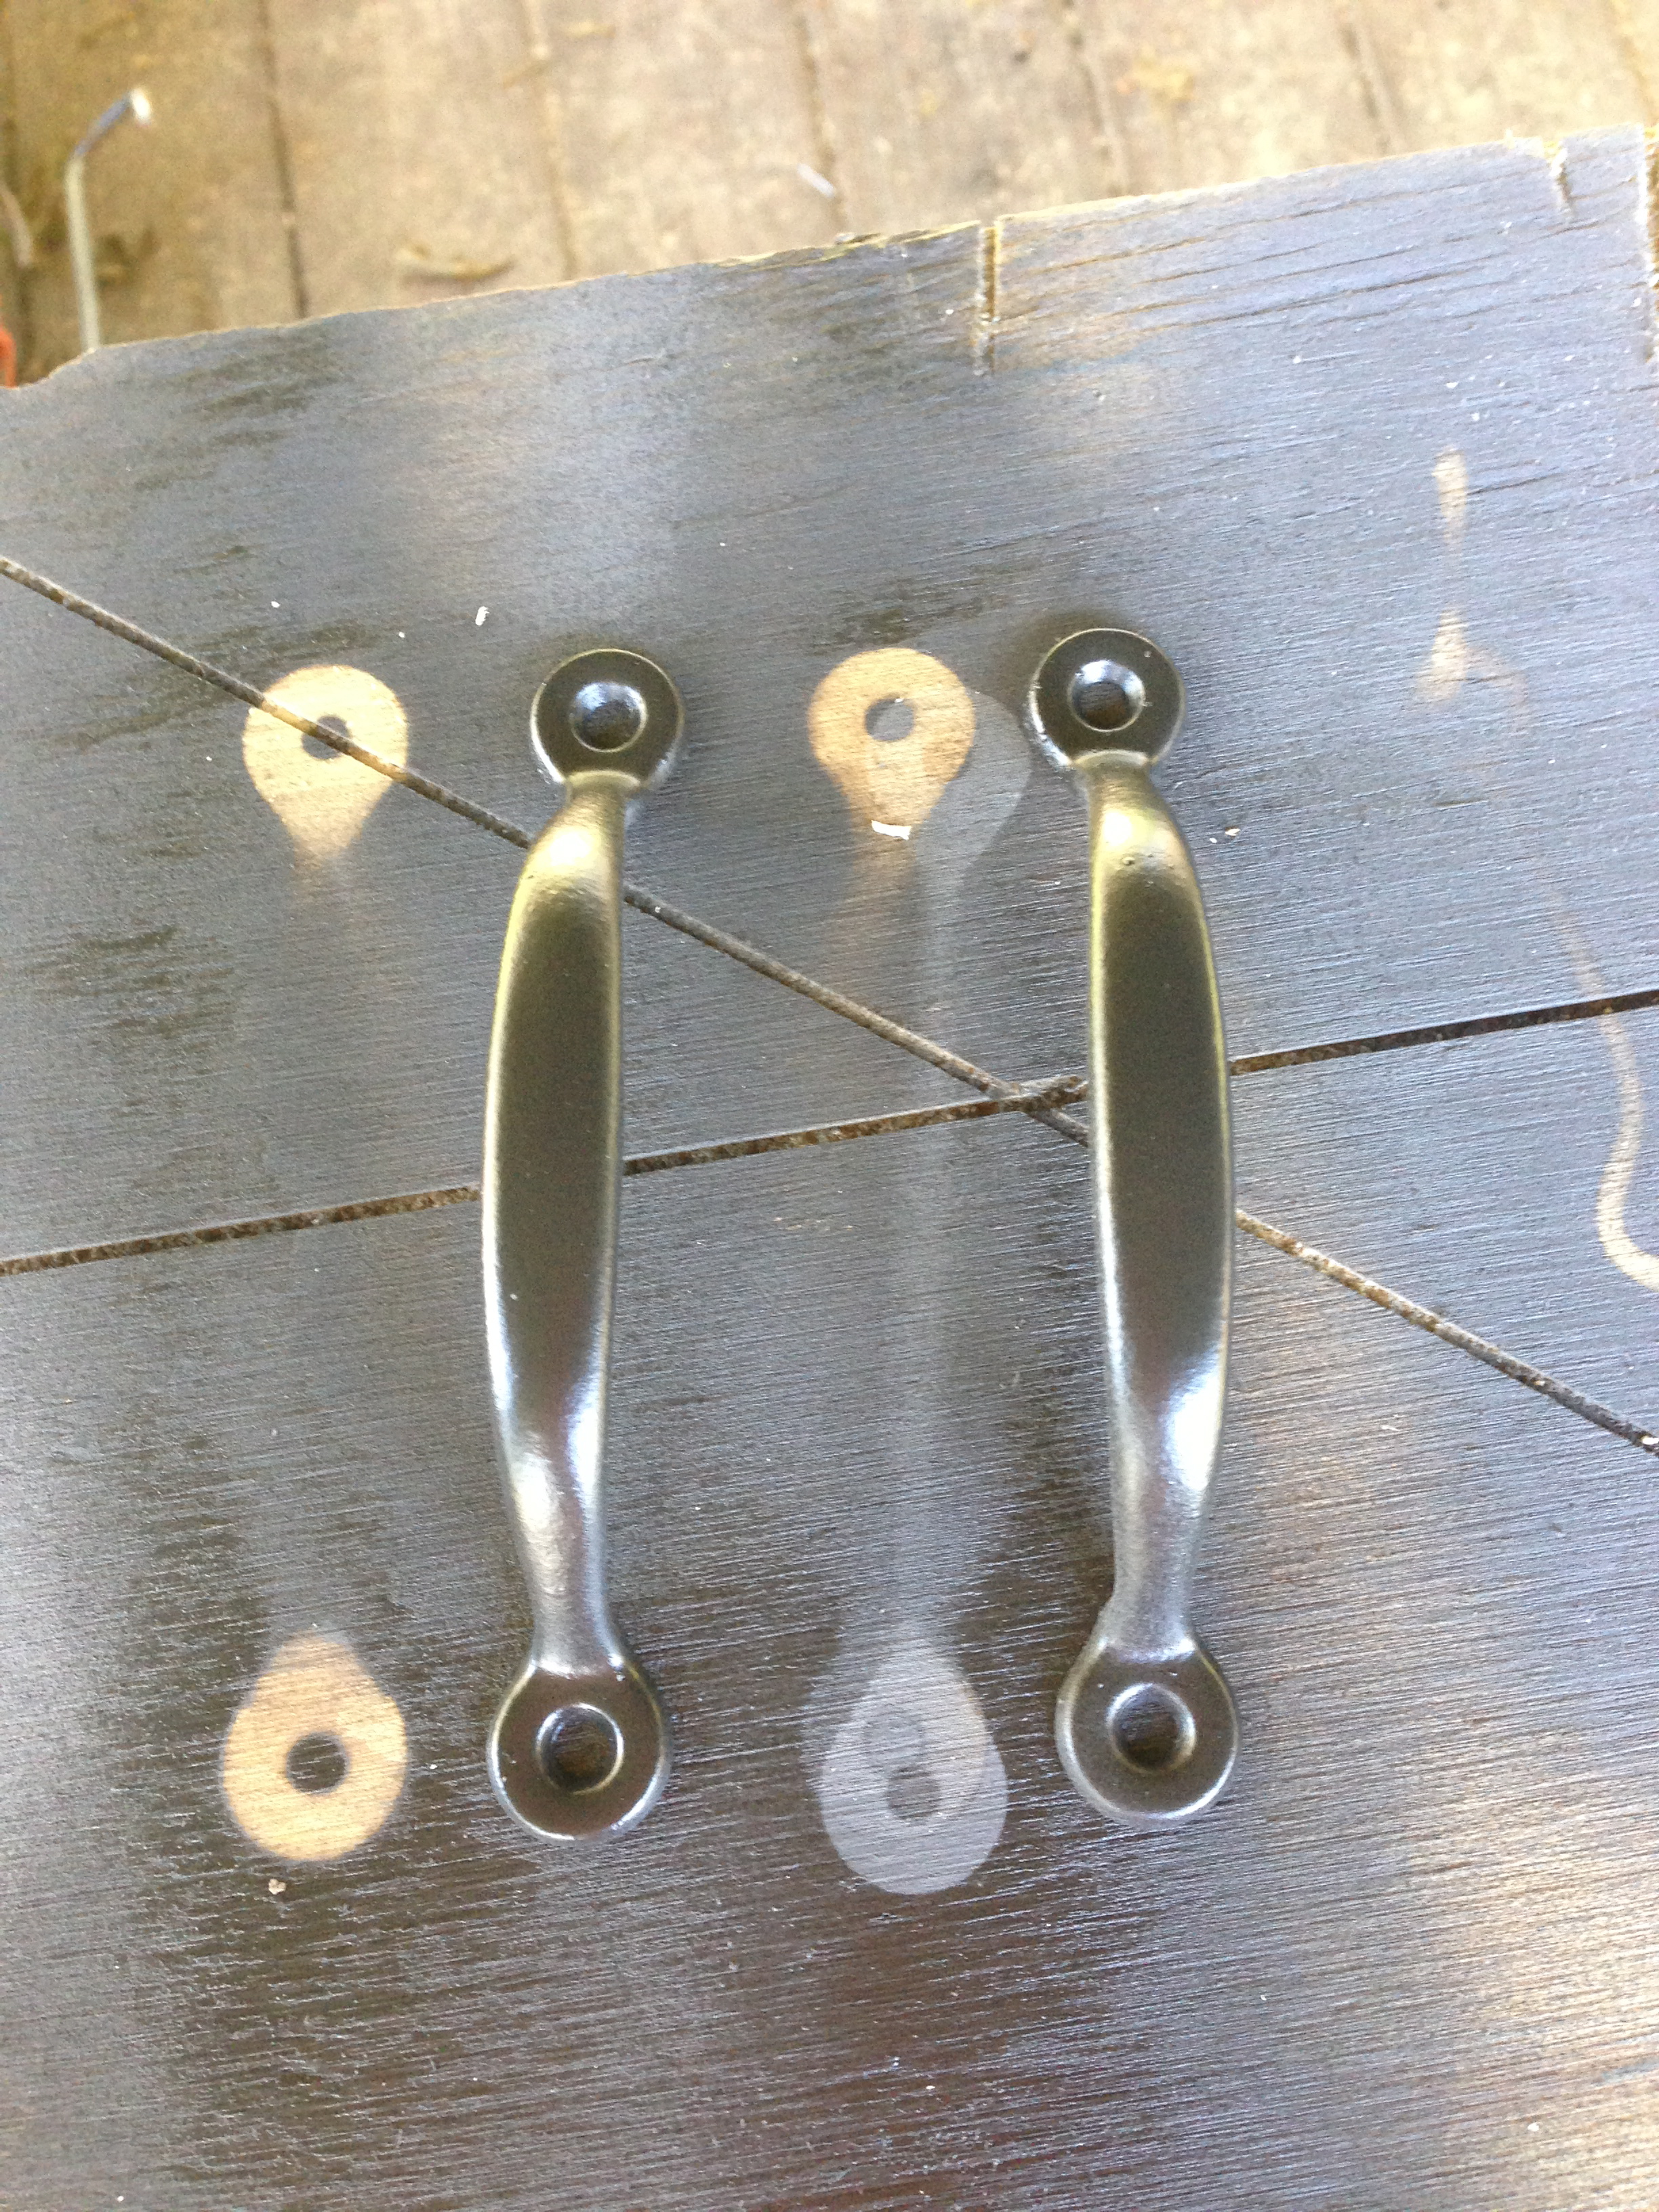
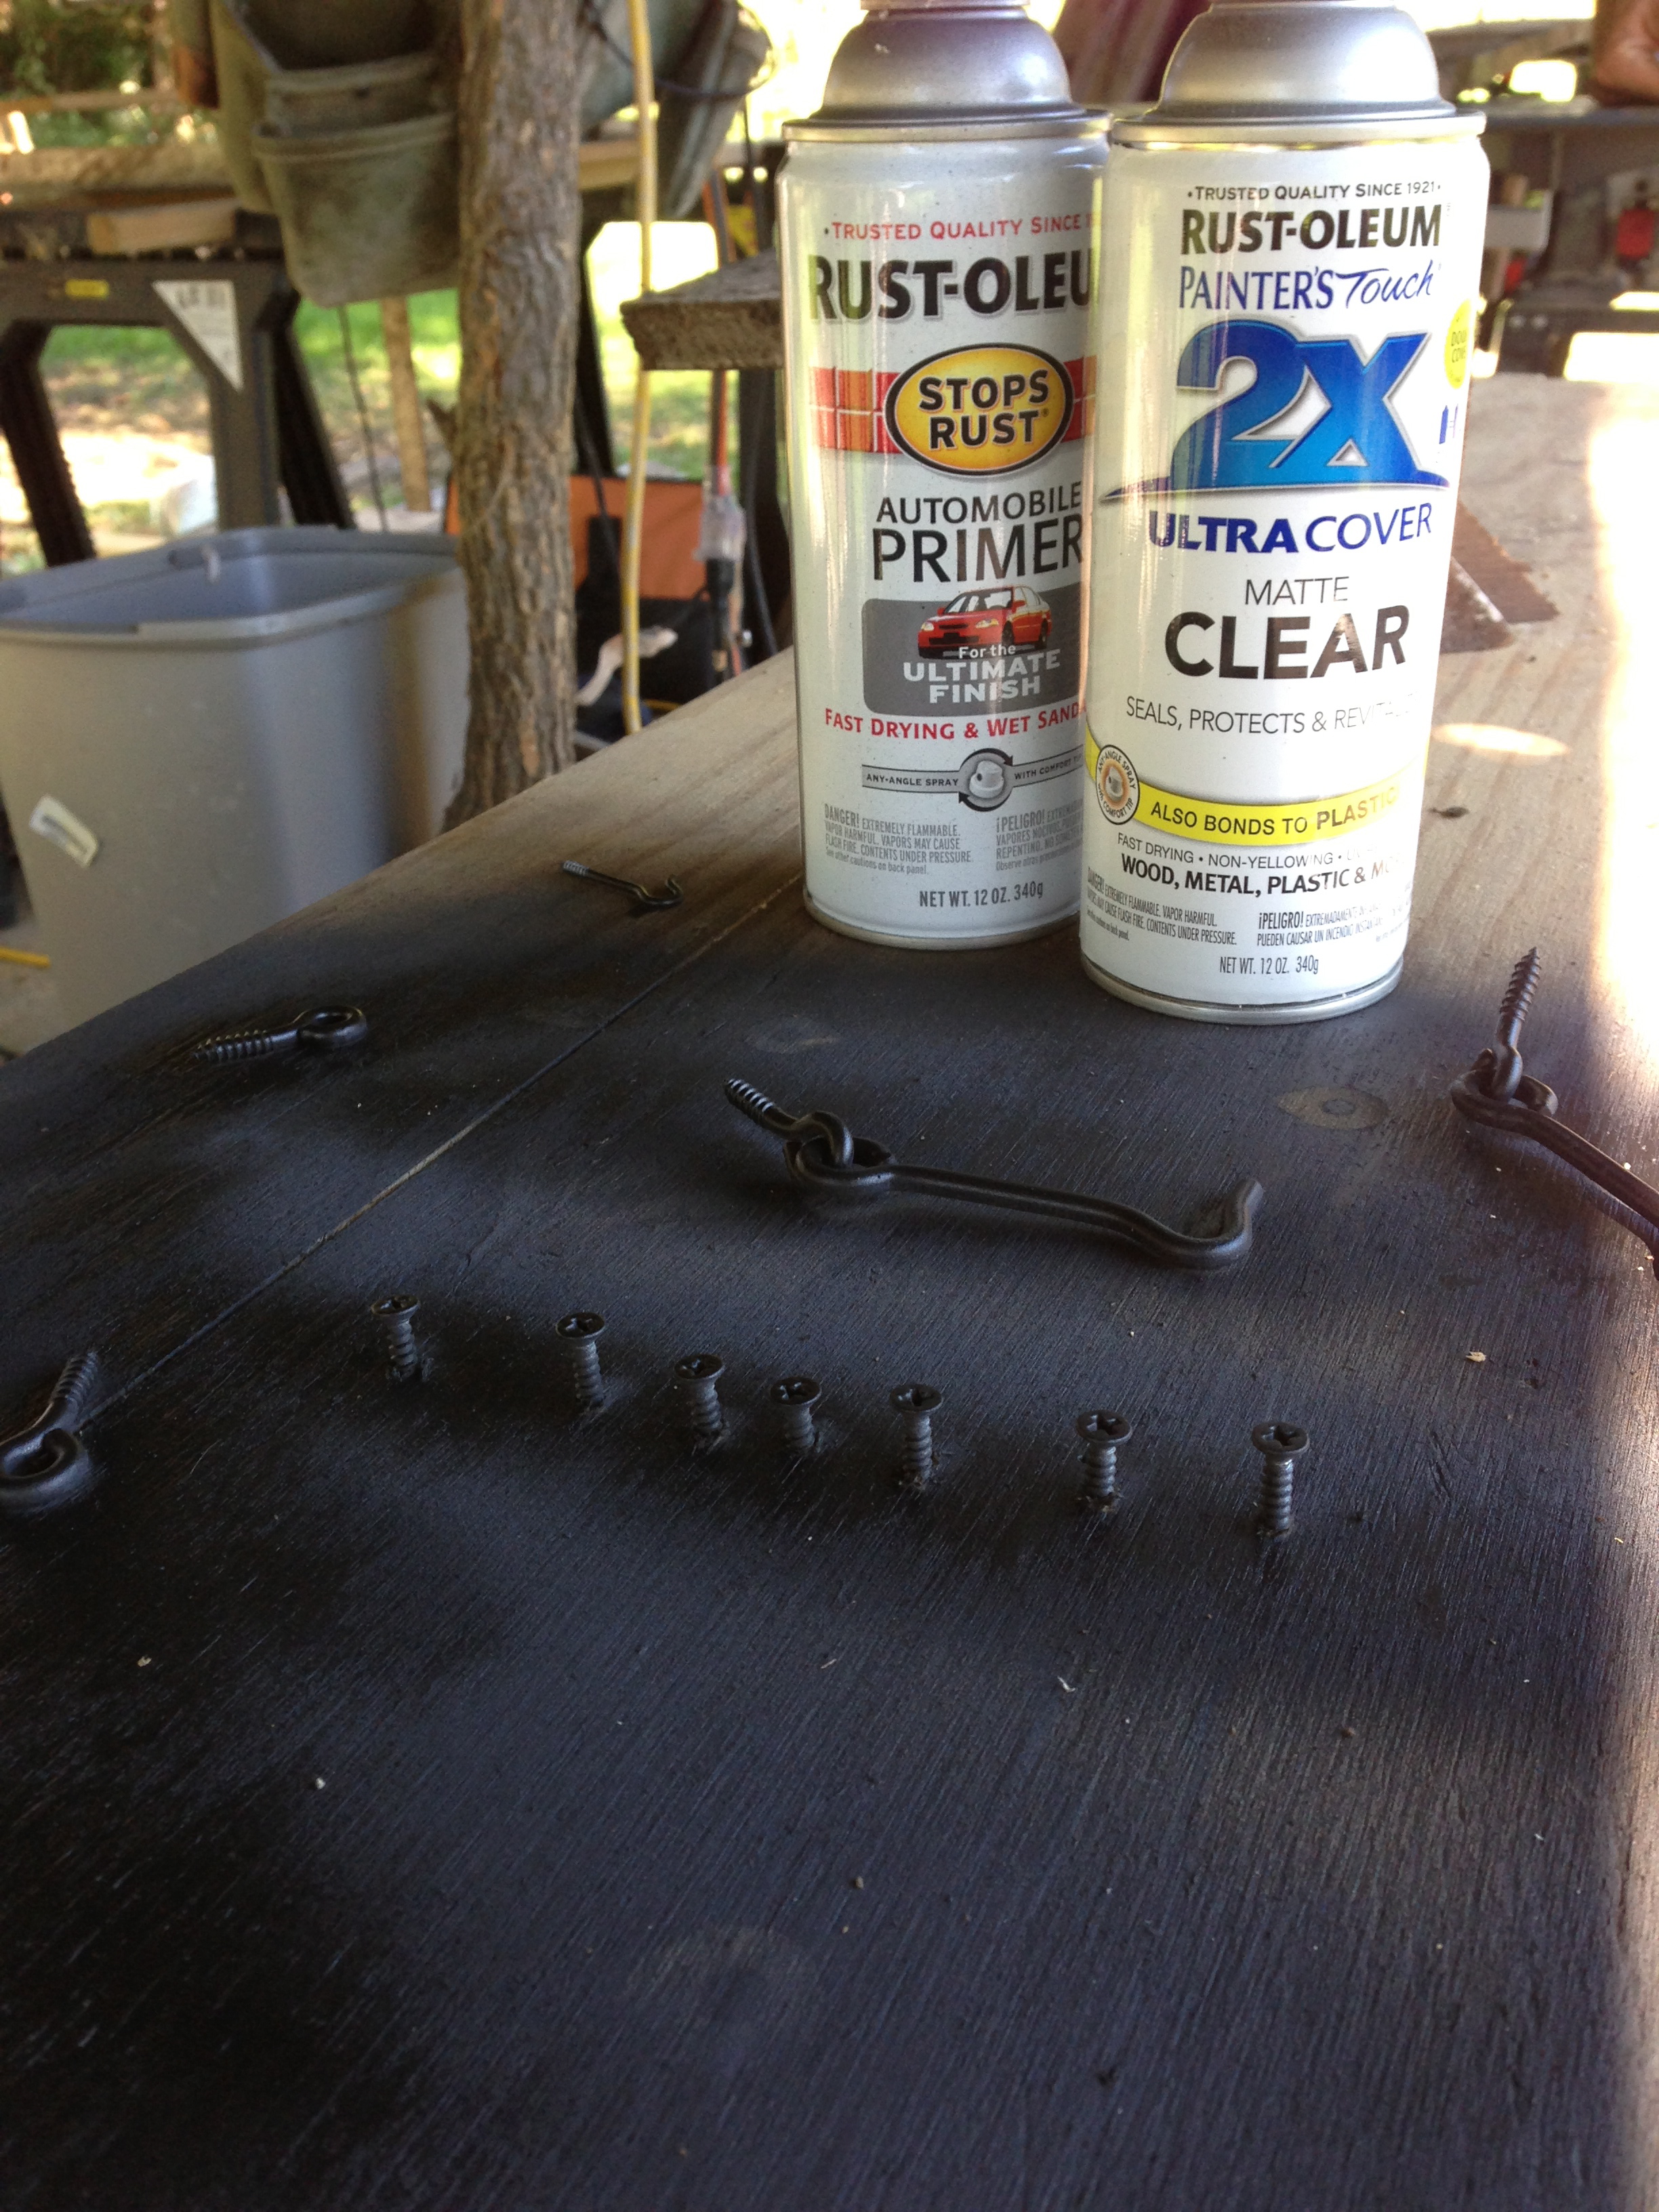
To add the perfect final touch, Ben spray painted and clear coated all the screen door hardware so that it is the same black and the house trim.
Finally, we re-hung the doors. And, well, wow. See for yourself!
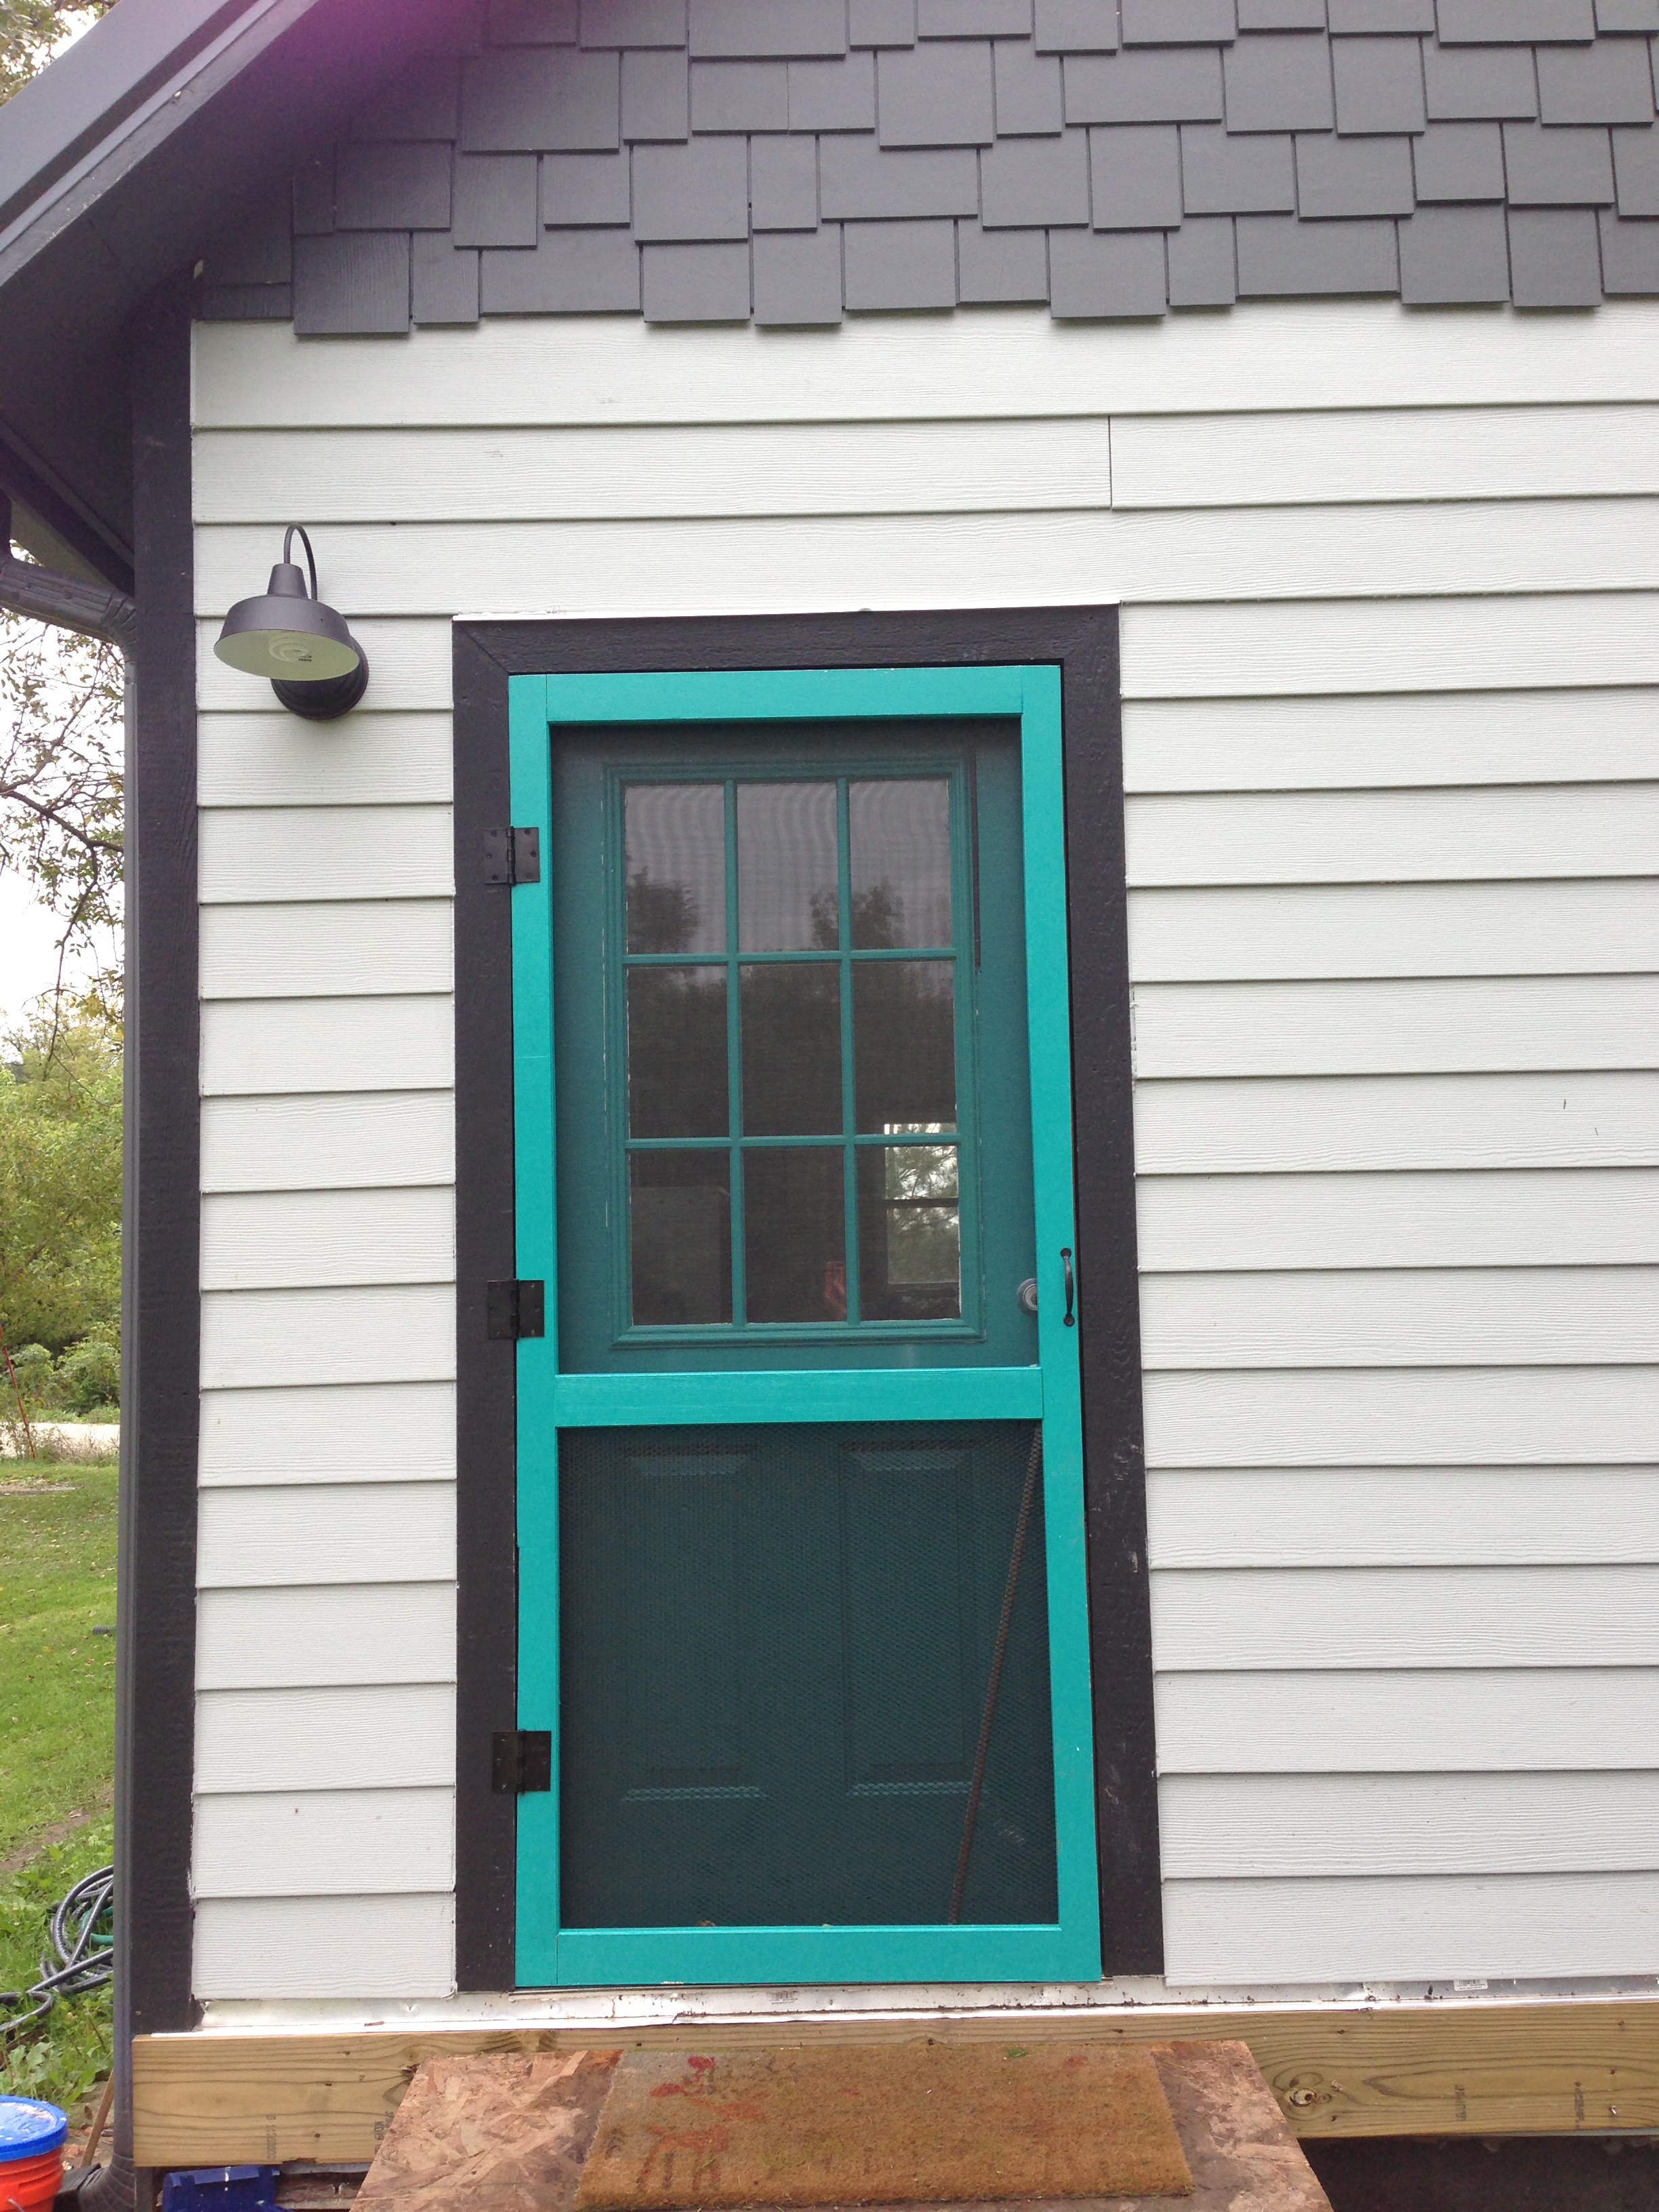

Perfect! And now our doors are bright and happy and they welcome our guests with the playful mood Cockamamy is all about! They just sing “Come on in!” don’t they?

love those colors! And you have unwittingly answered a question that has been nagging at me off and on for a year now. Should the screen door be painted to match the trim, or the door behind it? I have added “paint screen doors red” to my chore list.
I like it
Your rooster color “wheel” was a cocksure idea, thus something to crow about!
Gorgeous colors, Lacey! The doors look great.
Pingback: Spring Fever | Cockamamy Farm