


So here it is, friends. My kitchen wall (in its “before” state of being). I have known for a long time that I wanted to sheath this wall, countertop to ceiling, in subway tile. That is the reason why we haven’t ever finished and painted the drywall…because I have big plans for this one! And, as it turns out, I convinced myself that I wanted to DIY it. Alone…while Ben was out of town over Thanksgiving weekend. In my mind, doing the kitchen wall was one big project I could handle by myself. Taking it off Ben’s plate is the least I can do with all the projects he tackles around Cockamamy. Right?
Full disclosure: I am a tile installation novice. Complete and total novice. This is my first time ever installing tile and all of my know-how was gained in the weeks prior to Thanksgiving via the Web—YouTube videos, DIY how-to slideshows, etc. I’m sure those of you who have experience in this home improvement realm will have a few sigh-and-eye-roll moments with my rookie mistakes. But for those of you who love tile (like me) and have a vision (like me) and are intimidated by the installation process (like me), I hope you find a few first-timer lessons to give you the confidence to go for it!
I started at the beginning—choosing tile. I considered regular size subway: 3×6-inch rectangles. I also have on-hand several boxes of small-scale subway tiles, 1×3 inches, on 12-inch square mesh (I bought overage from my friend Amy about a year ago after she did her backsplash and accidentally ordered too much). But I was wary of both of these choices because of the size of the wall (11×6 feet) and the number of grout lines those sizes would require and how visually busy it would be.
A little research/shopping at my favorite retailer—Amazon, I mean hello Prime shipping!—uncovered a lovely option…4×12-inch tiles! They were white with a glossy finish, basically just a large-scale version of what I would choose in regular-size subway. The cost, however, was also large-scale in comparison to 23-cent regular-size subway tiles. In the end, I decided that 4x cost was worth getting the look I wanted. Priorities.

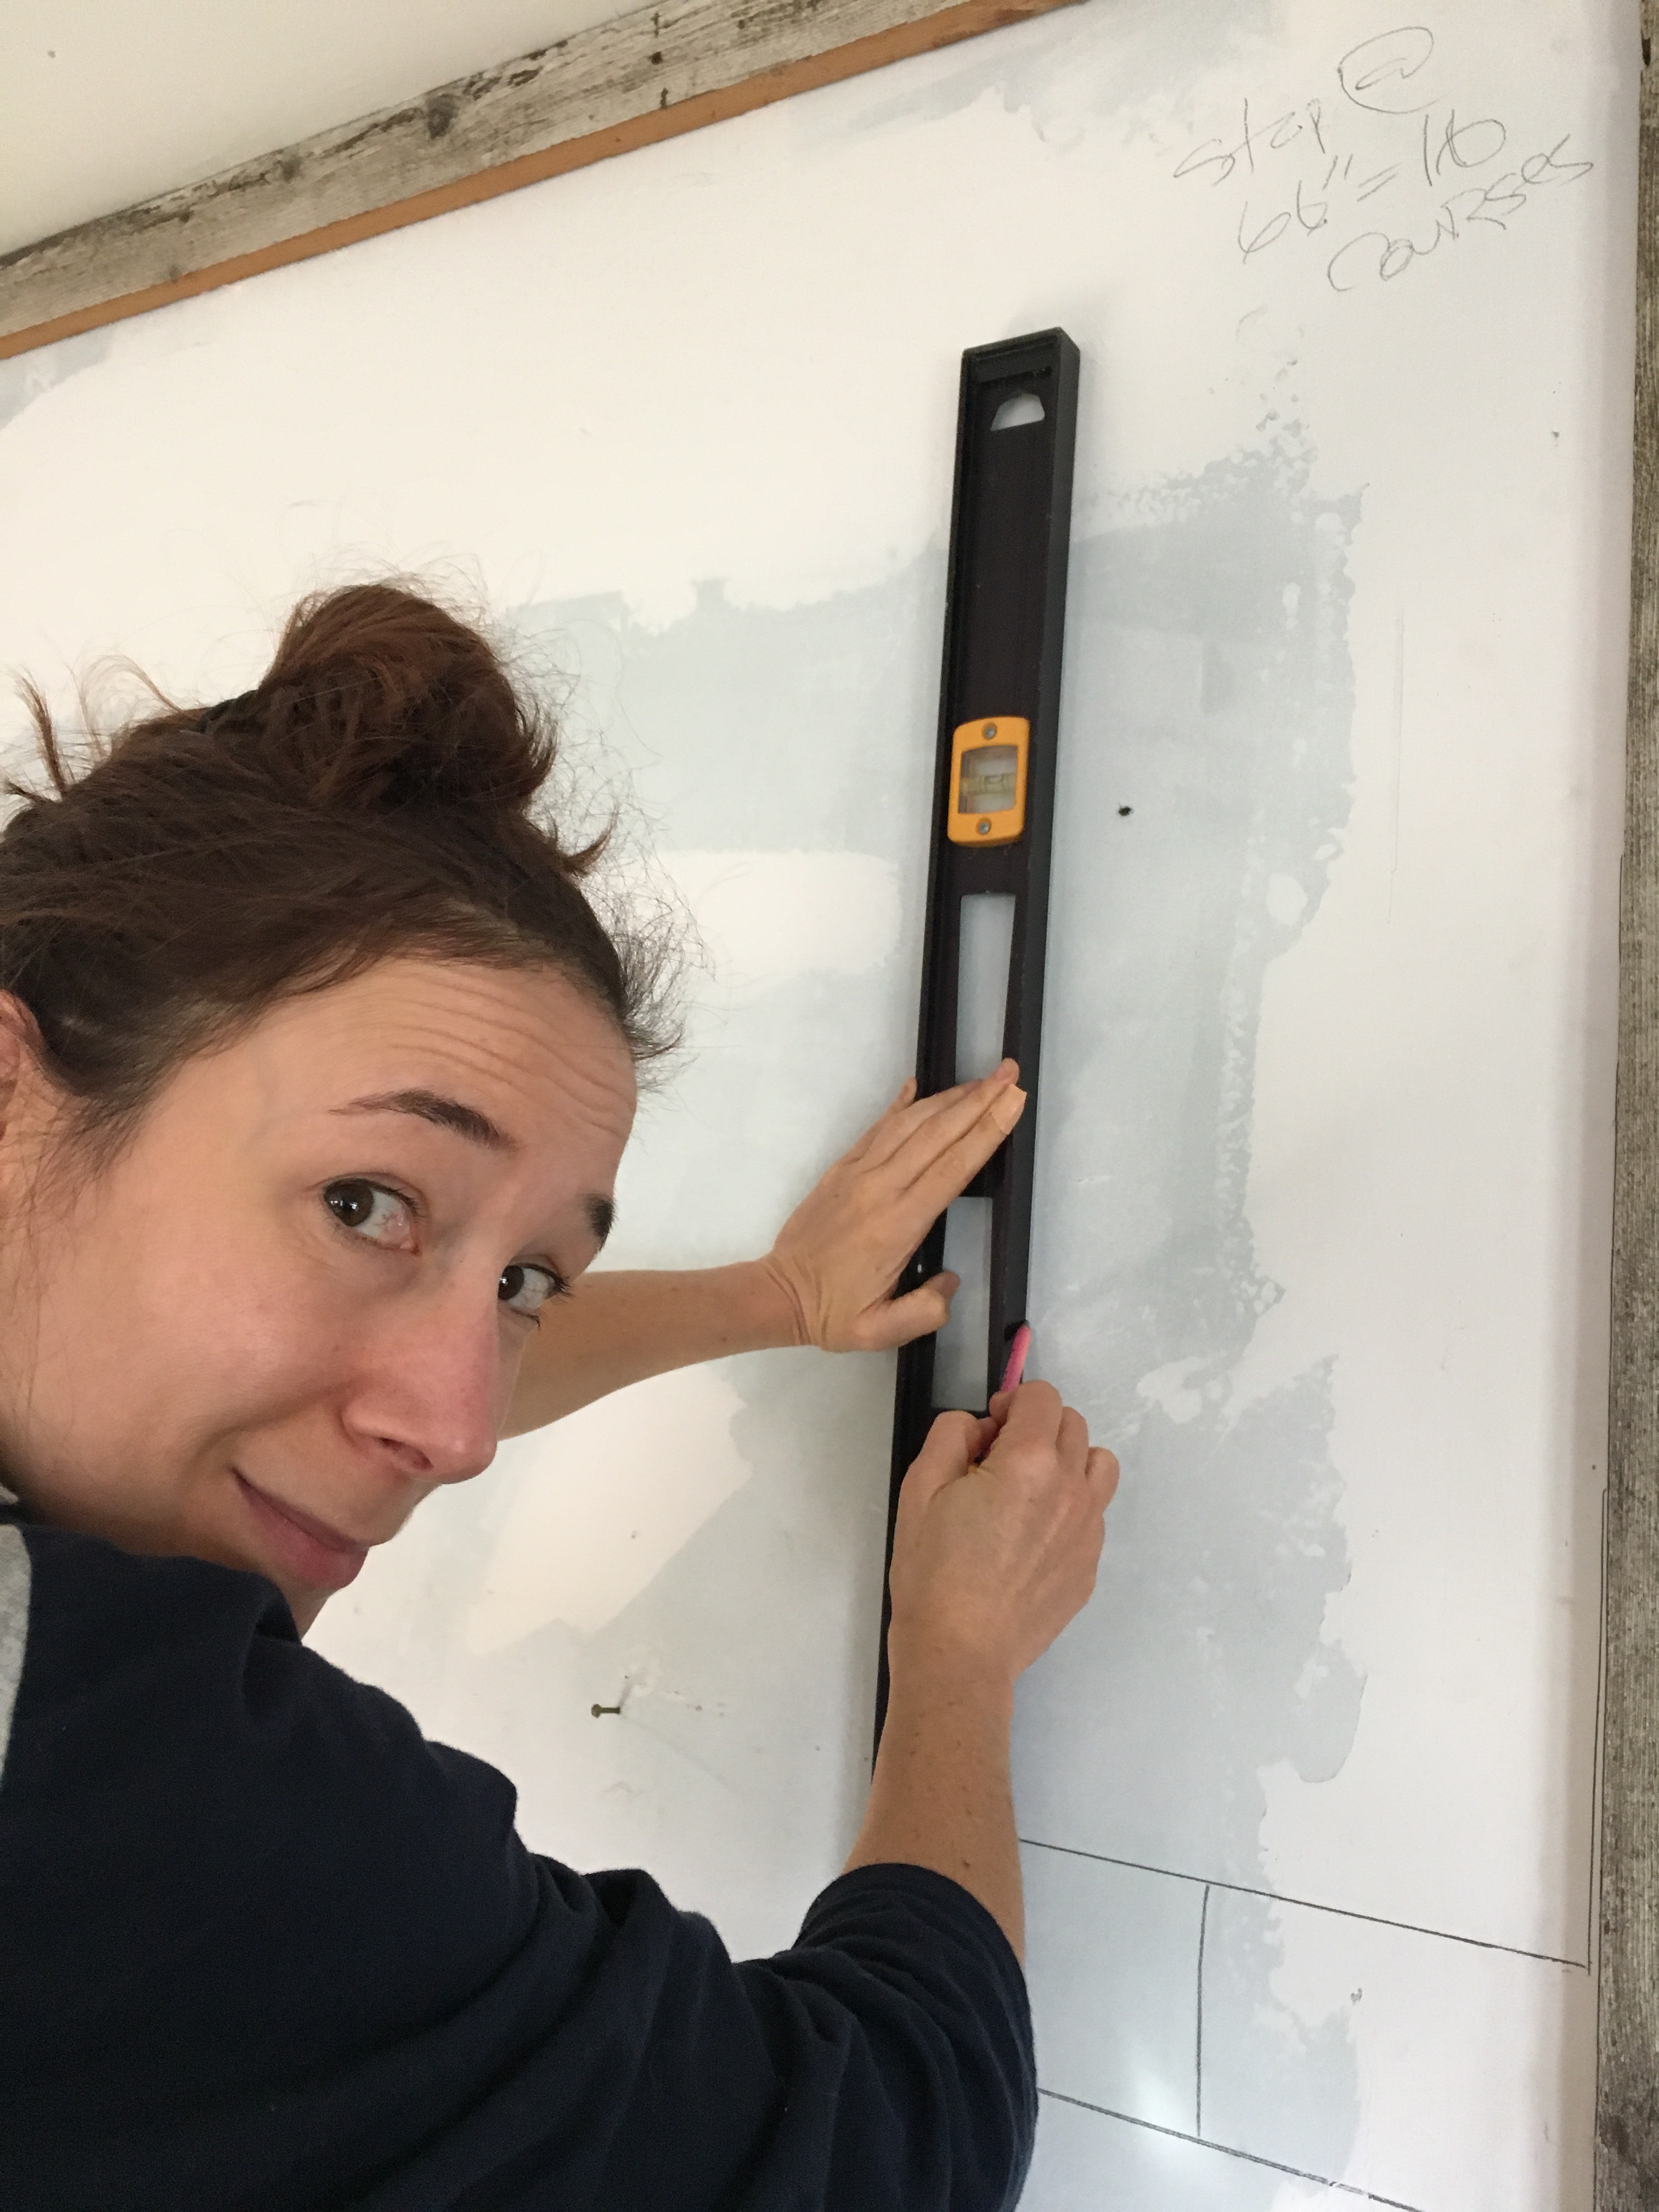
In order to try on the 4×12 tiles, I drew a few running bond rows on the wall to try and picture the scale and the grout lines. And I loved it! And bought the tiles. That stock of small-scale tiles will now be used in the upstairs bathroom. Good thing tiles don’t expire. That bathroom project is pretty far down the list…sigh.
Ben and I planned out a few other elements of the wall…we looked at the barnwood trim that we’d installed long ago on the right hand edge of the wall and at the ceiling. We decided to take down and save those pieces to be reinstalled. So I penciled in lines for where the tile should stop—a few inches from the edge of the wall’s top edge and side—to leave space for the trim boards. And Ben took the trim boards off the wall.
Lucky me! The math worked out perfectly that the wall would require 16 whole courses. No cut tiles across the top or bottom!
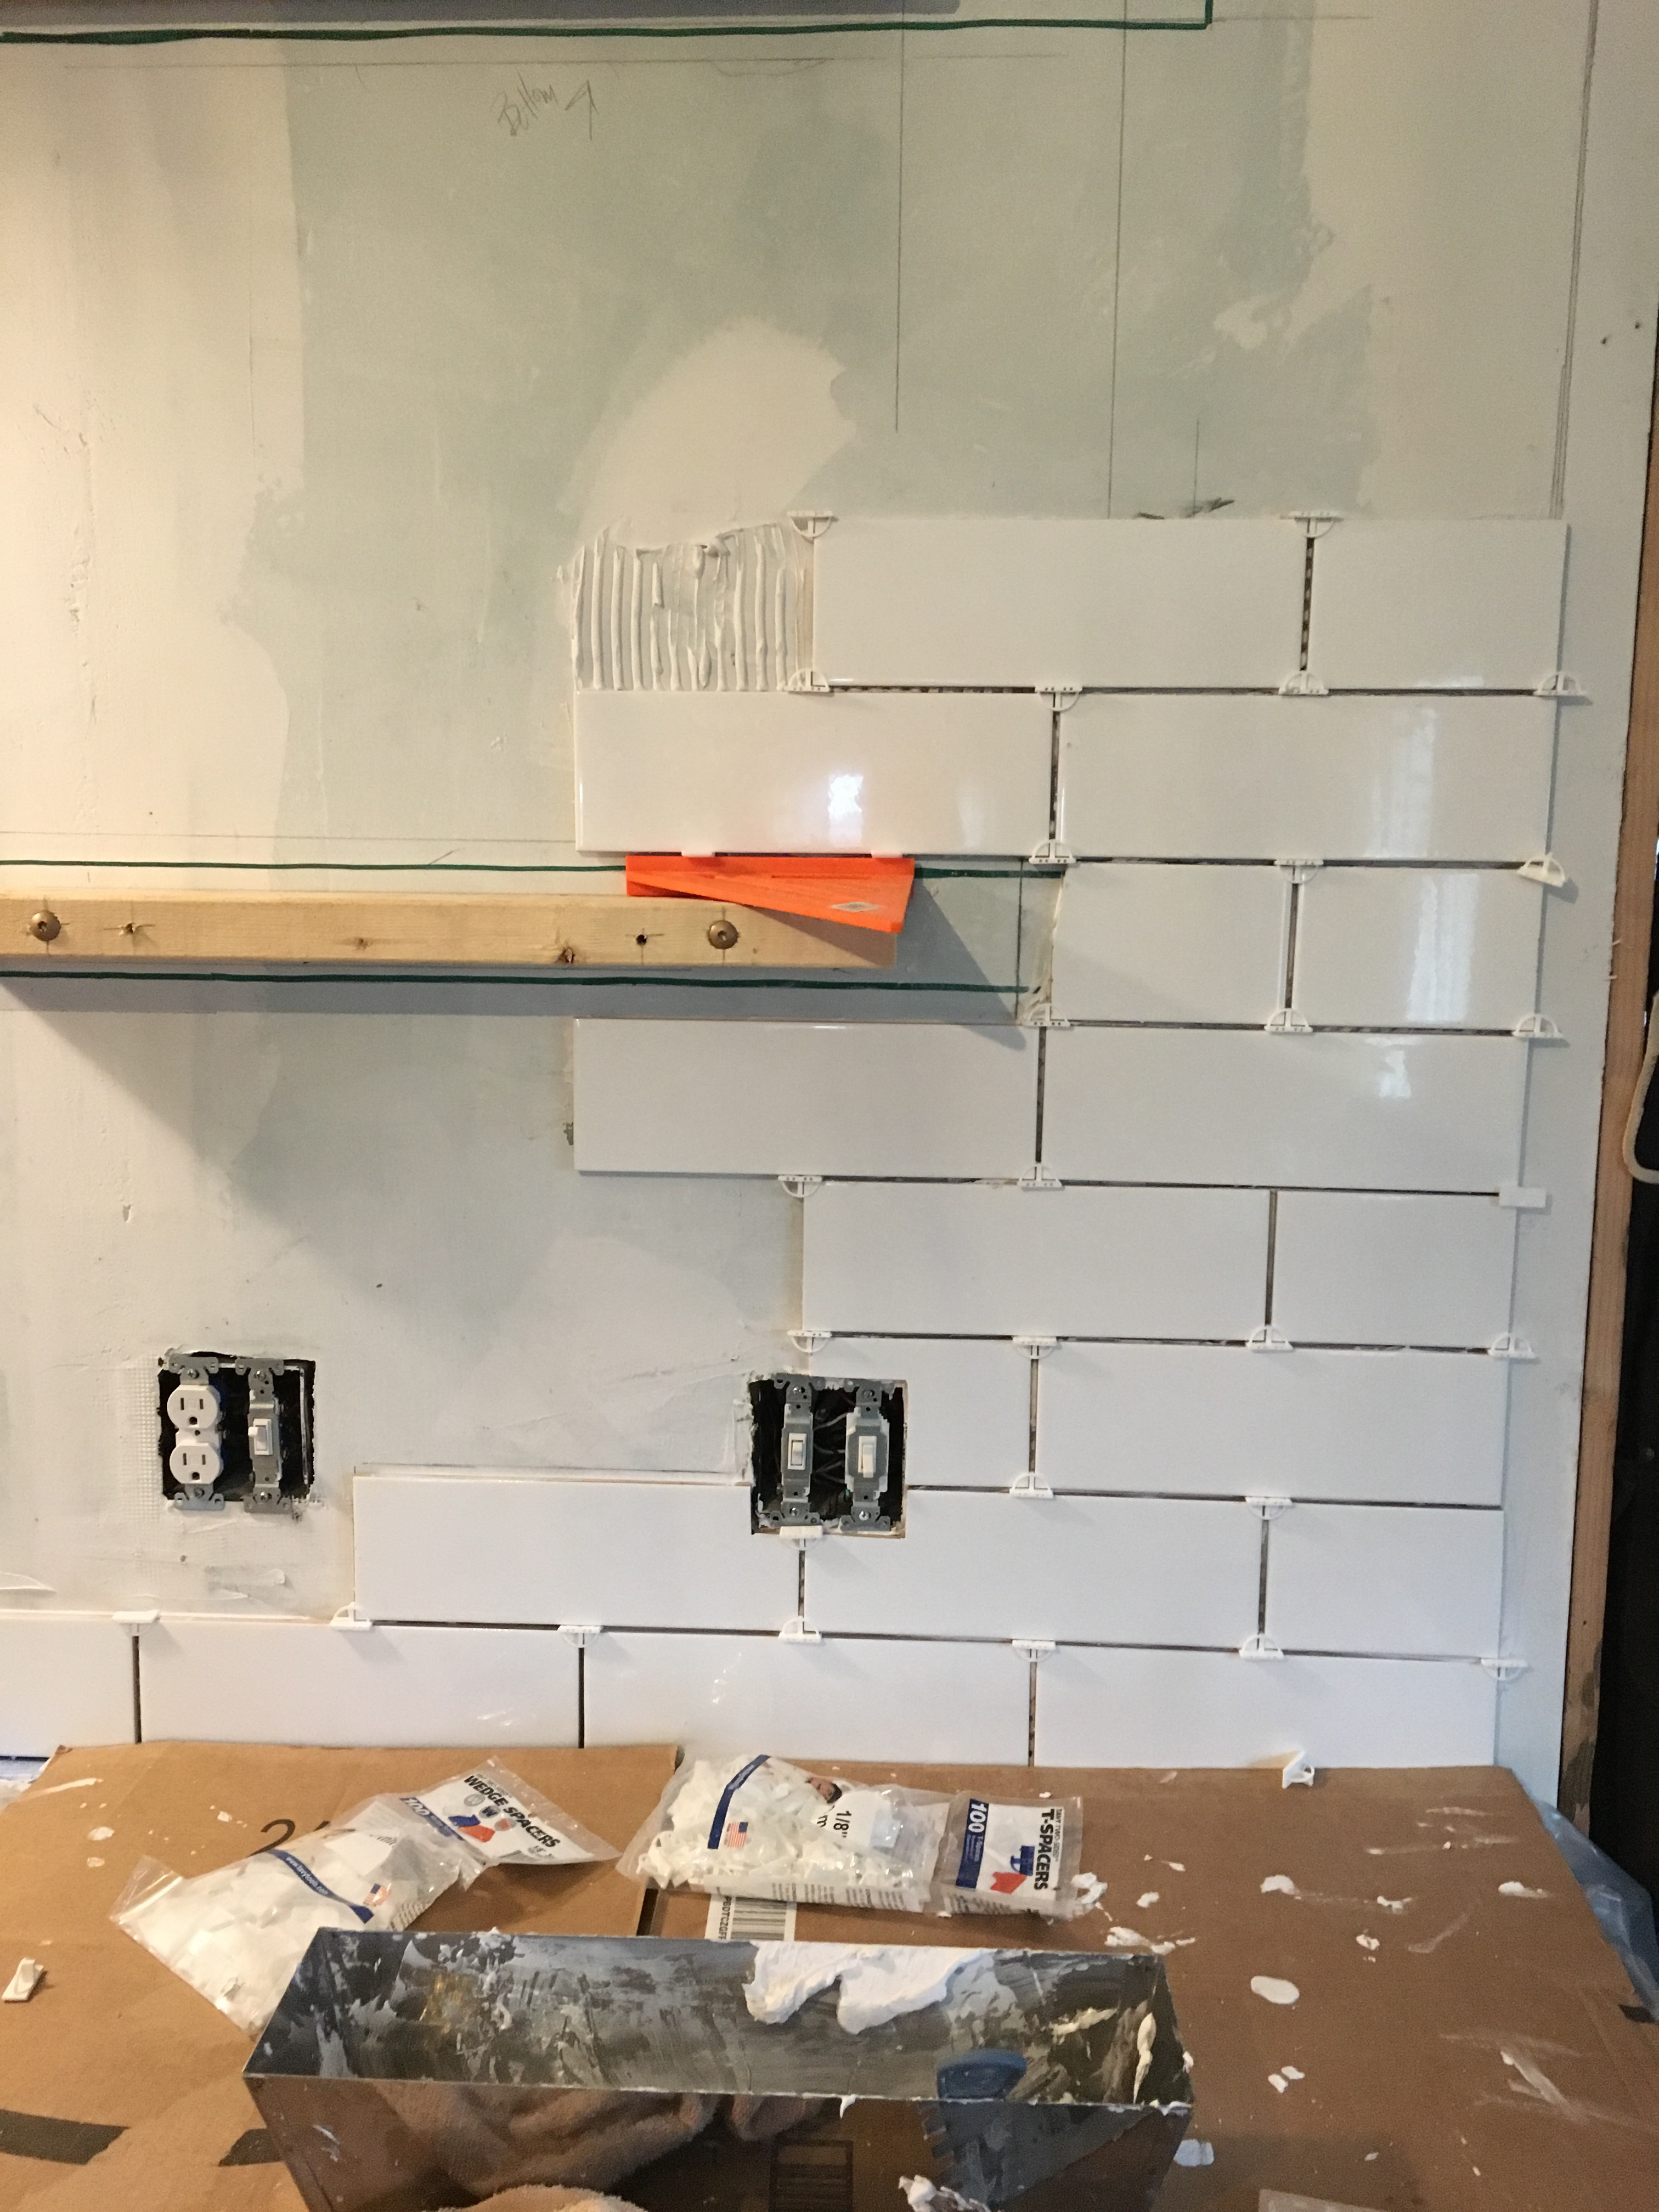
We also decided to go ahead and plan out the barnwood floating shelves that Ben will build and install. Rather than trying to drill through tiles later (and potentially breaking tiles and needing to dig them out and replace them), he installed the anchor boards on the wall so that I could tile around them. The anchors are smaller—both shorter and more narrow—than the shelves will be. The shelves will be boxes with an open backside that slips over and screws to these boards that are anchored into the wall’s studs. Sort of like putting a your hand (the anchor boards) in a mitten (the shelves). Make sense?

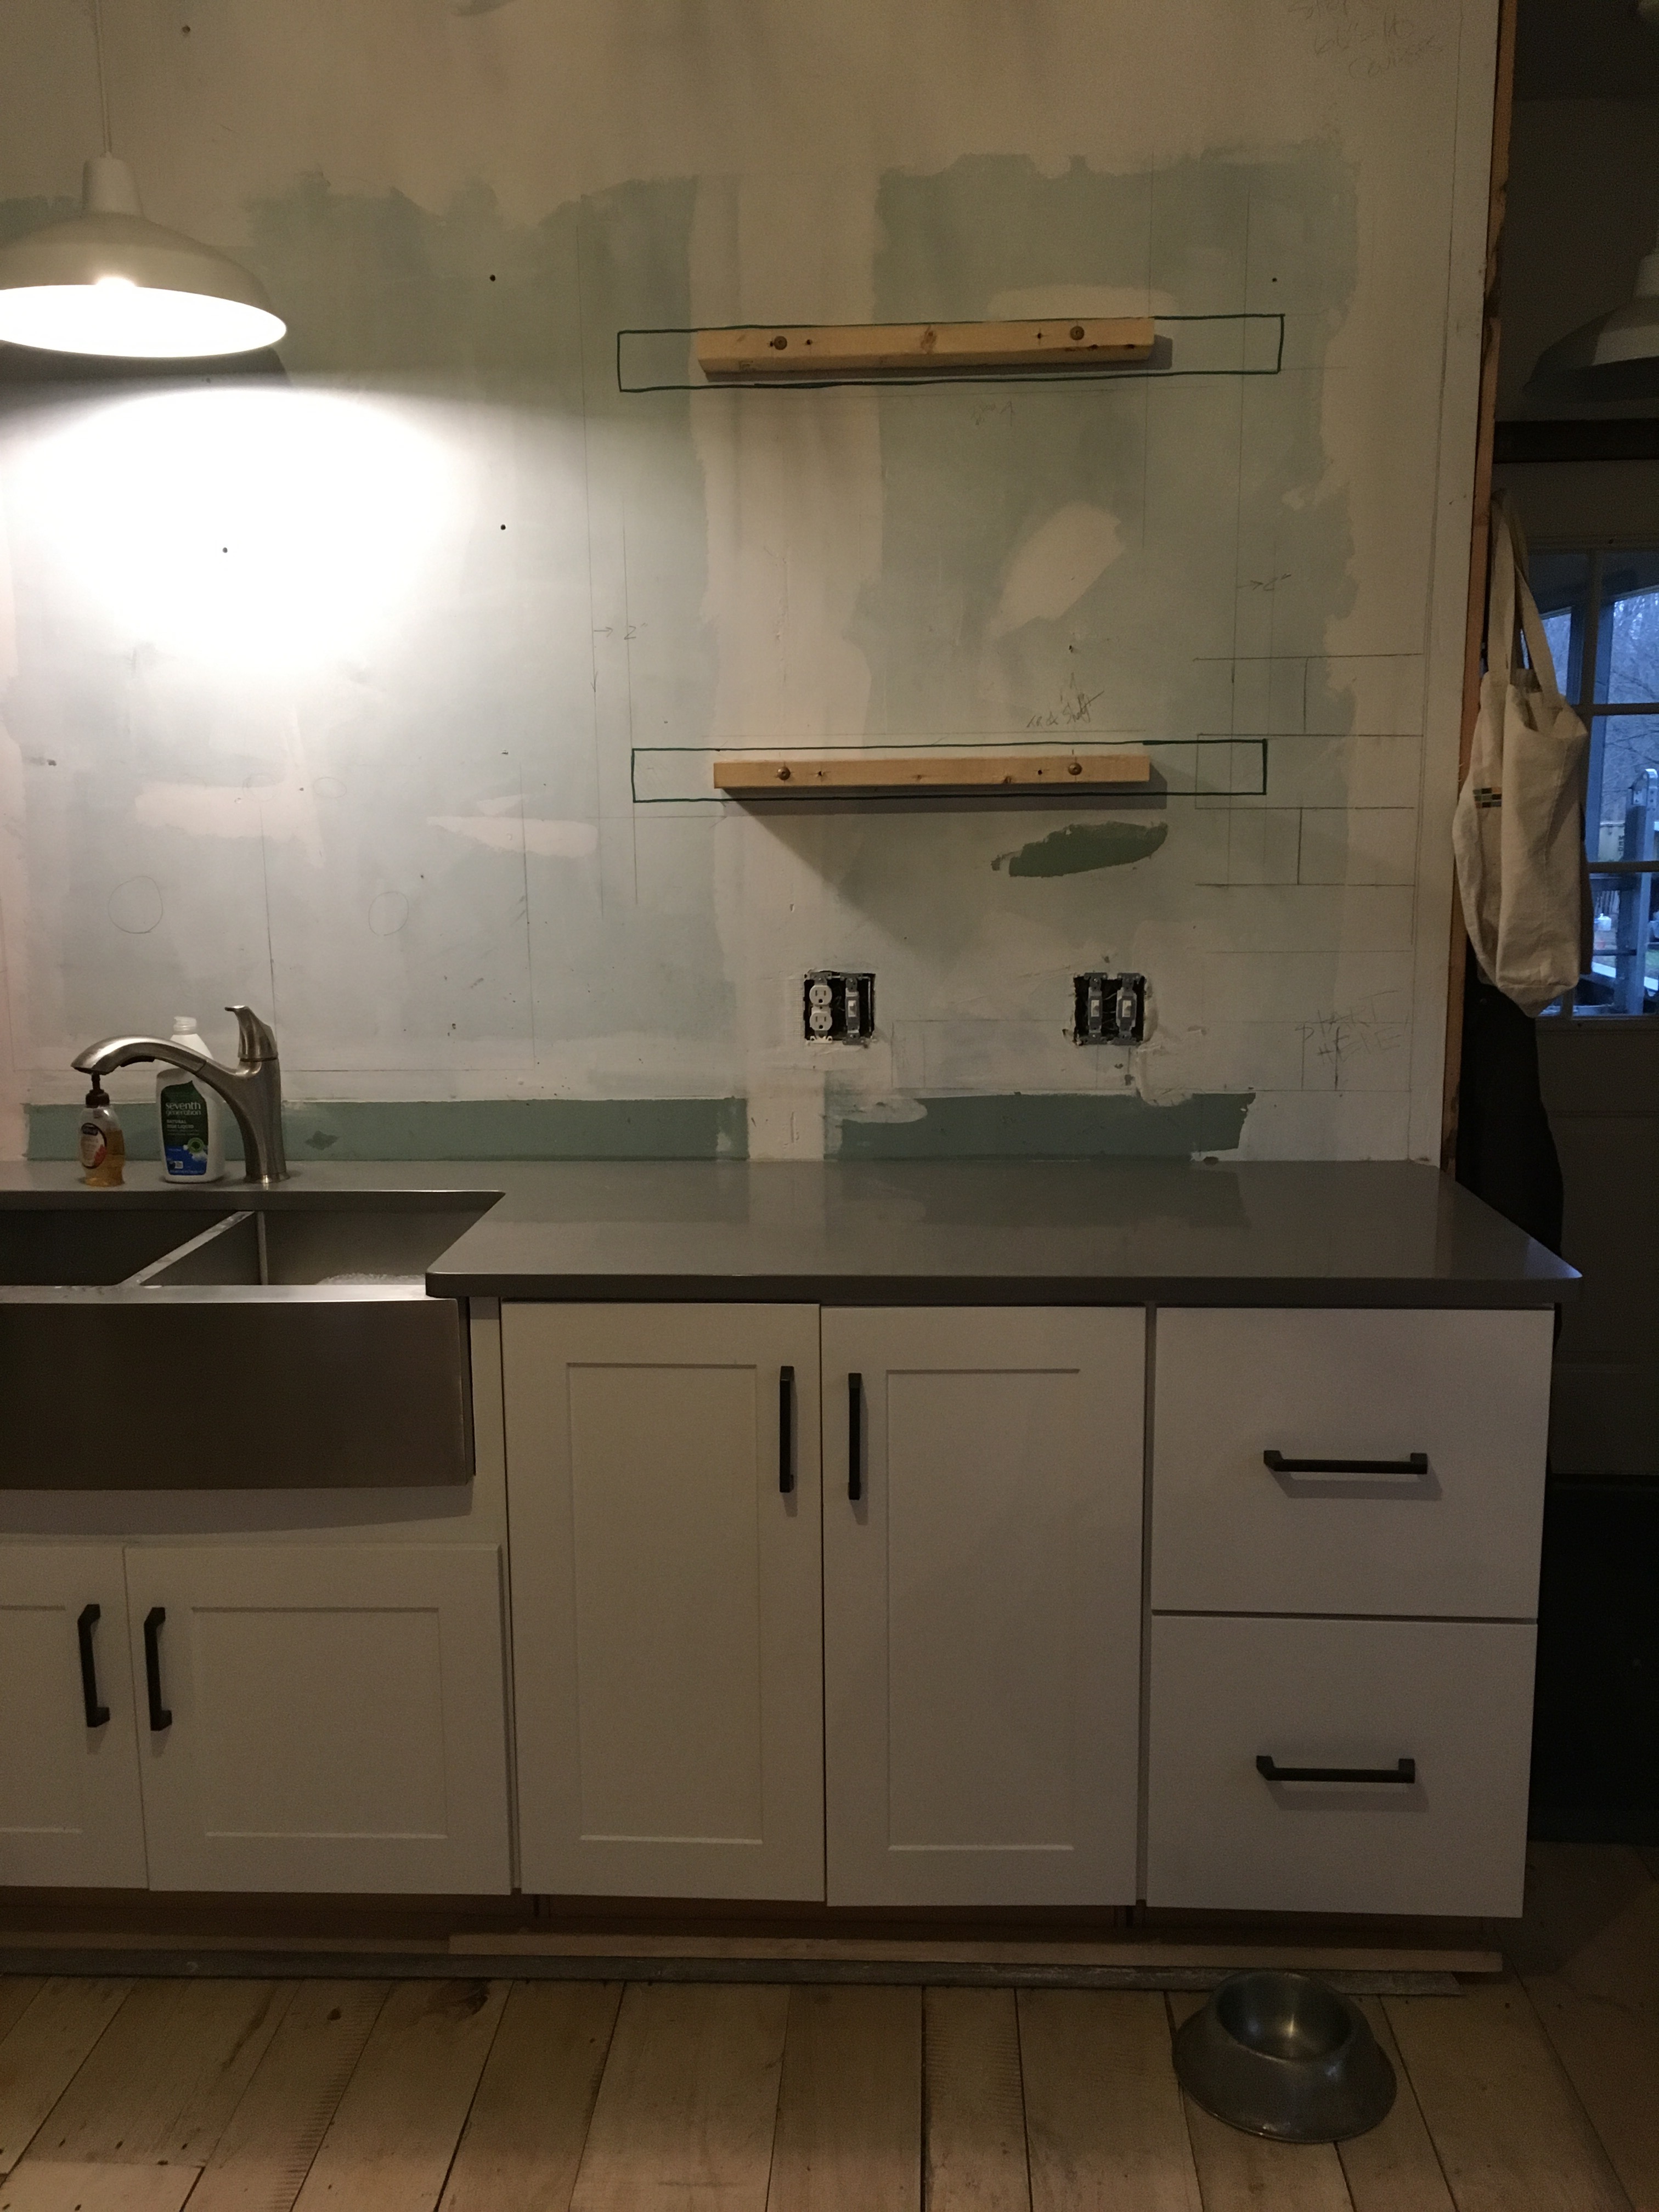
Because the anchors are smaller than the shelves will be, I drew the shape and size of the finished shelves on the wall with a giant green sharpie. I don’t need to tile up to the anchors all beautiful and perfect…the tile can go to the green line and stop because anything between the anchor board and the green line will be covered by the shelf. Potentially, this could keep me from doing any excess cutting to fit tiles perfectly around the anchor boards.
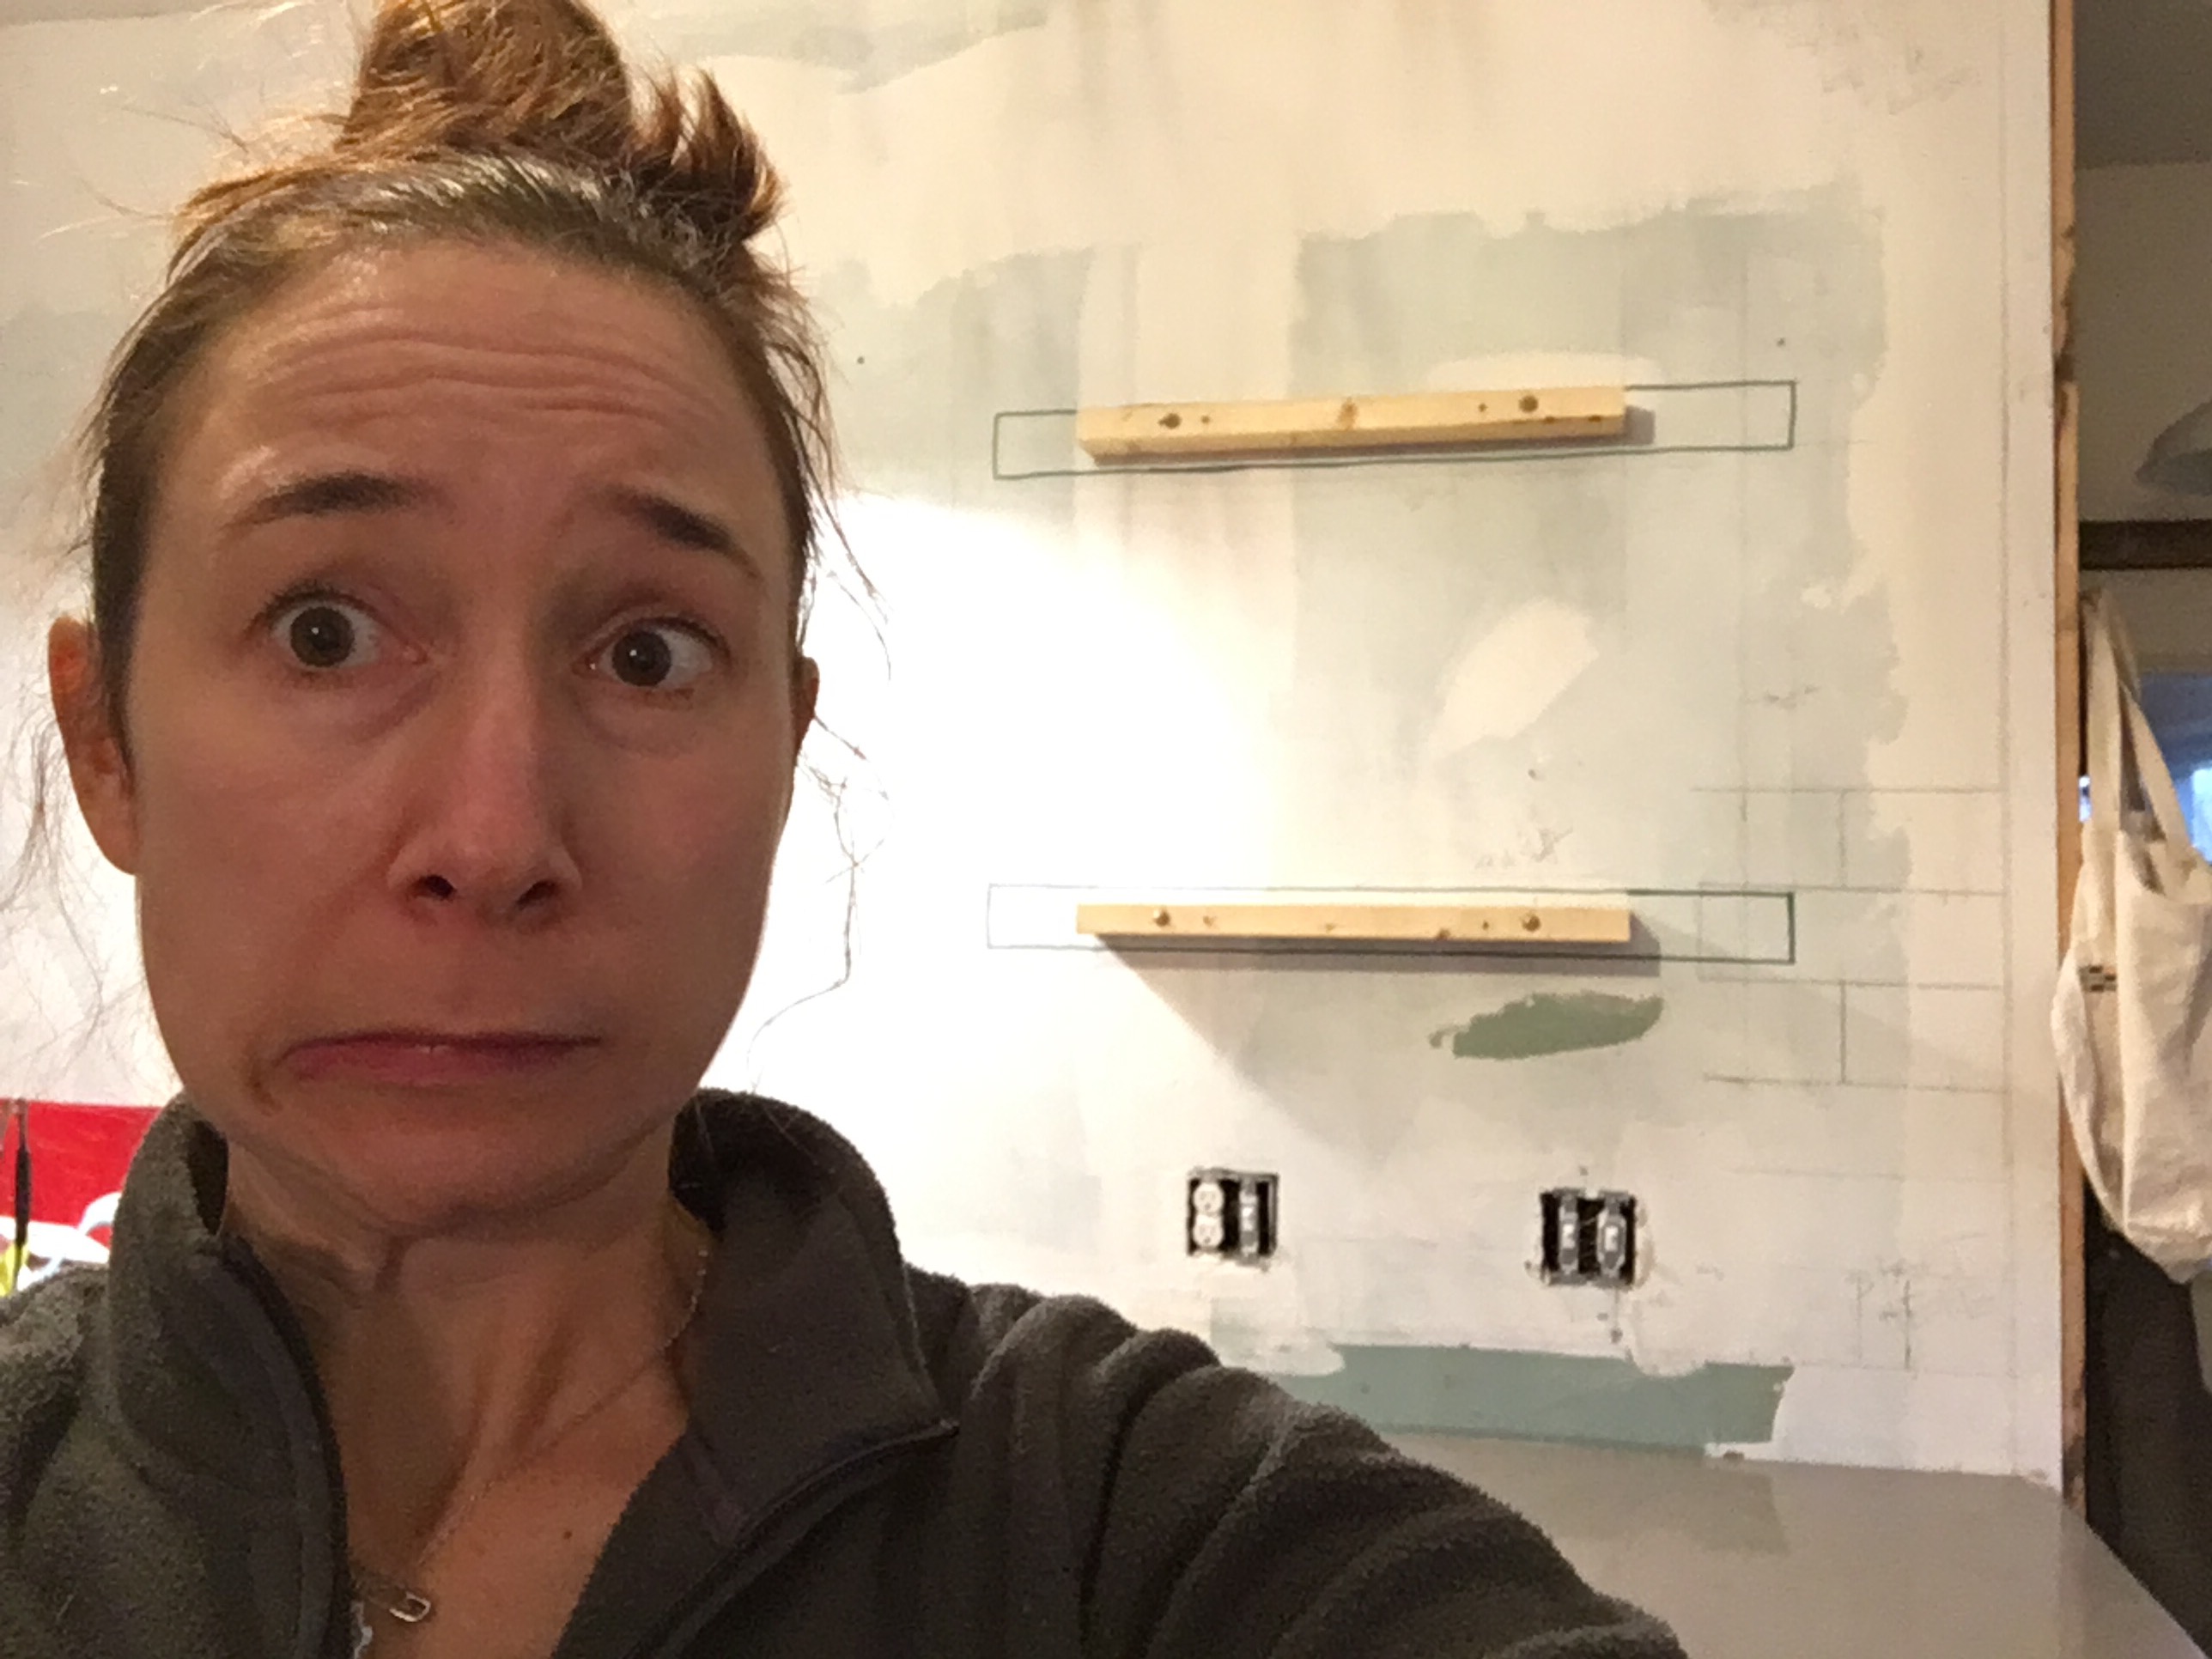
Early Thursday morning, Ben left the farm for his long weekend away. And I was home alone. With my project. What was I thinking?!?! Anxious? Yes. Nervous? Yes. Can I do this? Ummm….yes? My self-talk definitely included “No one’s watching,” “What’s the worst that could happen?,” and “Dude. You’ve watched like 15 YouTube videos! You’ve got this!” Some text-message coaching from Amy was a big help, too. Deep breath. Annnnnd…go.
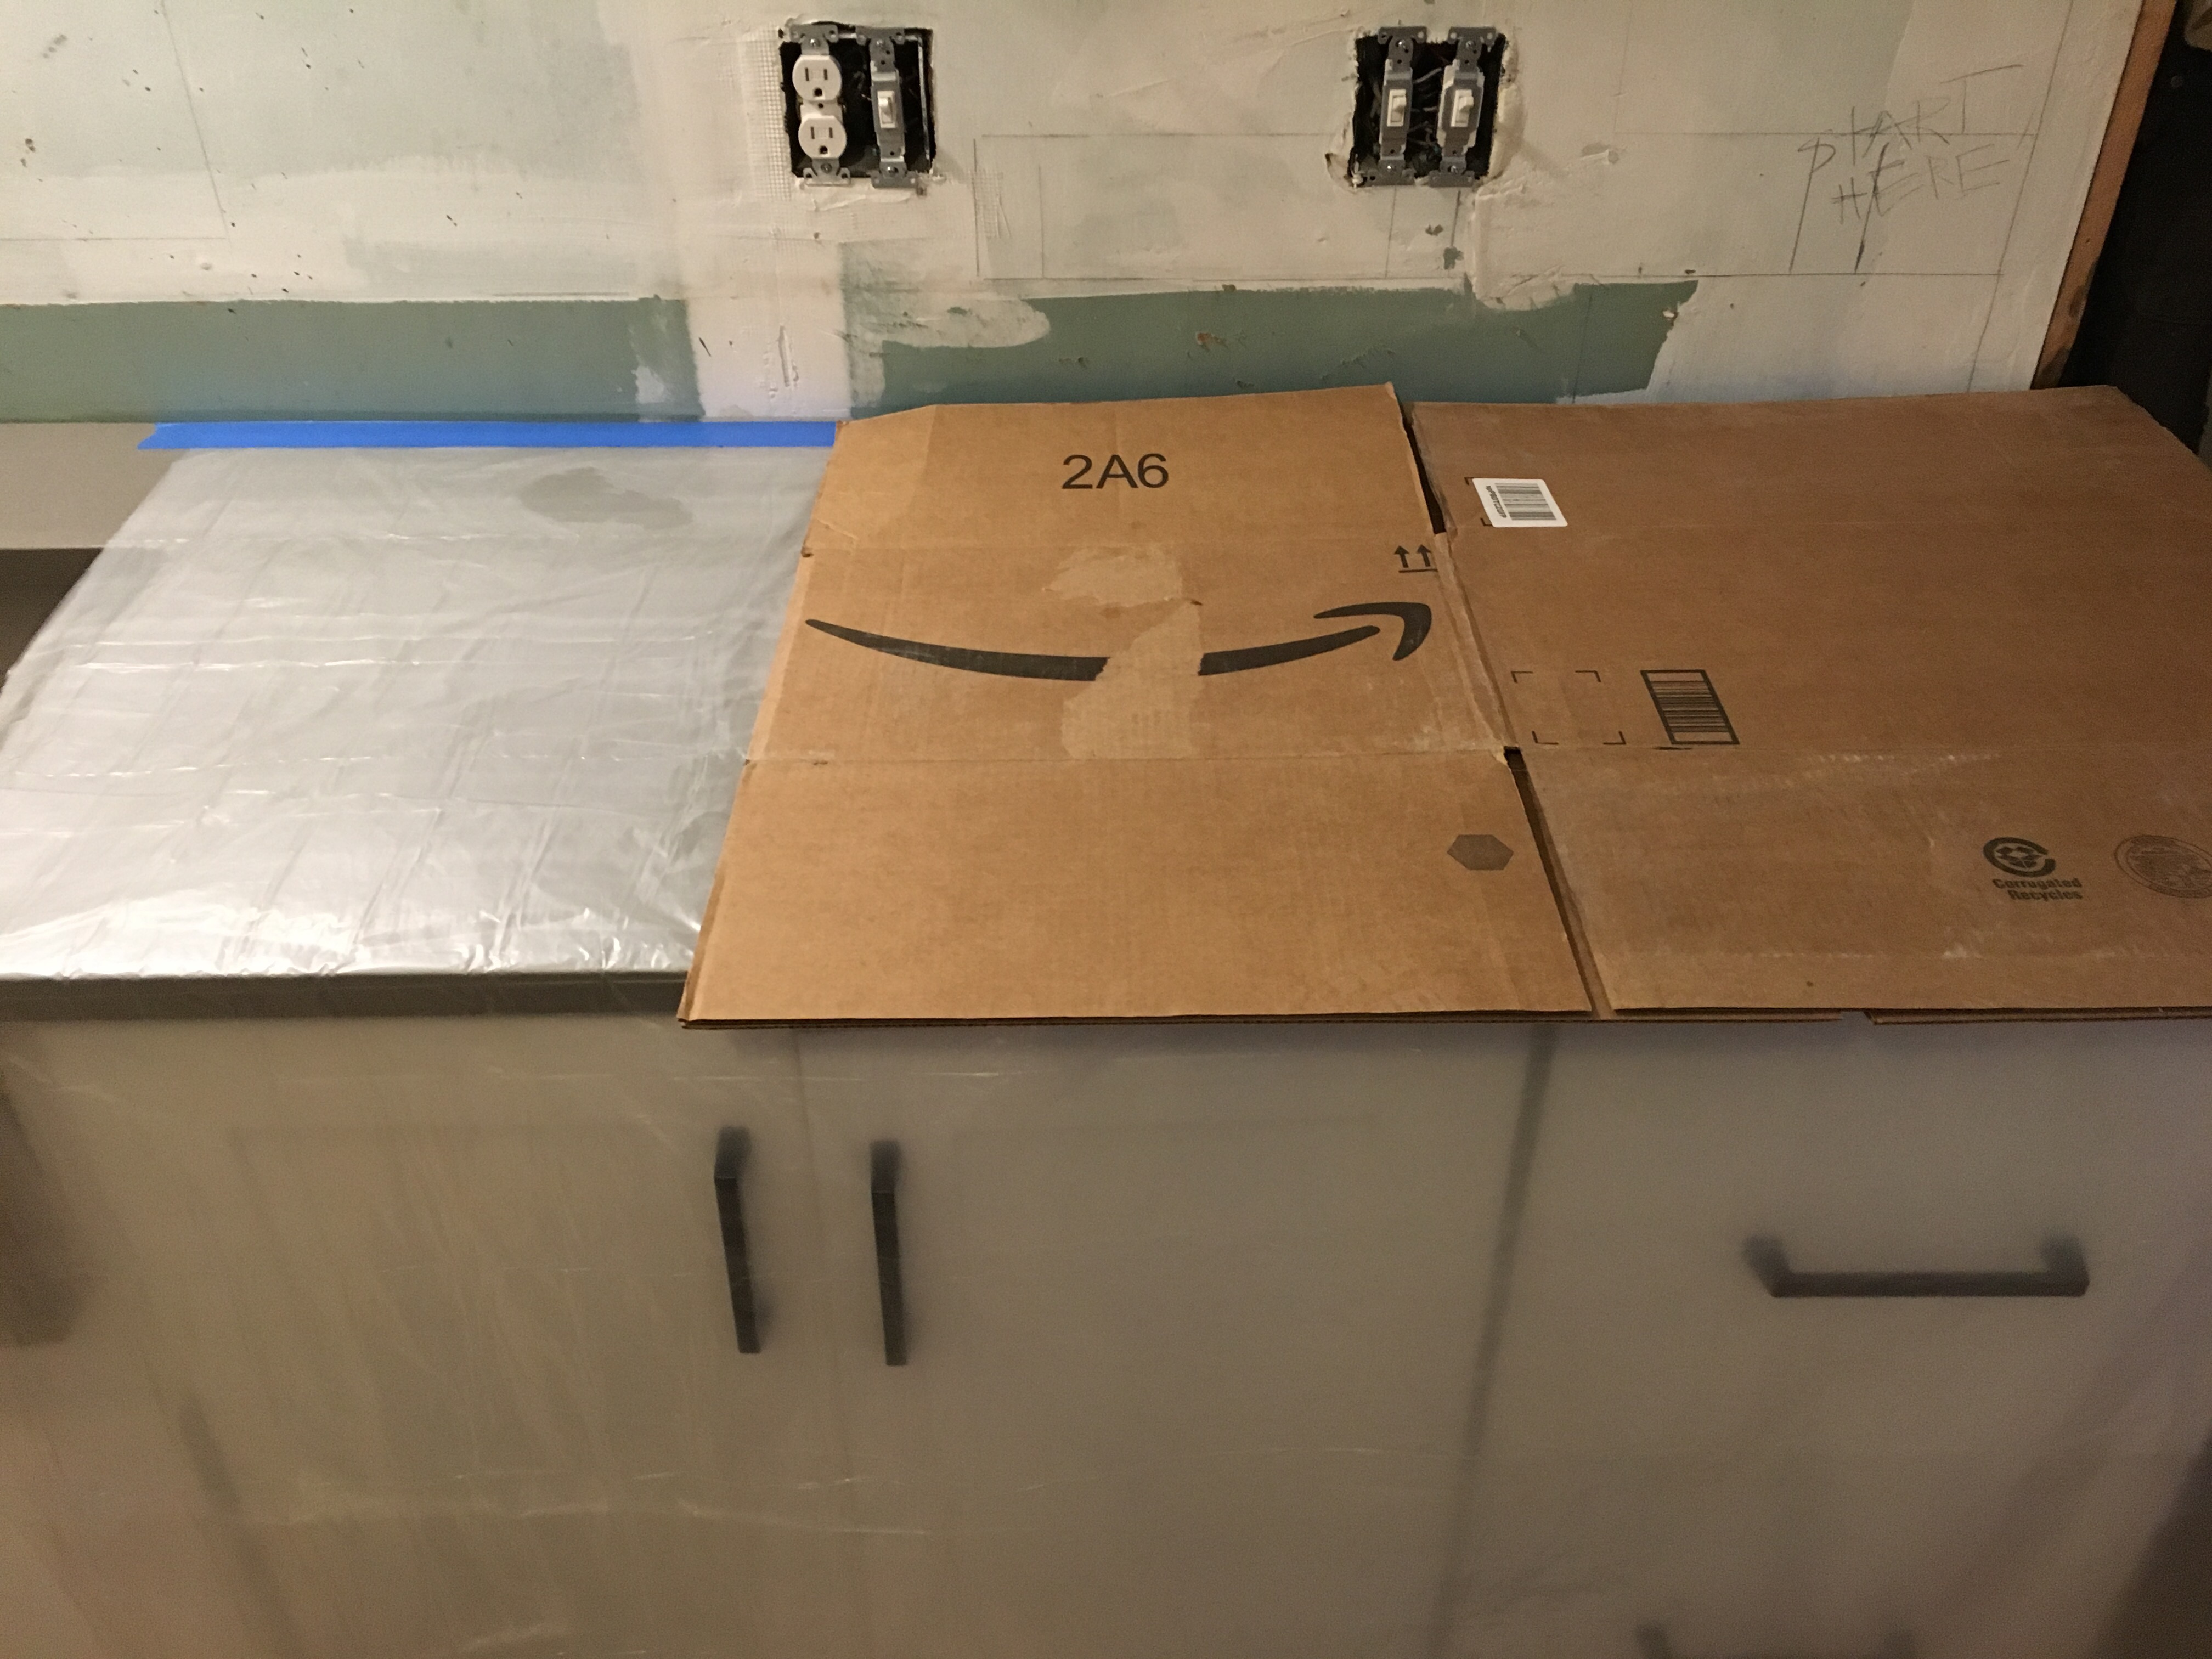
Step 1: Prep. Clean wall. Remove plug and switch covers. Clean all junk off countertop. Cover and protect countertop. Gather supplies (tile, spacers, mastic, trowel).


The tile arrived and is gorgeous!! And broken. Ugh. But I love it!! It was packed amazingly well…I’m talking three boxes packed inside each other like Russian nesting dolls, each one wrapped in layers of bubble wrap on all sides. But somehow, there are cracked and broken tiles in three of the five shipments (that’s a total of 15 boxes to ship 5 boxes of tile. crazy.). I hope I have enough whole ones to make this wall happen!!

Step 2: Figure out how to work the wet saw, a loaner from my friend Bruce. First Lesson: It is called a WET saw for a reason. Wear goggles because it sends a spray of water directly into your face. And wear a raincoat because you will get soaked. And gloves. And cover your hair because there are tiny slivers of tile in that spray of water and they will cut you and you don’t want that happening in your hair. Avoid wiping the water off your face or using your gloved hands to touch your skin because you will cut yourself.

So before putting any tile on the wall, I “dry fit” the tiles and figured out the cuts I needed to make to fit around the first outlet on the wall.

Success!! Go me!!

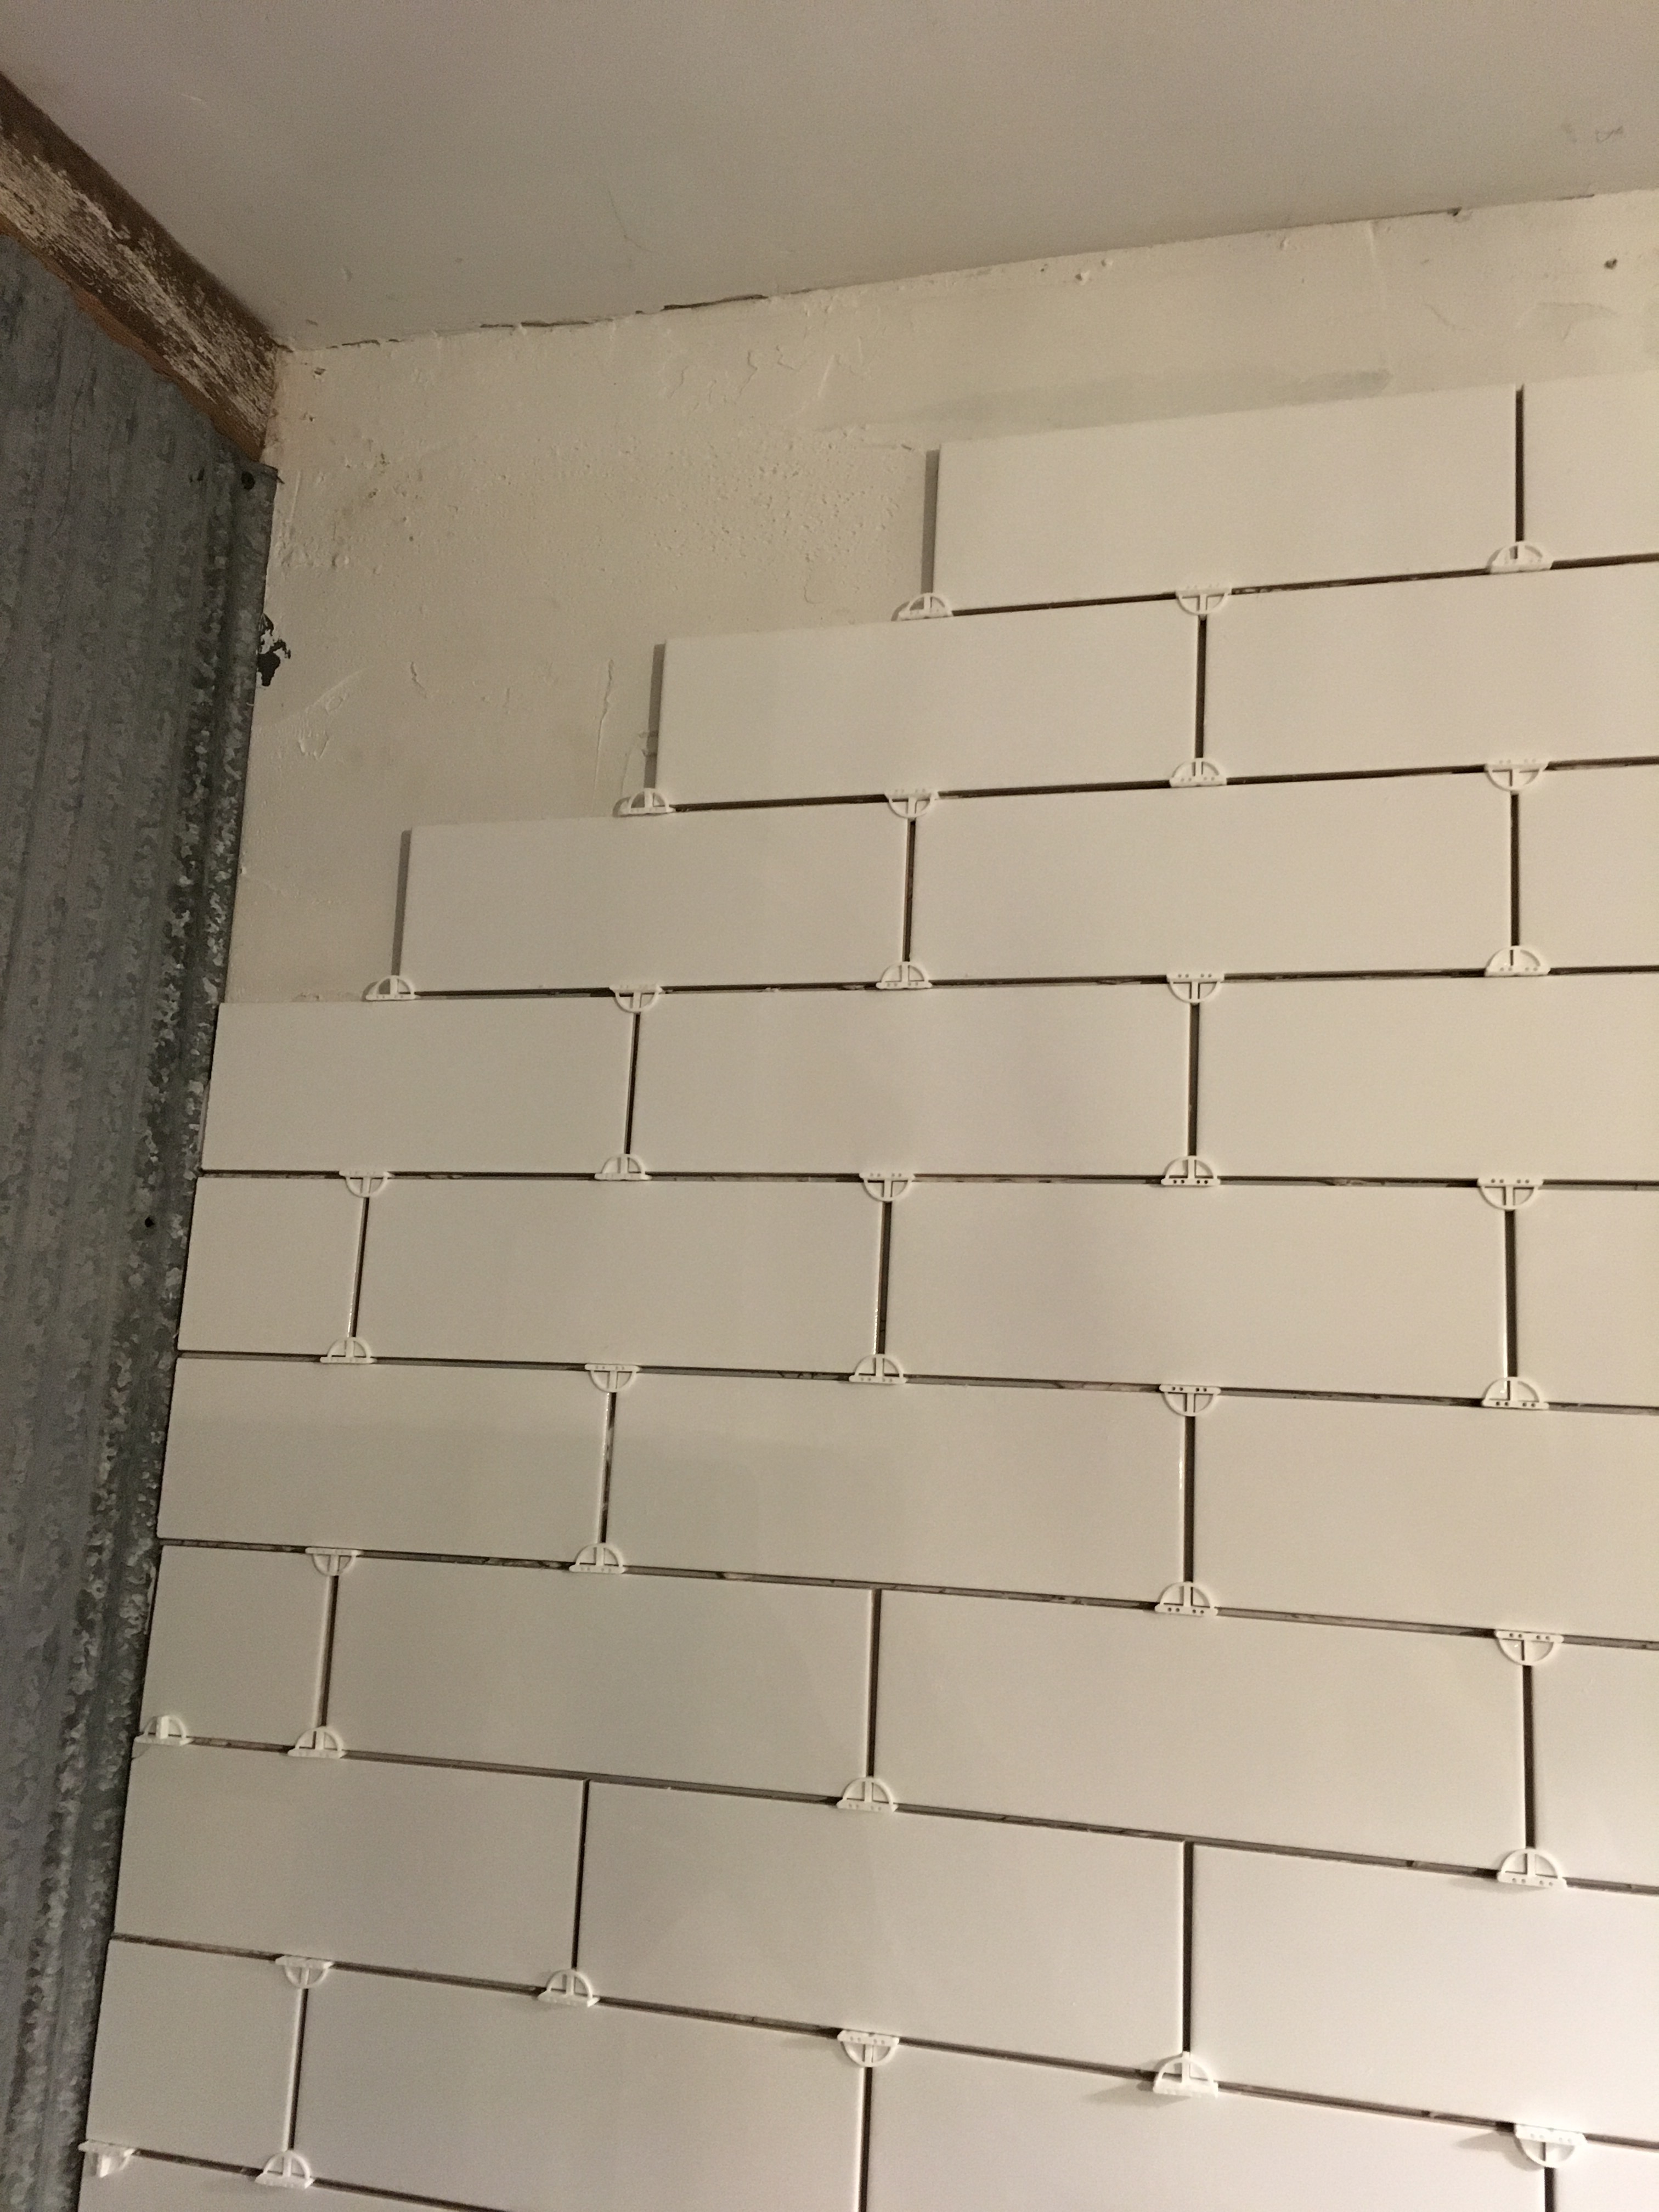
Step 3: Start installing! Mastic on the wall, trowel it so it looks like you combed through it, back butter the tile, press it to the wall. Look at that! My cuts fit!

And, like Forest Gump, I just kept going!
After several hours of installing, I ran out of my T spacers. I had NO idea how completely necessary these babies are. I went to the closest hardware store to restock (30-minute round trip). No luck. They didn’t have the T spacers! They only had these little Xs. See the difference below…

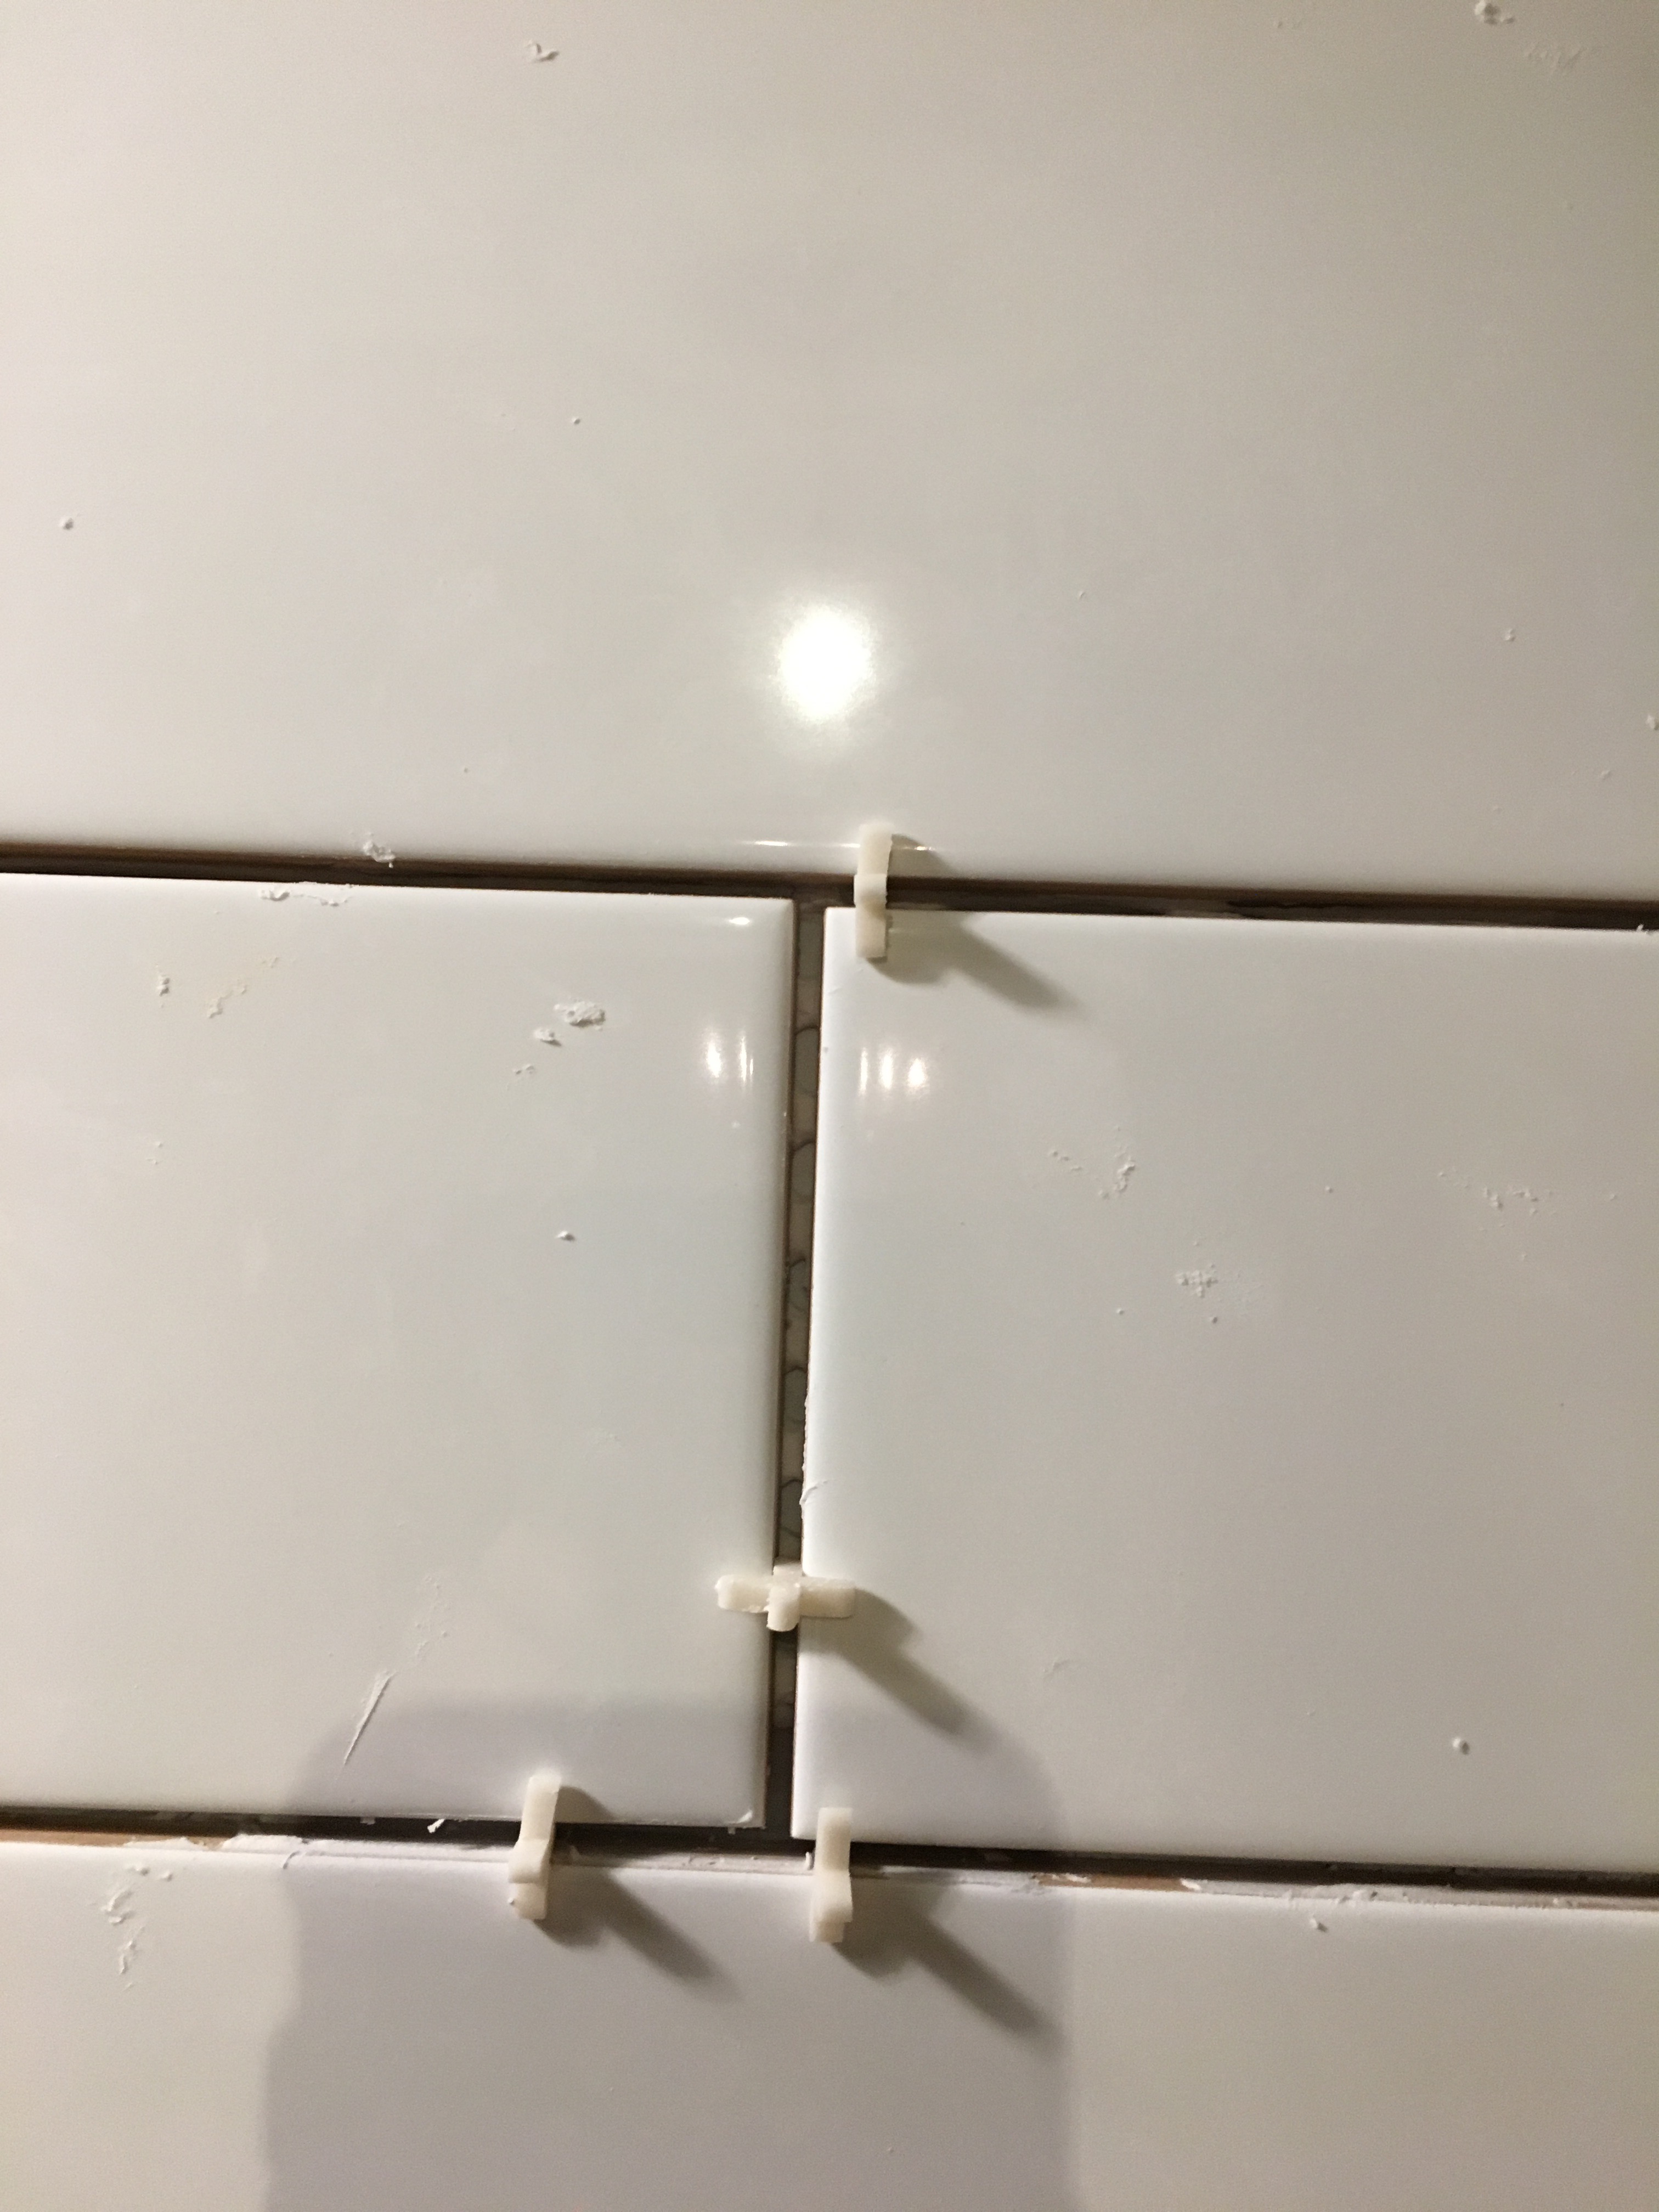
Second Lesson: The X spacers are bullshit. Don’t go there. Make the drive to Lowe’s (in my case, a 90-minute round trip) and get the amazing T-spacers. After about an hour of fighting these stupid X things, I threw in the trowel (ha!) and called it a night. The next morning I was out the door to Lowe’s.
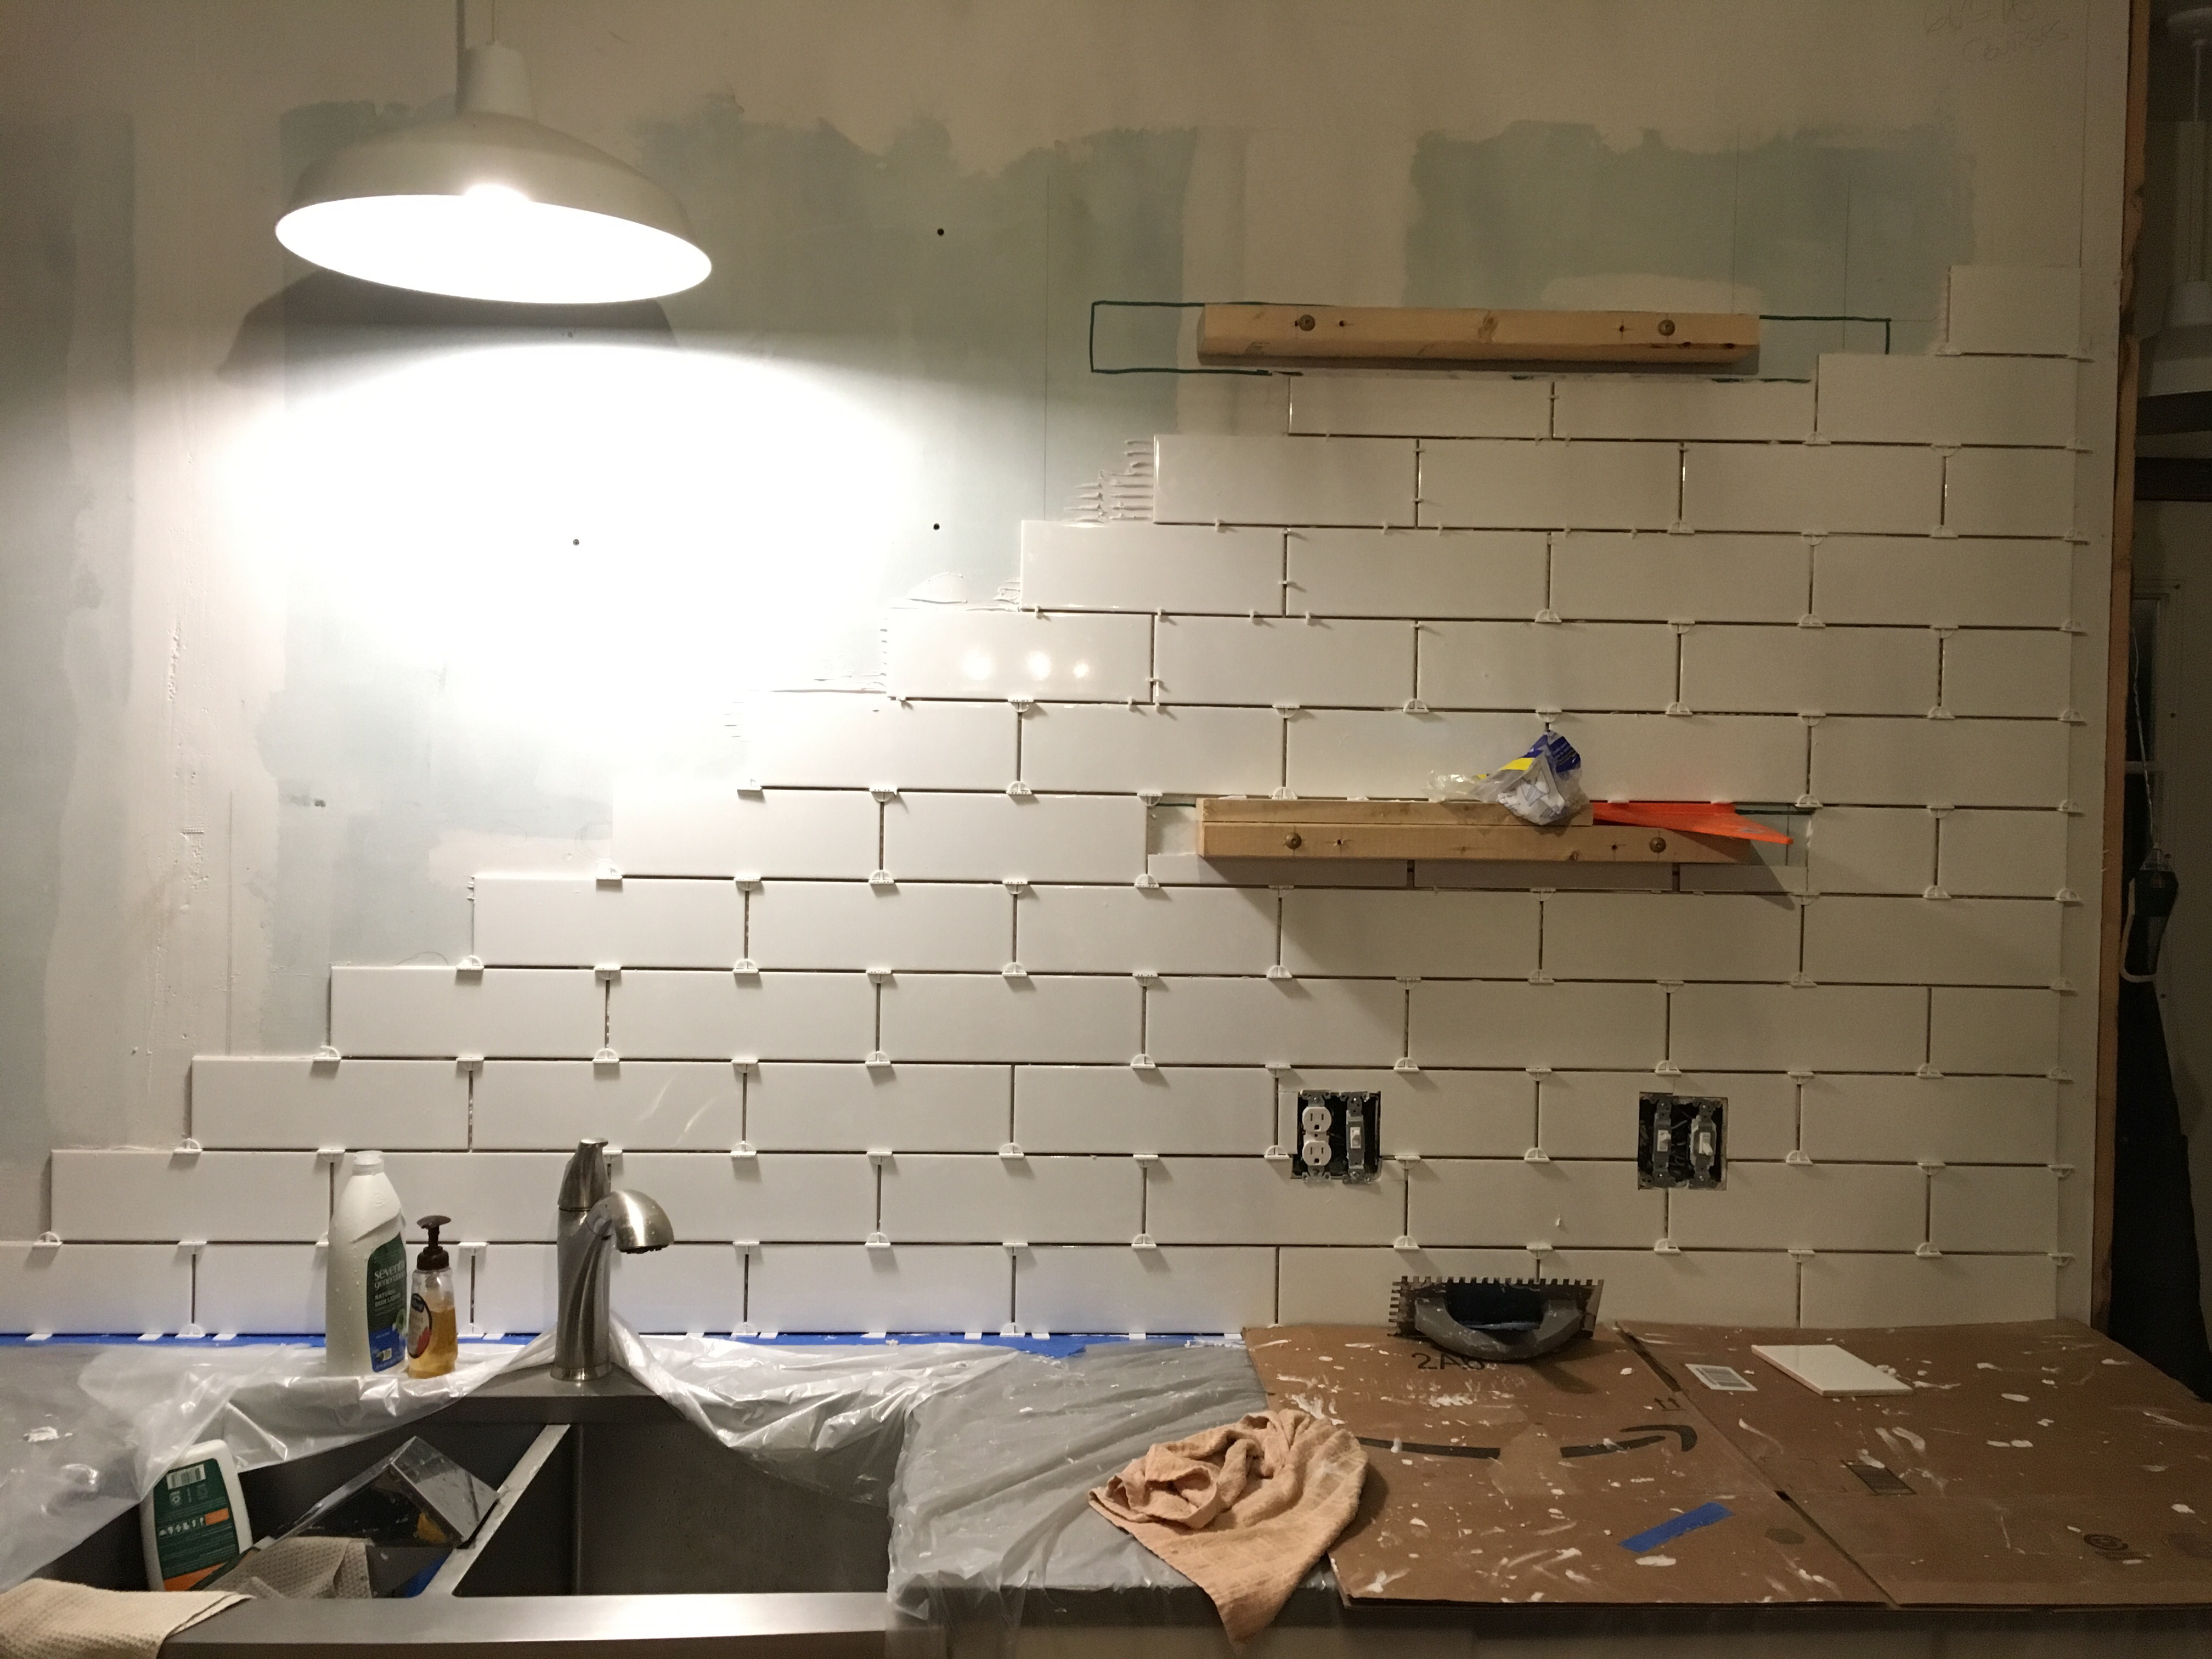
When I got home, the work continued…

This job is not for sissys. I thought it would take a day. By day three I was ready to be done!
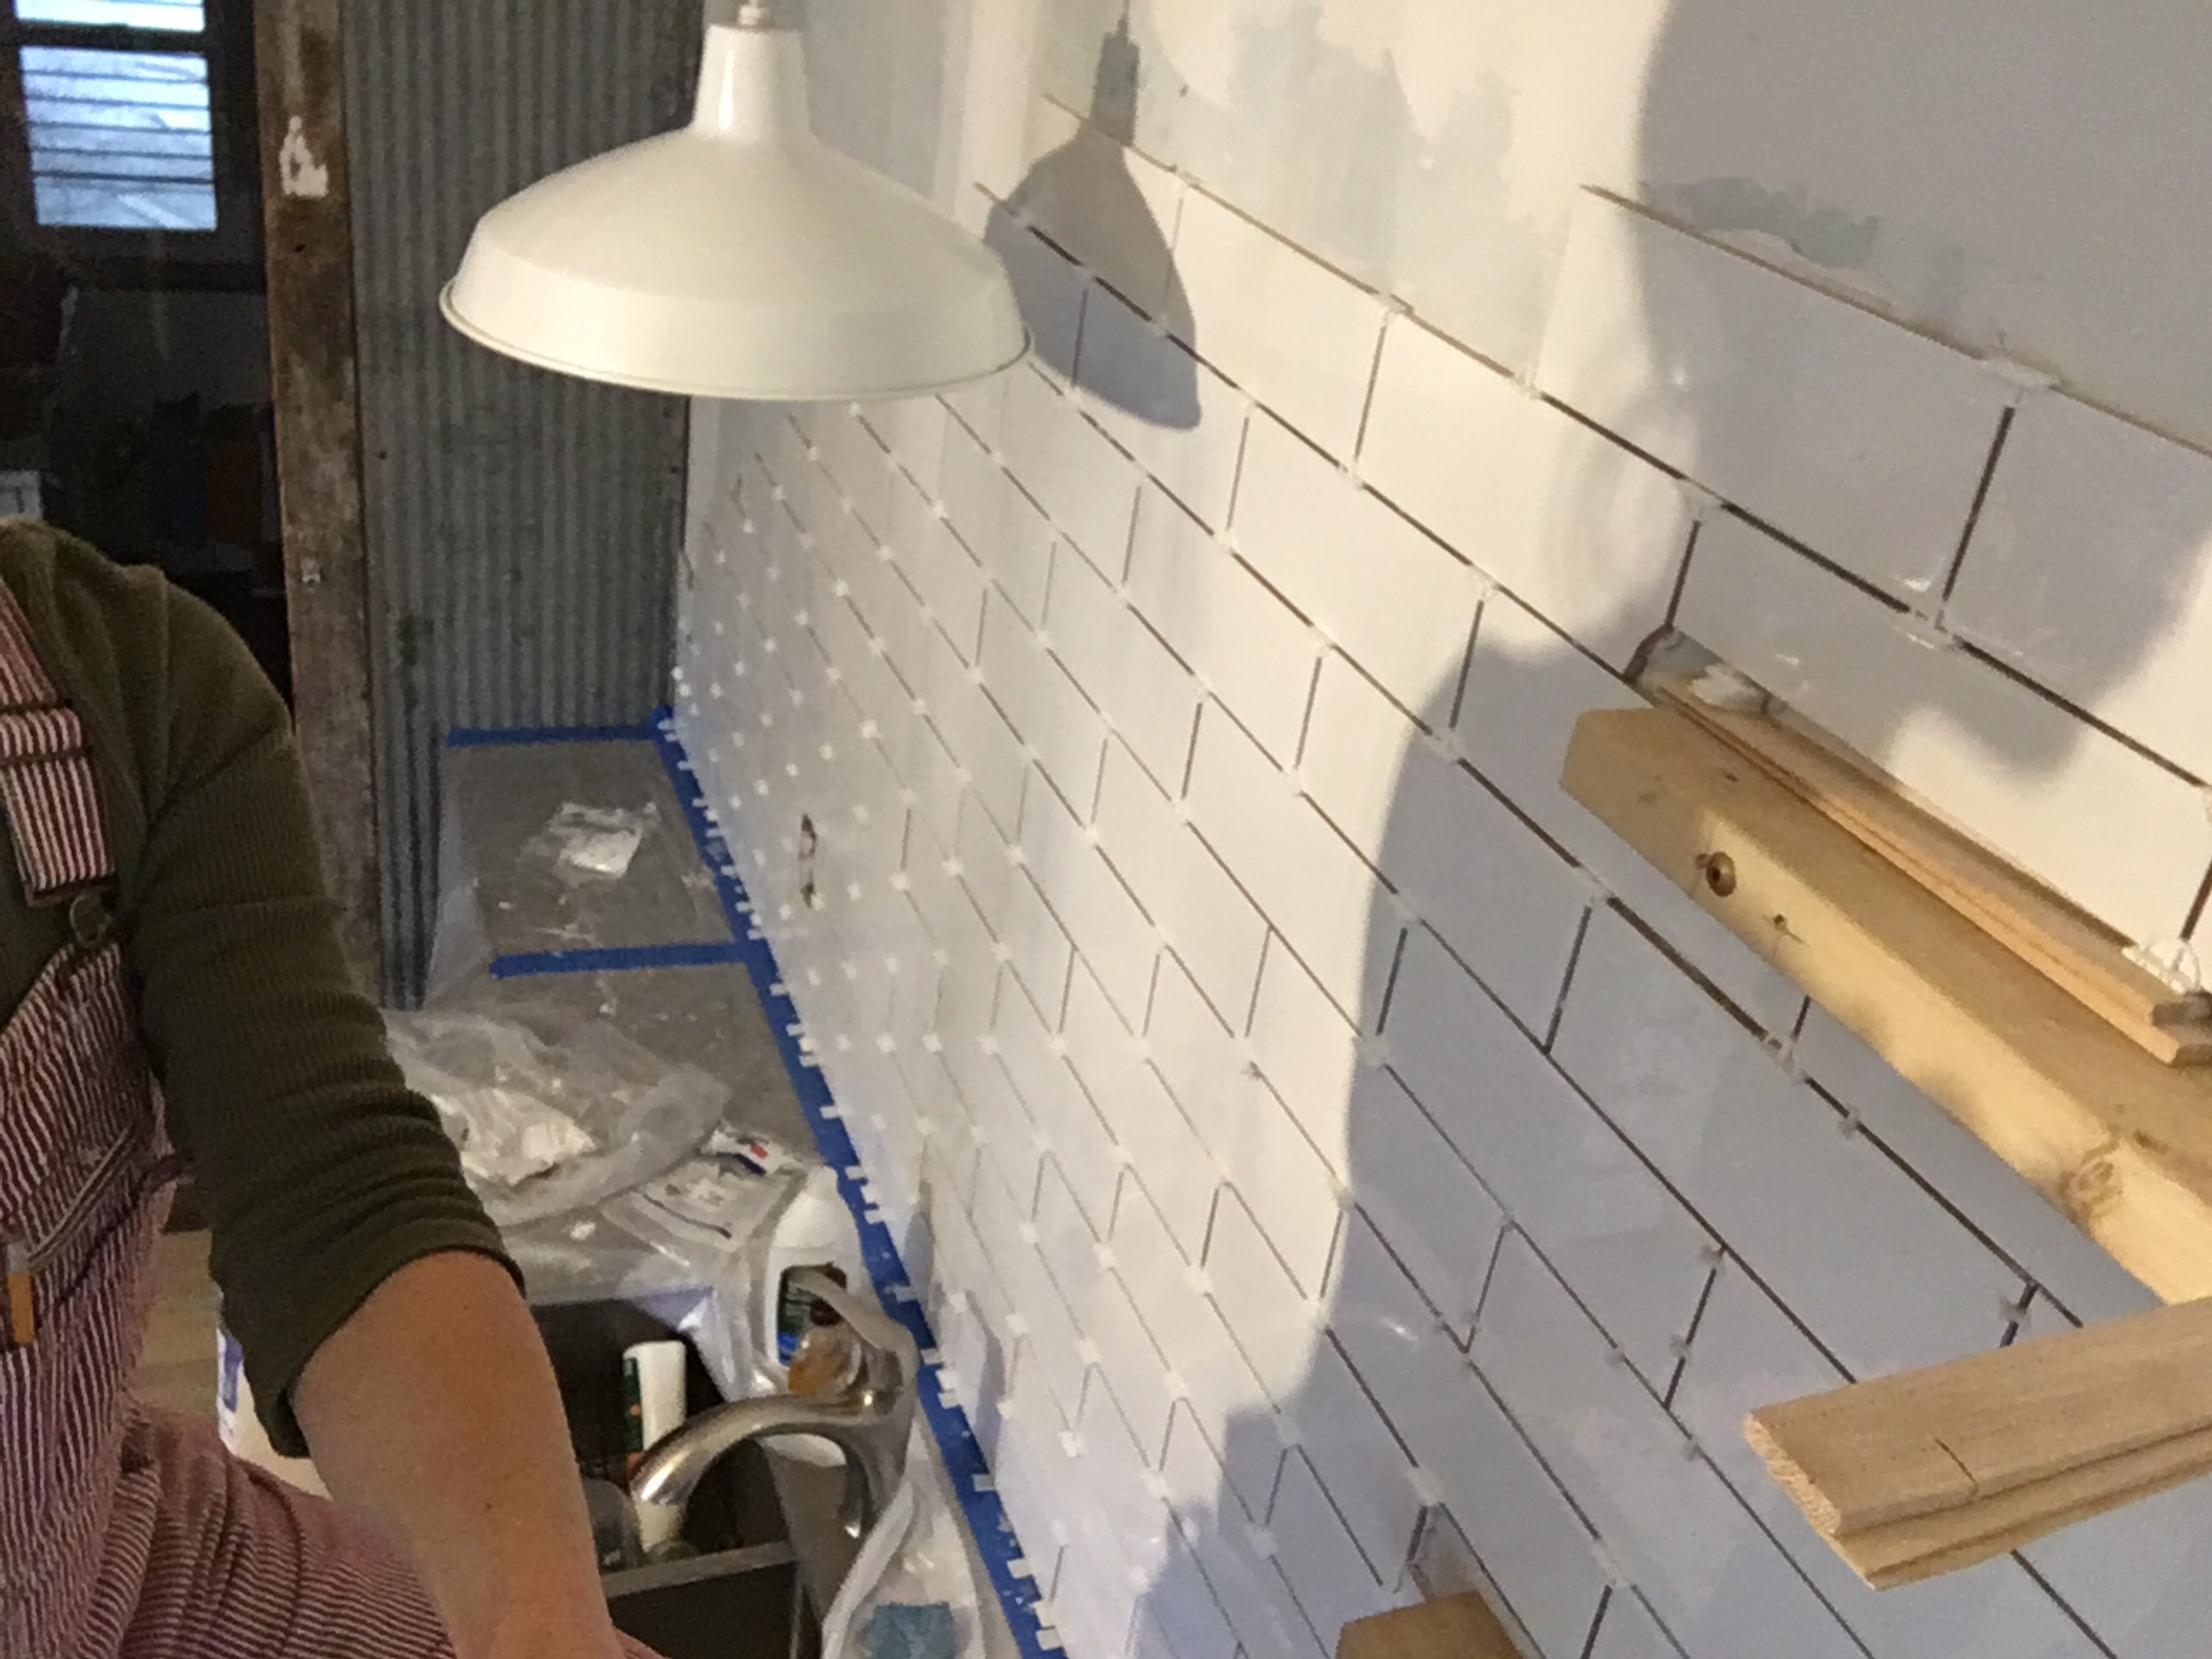
I got lots of ladder time on that last day. It gives you new perspective. And shows you how dirty your light fixtures are.
By Sunday night, I was placing the last few tiles…
And finally DONE!!!

Well, not totally done. I’m counting it as a success because all those tiles stayed stuck to the wall and (except for one…because of those stupid X spacers) they are in straight lines and at right-angles to each other and (for the most part) perfectly placed. The installation took much longer than I expected, so I decided to wait on the grout until Ben was back at home.
Funny side note: Throughout the weekend, when I wasn’t working on the wall—was in another room, or sleeping—I kept hearing tiles fall off the wall and crashing to the countertop. My imagination. That never actually happened, thank goodness. That mastic is crazy-sticky stuff!
One week later: Adventures in Grout!
I went to a specialty tile store to get grout with more latex than the regular grout because of the temperature swings in our house. We don’t have climate control (no AC and no furnace; we use a wood stove to heat the house) so I felt like we needed something that was outdoor rated. They sold me two buckets of powder.

Ben and I got a 5 gallon bucket, put some water in it (following the instructions for mixing the grout), and, using a drill and paddle mixer, we mixed…added more powder…mixed… added…mixed. Let it sit. Still too watery. More powder…mix…more…mix…more. Let it sit. Not “toothpaste” yet. Let it sit some more. Next thing I know, we have used all of both buckets of powder and our grout was still the consistency of cake batter, even after sitting for almost 45 minutes. Not good. And $80 down the drain.

Ben ventured out to the closest hardware store (30 minute round-trip) to get more grout while I stayed at home and fumed and cleaned random drips and finger prints of mastic off the tiles. Lucky us, they had pre-mixed grout. Ben texted me…”What do you think of Delorean Gray?” I responded, “What color is that?” He said, “Gray.” Sigh. “Almost black? Almost white? Somewhere in the middle?” He said, “Middle.” I said, “Close to the countertop color?” Somehow, (he doesn’t use emojis) he texted me a shrug and an eye roll. “Do it,” I said. I’m so over it.

He came home with these two buckets of Delorean Gray and guess what? It is exactly the color of the countertops. SCORE!
Step 4: Apply grout using a float (a soft-sided trowel). “Apply” means shove it in the cracks by scraping and pushing with the float.

Step 5: You want to follow about 5-10 minutes behind the float with a big sponge to clean the grout off the face of the tiles. We quickly got into a rhythm…Ben working the float, me the sponge.


I definitely felt like I was just making a bigger mess. At first, I was trying to get things too clean, and by doing so I put way too much liquid on the wet grout. That just resulted in big drips and grout running down the wall. Ben had to remind me to “just get the grit off” the face of the tile. Then, every hour or so after, I would wipe it all down again. And I’m not talking a quick swipe. It would take me 20-30 minutes each time I wiped down the wall.

But finally, by bedtime (about 8 hours after starting the project and about 5 hours after the grout finally touched the wall), the wall was looking good and pretty clean!
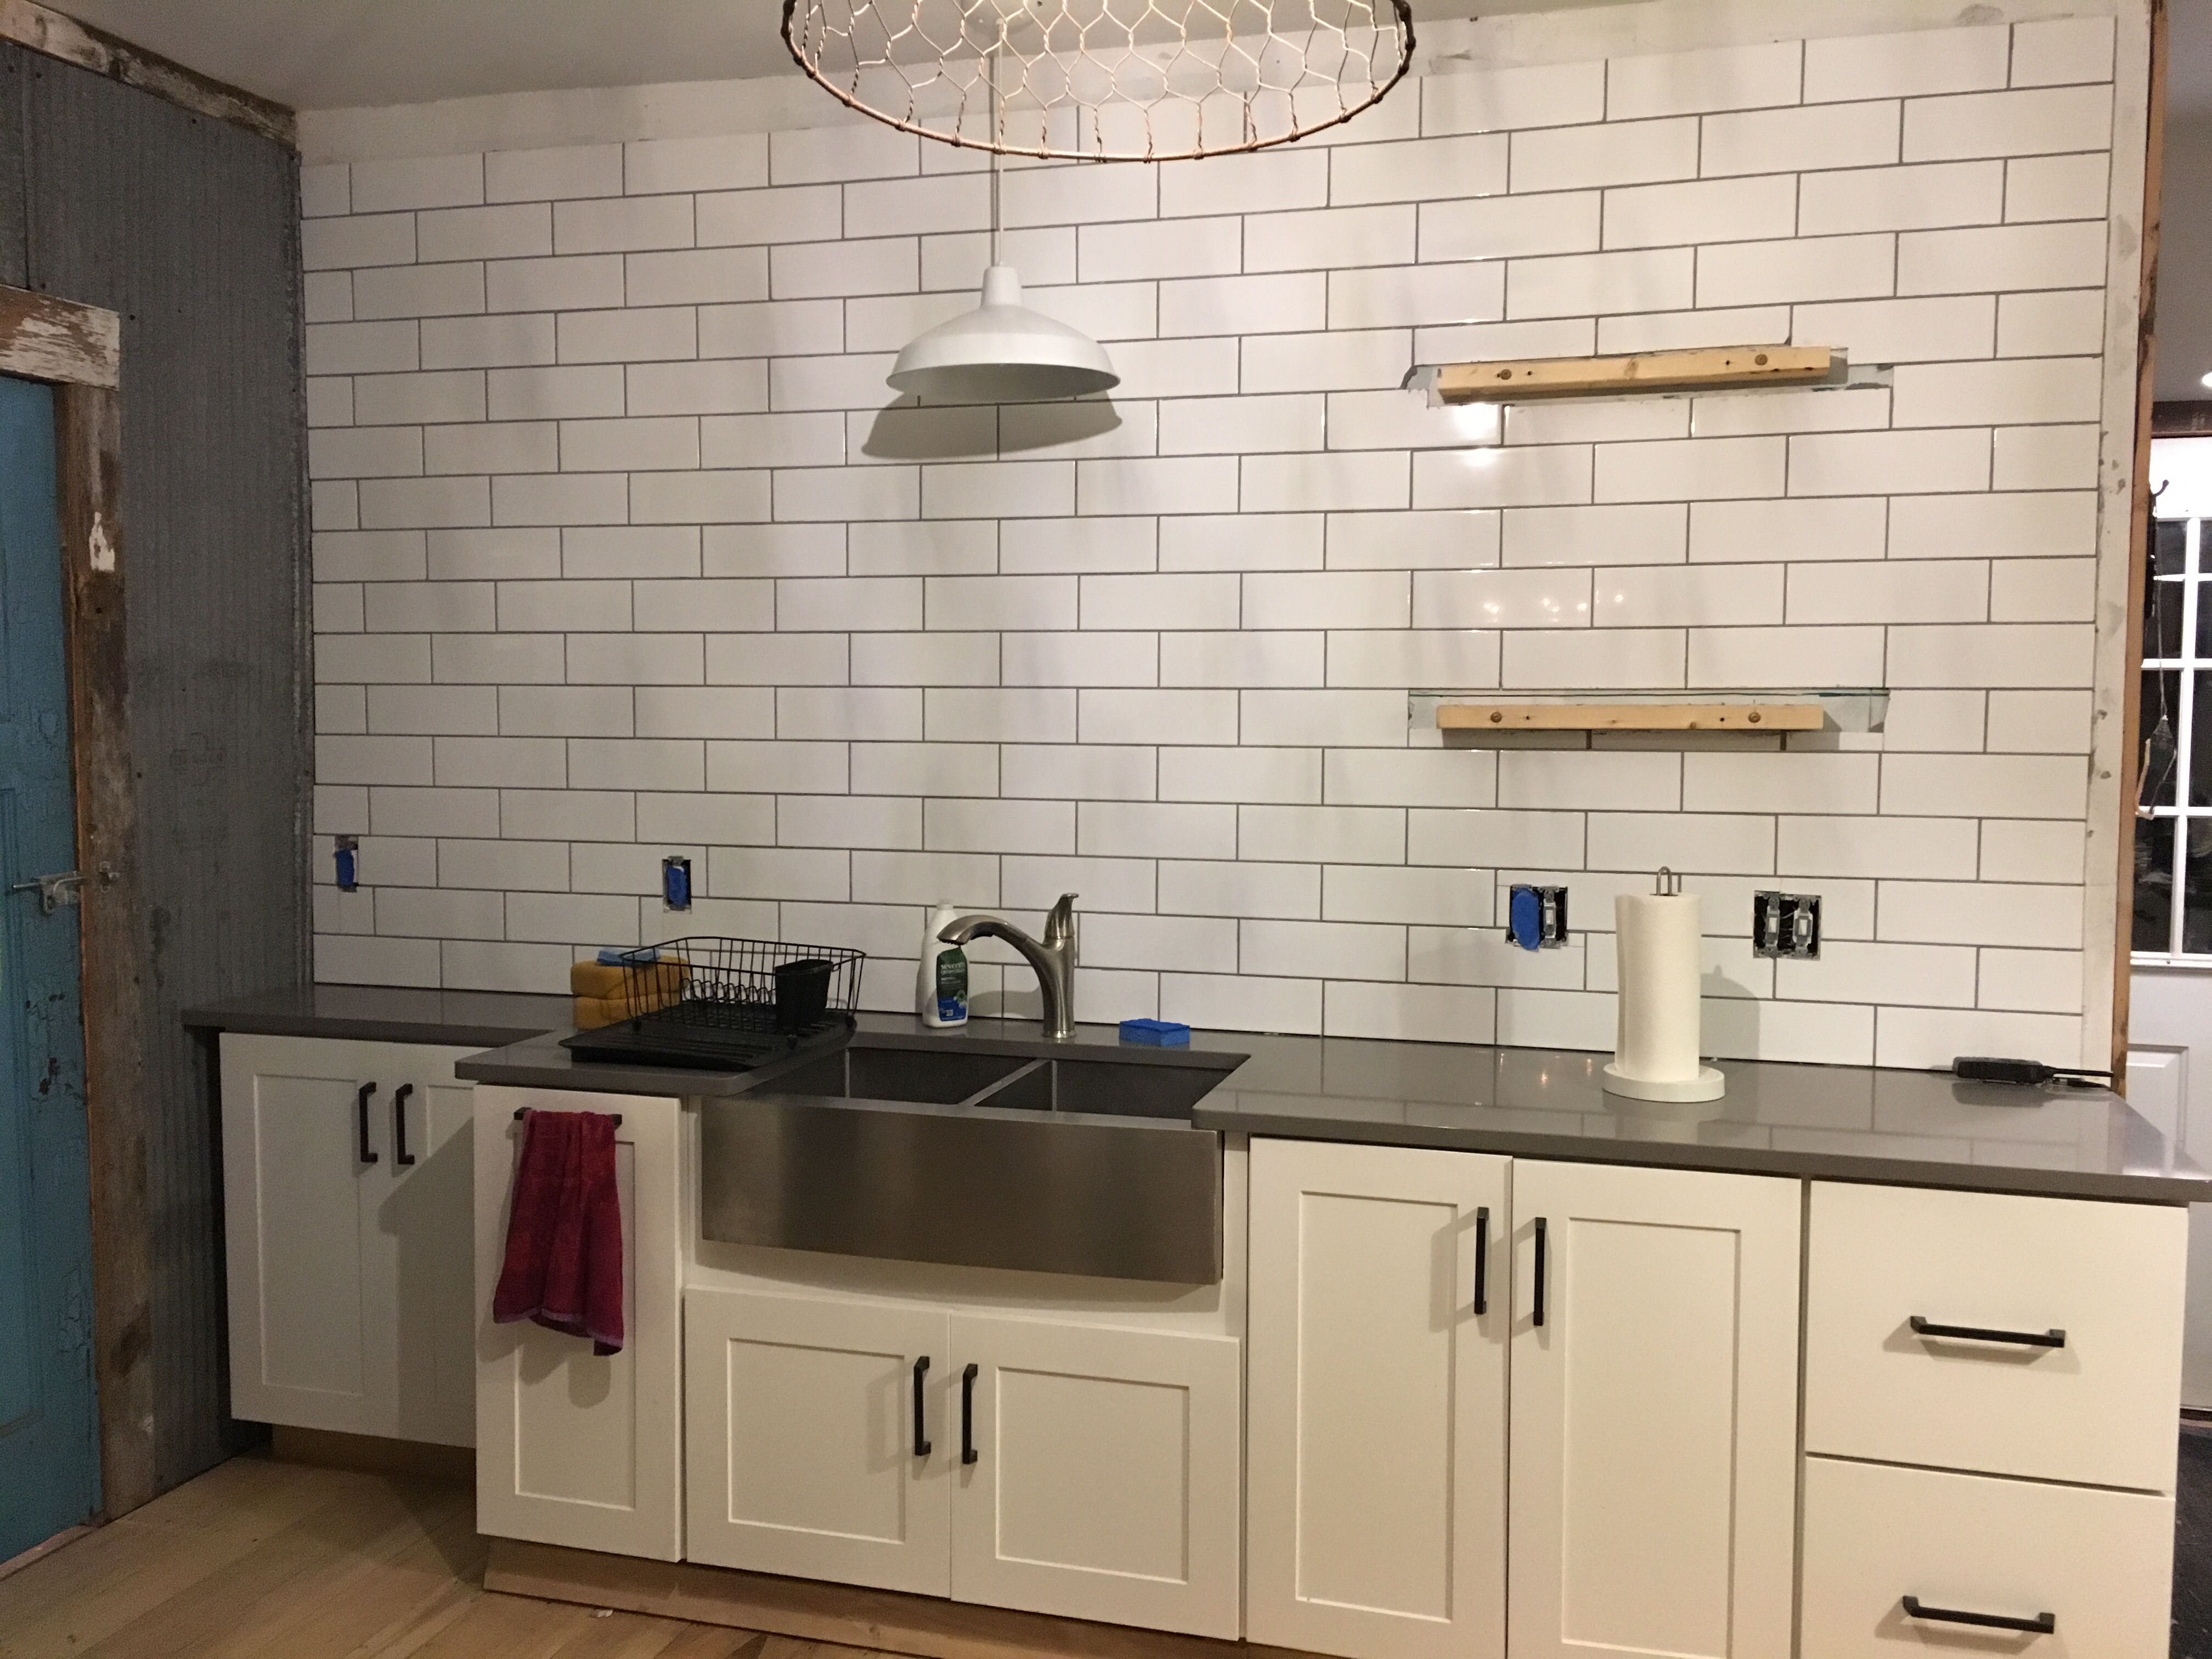
The next morning, I wiped it down again and holy cow! Beginner’s luck? I realize I am totally biased and not at all an expert, but I think it looks pretty darn good!
There’s definitely still more to do…the trim boards have to go back up; the floating shelves need to be built and installed; and the bookcase that Ben will build to sit atop the recessed cabinet base on the left needs to appear. But hey—so far so good!
And not a single tile has fallen off the wall yet. Success!
P.S. A big big thank you to Amy for all the moral support and encouragement! Thanks to Bruce for the loaner saw. And I did have enough unbroken tiles (barely…there were just 6 left over) to finish the wall. I did get a refund from the Amazon retailer for the broken ones.

Looks fabulous!! You did an awesome job…tiling can be interesting. LOL I usually am sticking it on the wall (and then grouting) while hubby does the cutting.
Pingback: 2016: Year in Review | Cockamamy Farm