

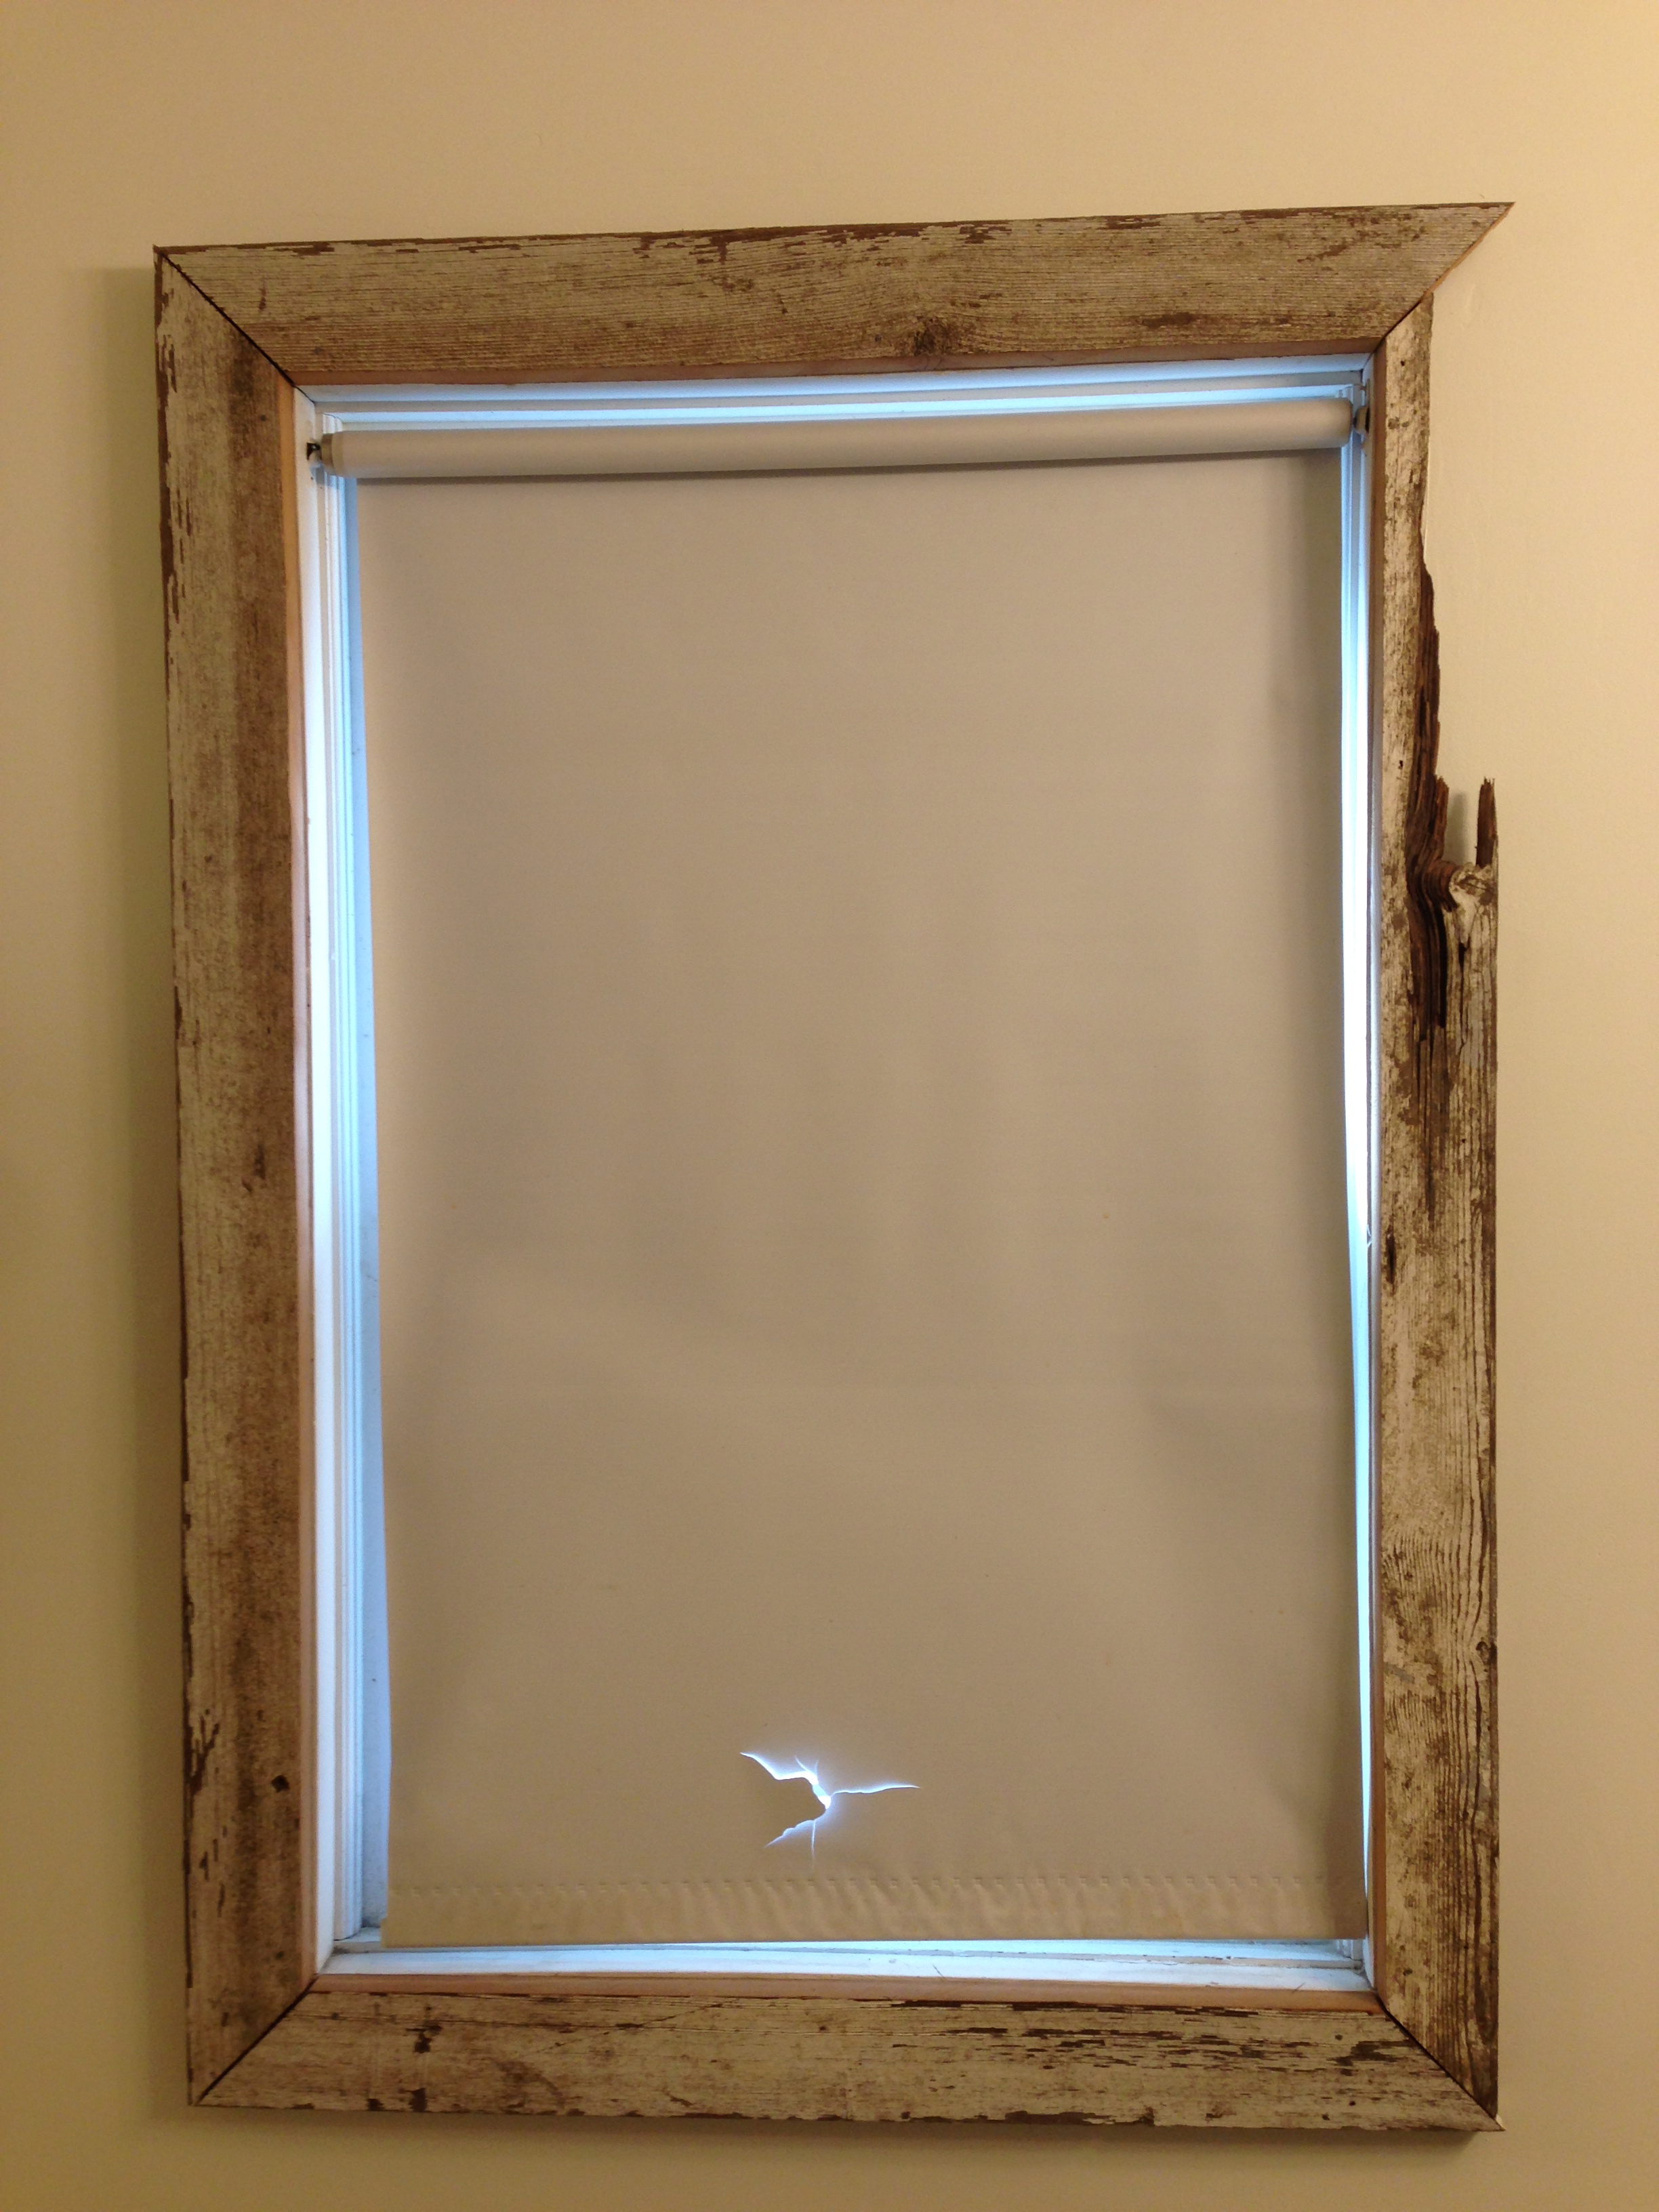
As with any house that has been lived in by elderly folks for decades upon decades, we inherited some really choice window treatments. Old, stained lace valances, some lovely sheer drapes with green leaves and vines printed on them (touching the fabric revealed that it was likely highly flammable). A couple of windows, including the bathroom’s, seen below in one of our very early renovation photos, sported who-knows-how-old roller shades (seen here behind an utterly fantastic frilly yellow number).

You can see where the original wall was, where we painted on the new wall and the new wall framed up.
For a while, I’ve been wanting to create a window treatment out of my former shower curtain. Its a fabulous modern medallion pattern I found a few years ago at World Market. I still love the pattern and I knew it would be a fab fit in our current bath with its gray faux bois shower tile and timeless hexagonal floor tile (Note: This link is to a post of the early stages of the bathroom’s makeover and the walls were unfinished purple drywall. The walls are now painted the same off-white as the other rooms.) And since we designed the shower to have an opening without a curtain, I’ve been thinking a window treatment was the perfect way to recycle the fabric shower curtain.
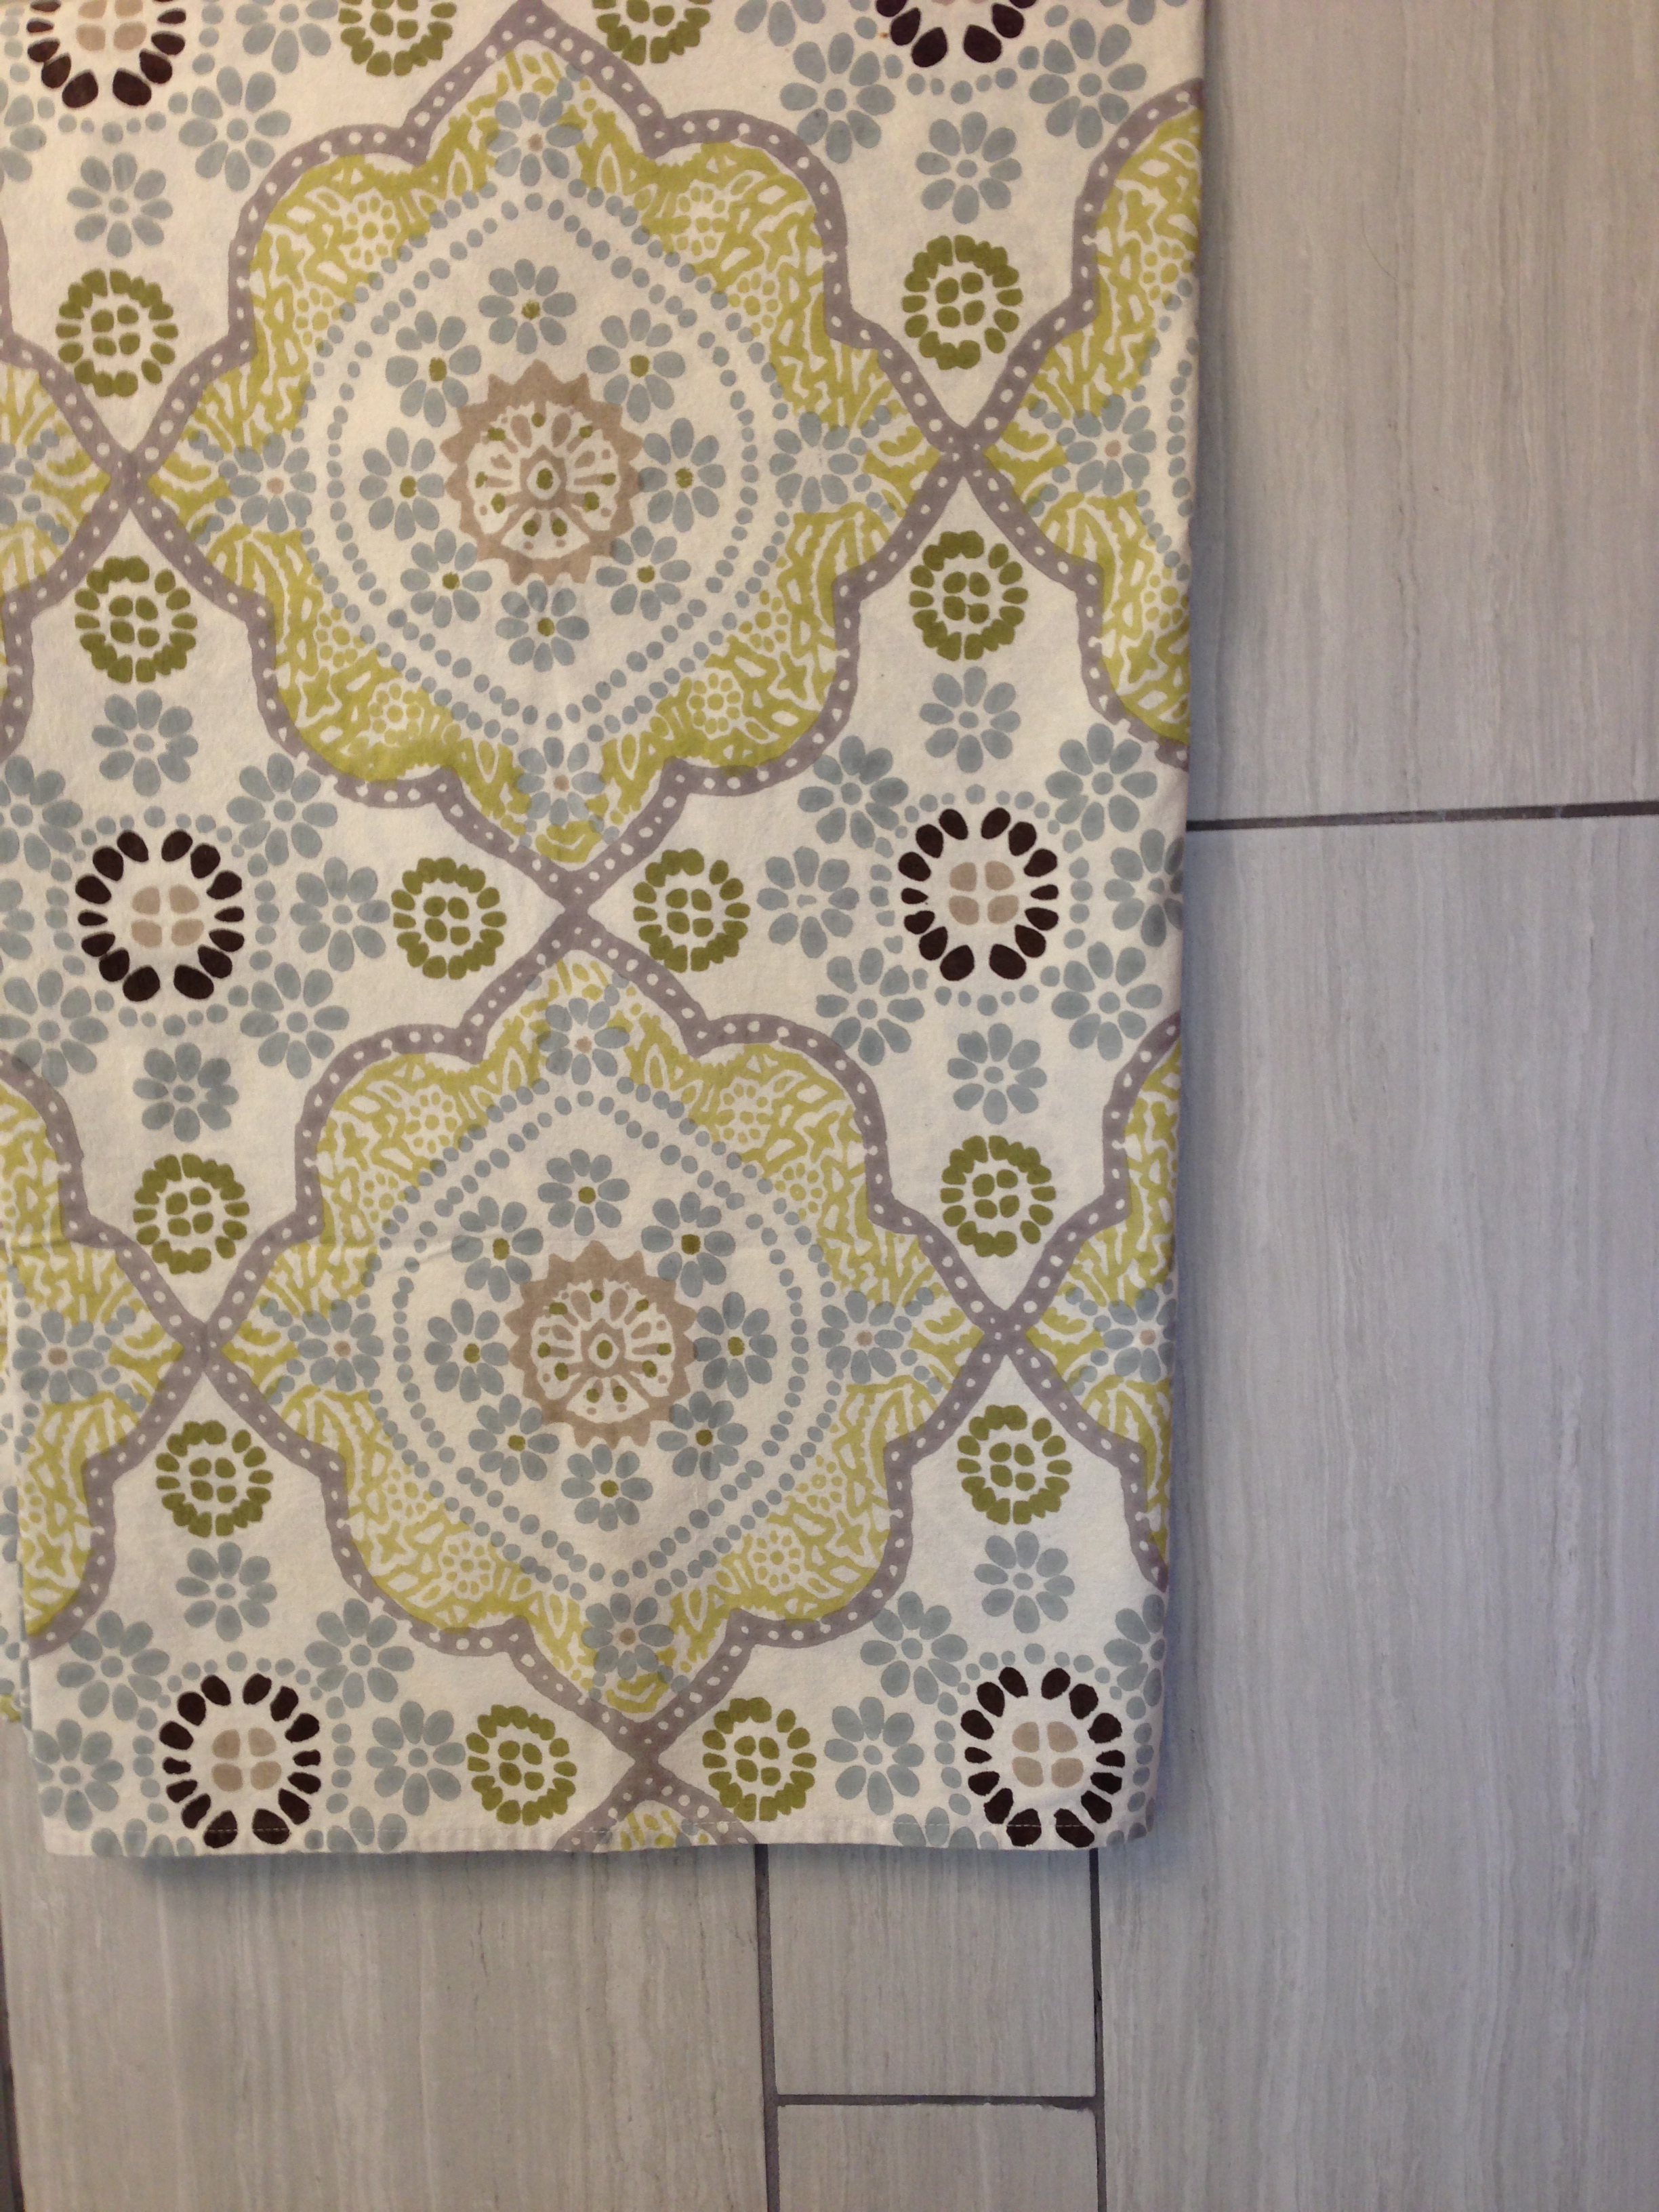
Here’s a look at the fabric and the tile together. A good match!
But what style of window dressing? Long panels wouldn’t work—the window is right beside the toilet. And short panels aren’t really my thing. I could have a Roman shade made by a very talented friend. But ultimately, I decided to flex my crafting muscles and try recovering the old roller shade, even though it had a big tear near the bottom. I’m awfully curious to know what created that shape of hole in the plastic. Any theories?
Here’s the before shot:
First things first, remove the shade from the window frame. Easy enough. But the shade was hung with the shade draping from the back of the roll. I wanted to flip it around so that the fabric would fall over the front of the roll. Here’s why: I didn’t want the roll of white plastic to show, so I needed the pretty fabric to cover it by falling down the front of the roll. Make sense?
In order to hang the shade in its new orientation I had to pry off the hardware and rehang it on the opposite sides of the window frame. Shockingly, the hardware is different for the opposite ends of the roller. Who knew? Luckily, the hardware was tacked up with nails, instead of screws, that had been painted over any number of times. Easy to pry off and tack back up.
I got my work surface (a heavy-duty plastic folding table) set up with all my supplies: shade, fabric, measuring tape, two-foot level, spray mount, fabric glue (which I ended up not needing).

Next, I trimmed off the last five inches of the shade to get rid of the big hole.
 Then, I unrolled the shade to 37 inches, enough to be sure that the fabric would cover the white plastic even when the shade is pulled down past the bottom of the window.
In all of that measuring and marking, I realized that my shade might need a bath. Ewwww.
 After making sure the shade was nice and clean (and therefore glue would stick to it!), I laid my fabric out, using my measuring tape and level to center the pattern. I planned to use a bottom corner of the curtain as my starting point so that I could use the hem as the bottom of the shade where I had cut off the original bottom of the shade.
 At this moment, a girl might want to break out her iron…if she owns one. Which I don’t. So I just used my hands to smooth the fabric where it had been folded for months.
I cut the fabric to the 37-inch length, leaving the bottom hem in tact, and to about six inches wider (three inches each side) than the width of the shade.
I slid a piece of cardboard under the shade’s plastic so that I could spray and attach the fabric without accidentally gluing the fabric to the table. Working in six- to ten-inch sections and starting at the bottom of the fabric and plastic shade, I sprayed both pieces and used my hands to smooth the fabric into place. I removed the cardboard before the spray mount set and my fabric was really stuck to it, and let each section dry for 15 minutes or so before spraying and sticking the next section.
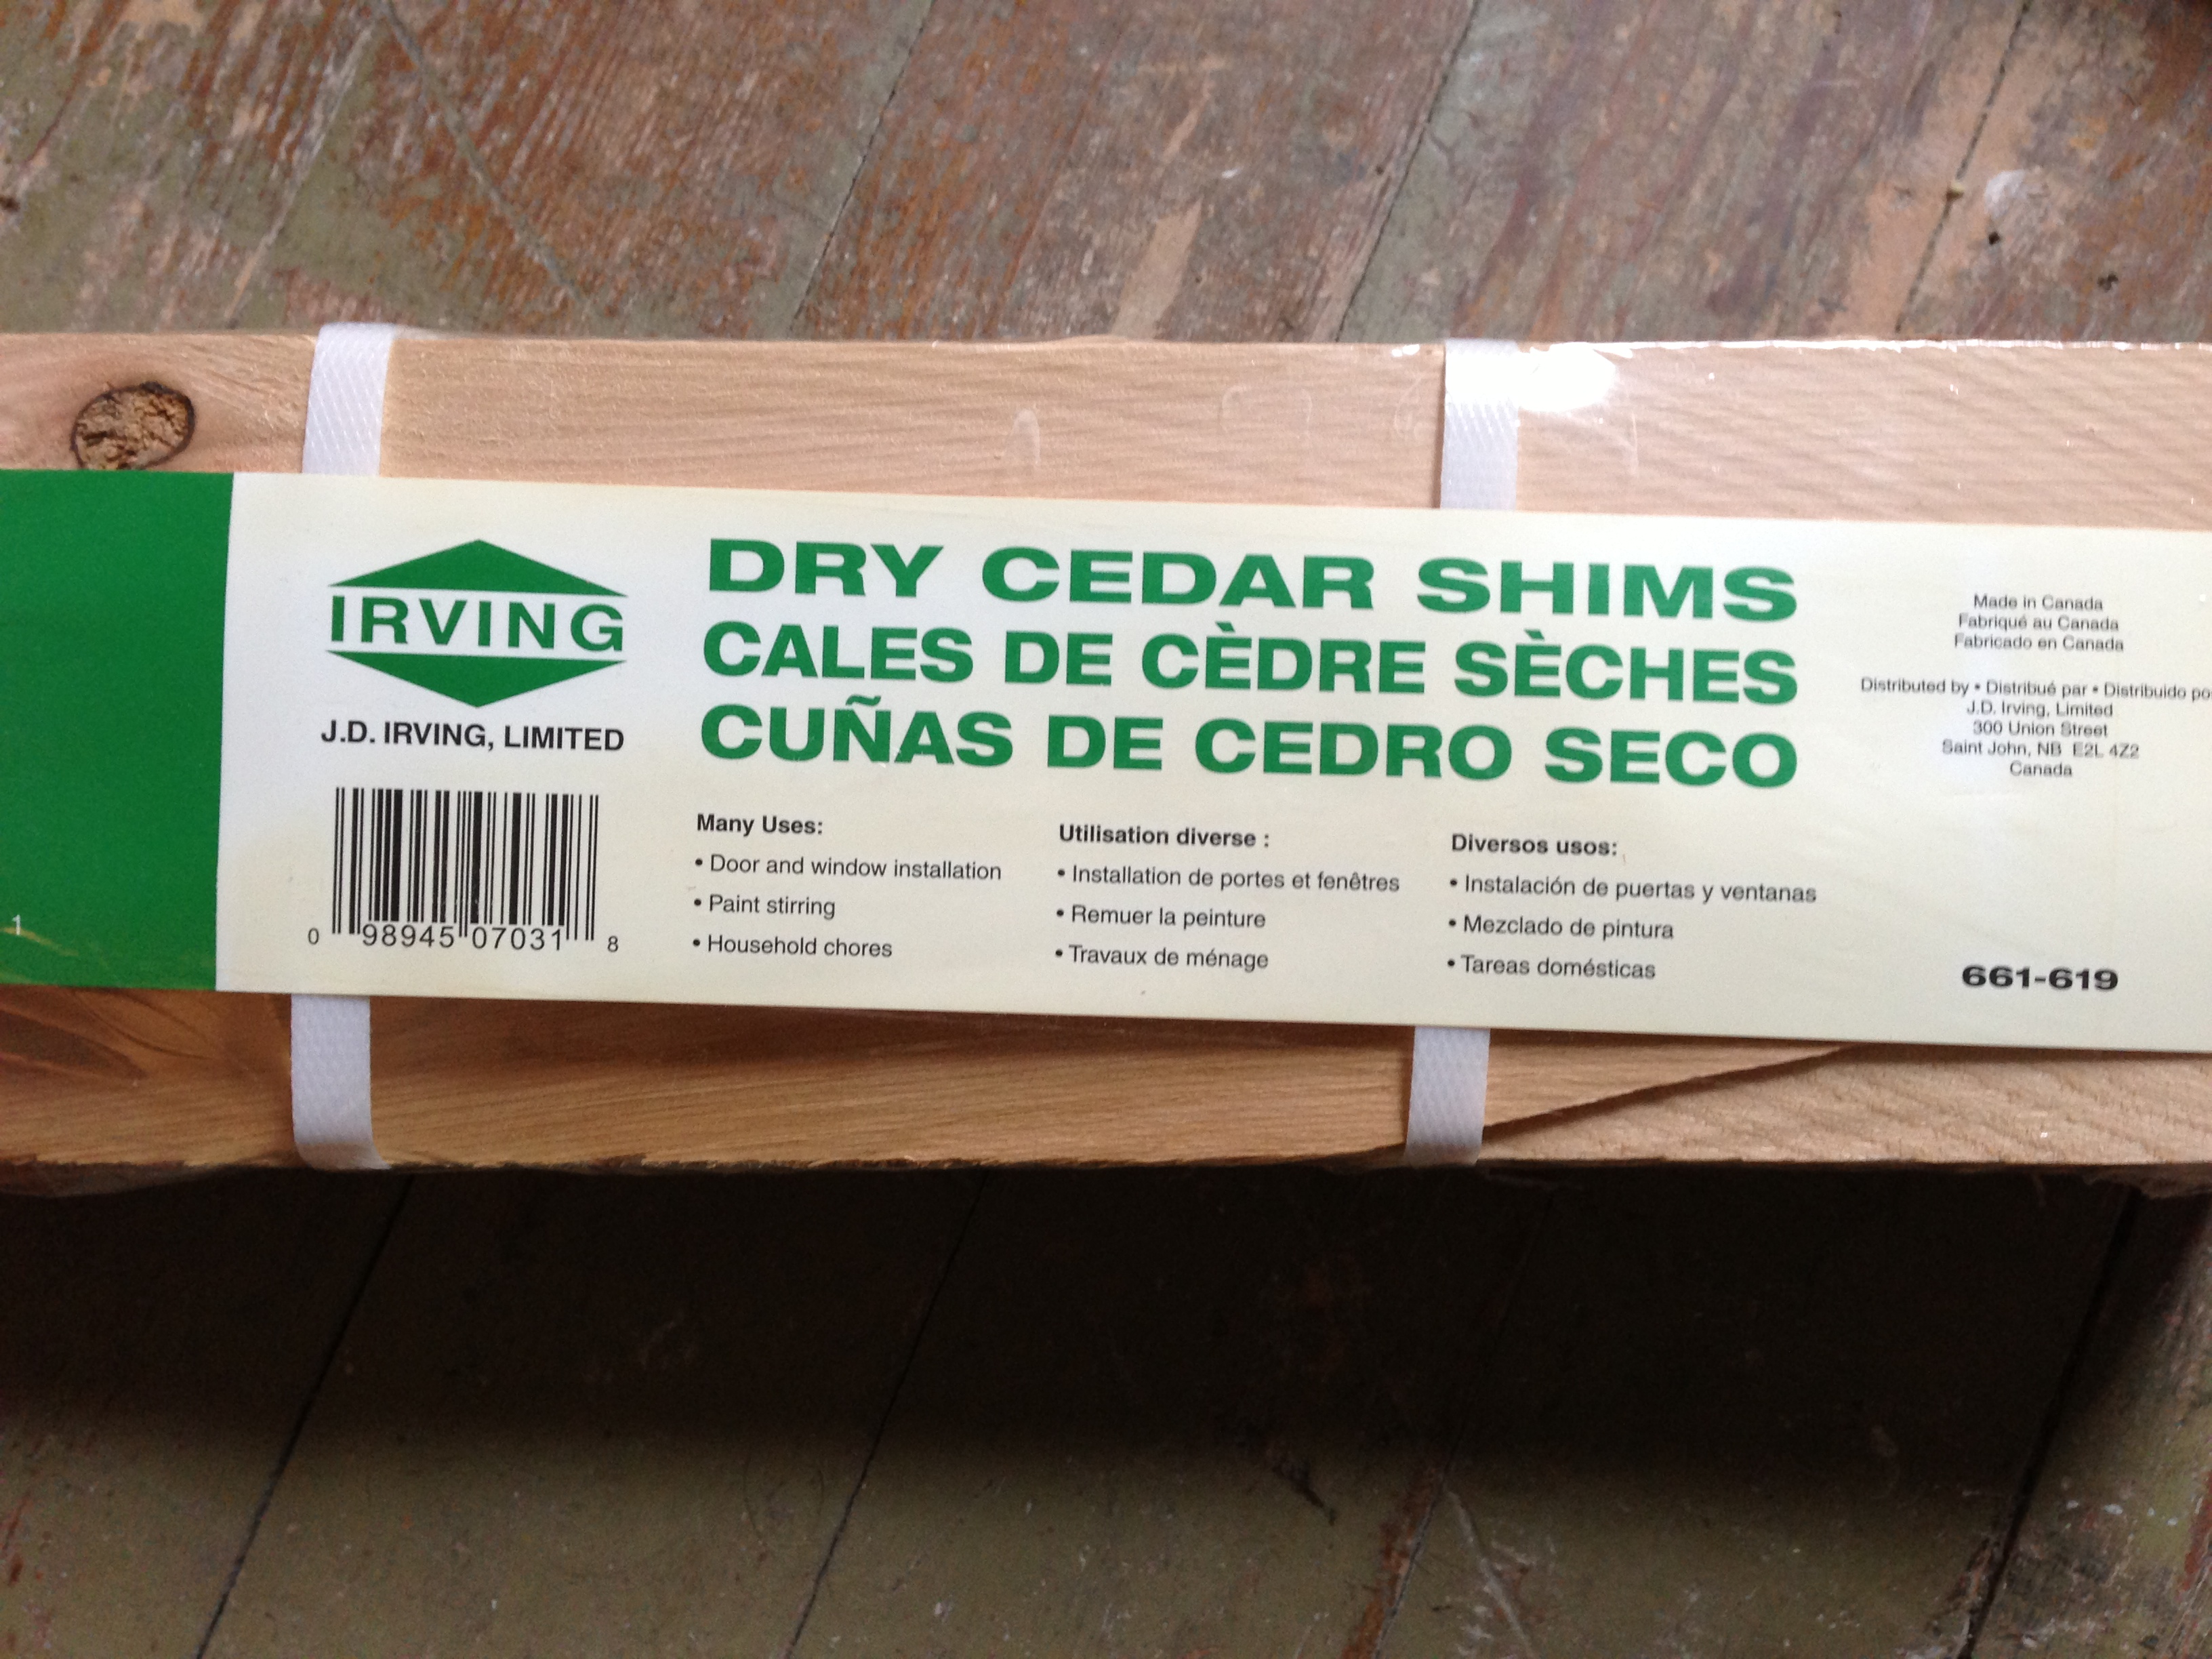
 Once the fabric and shade were stuck together, I inserted the small plastic piece that was the anchor at the bottom of the plastic shade (on the left in the photo below). But it was too wimpy for the fabric’s hem. Then, I remembered that we had a package of wooden shims. Score!
 I doubled up the shims to make them hefty enough in the hem of the fabric.
 Next, I finished the vertical edges of the shade by placing the covered shade face down on my work surface, folding the extra fabric to the back, and spray mounting it into place.

Here’s a tip for you: Move your phone out of the room when using spray mount! My phone was nearby, but not in the spray zone. Nevertheless, it sported a rough-to-the-touch surface for a couple of days after this project. Luckily, the thin layer of spray mount wore off the touch screen with use!
Finally, I hung the shade back in the window, pulled all the way down, so that it could completely dry without sticking to itself.
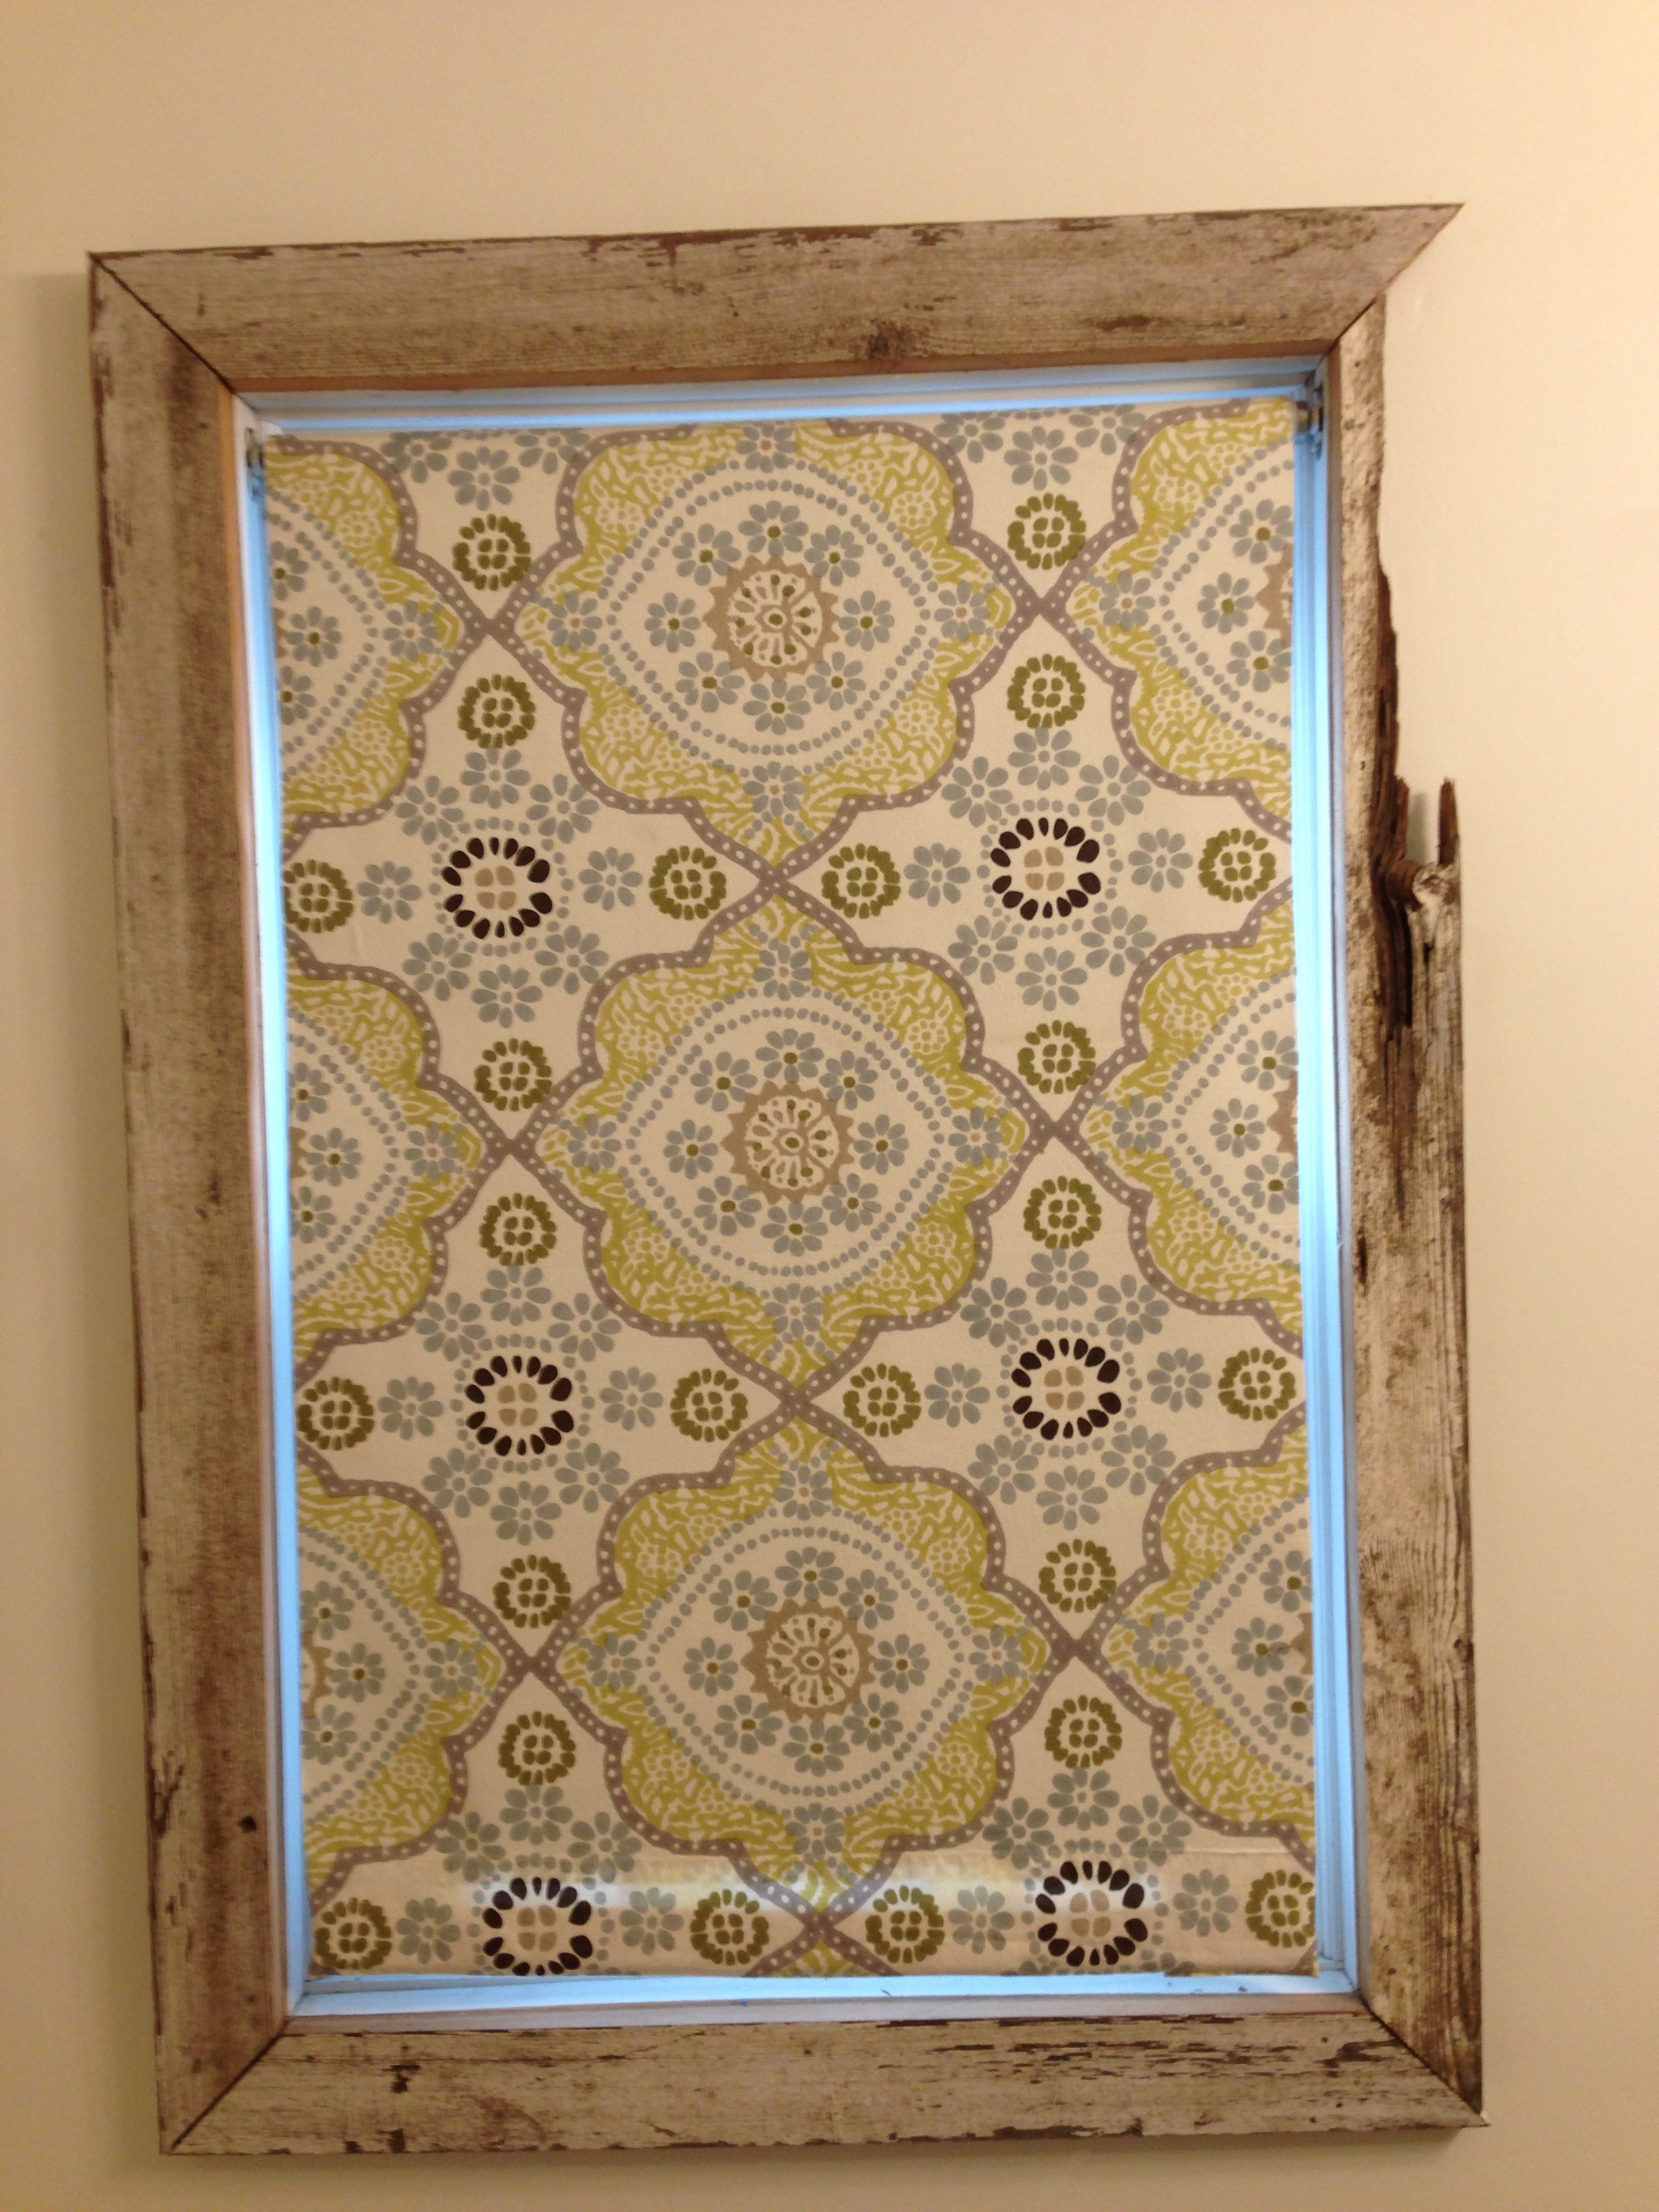
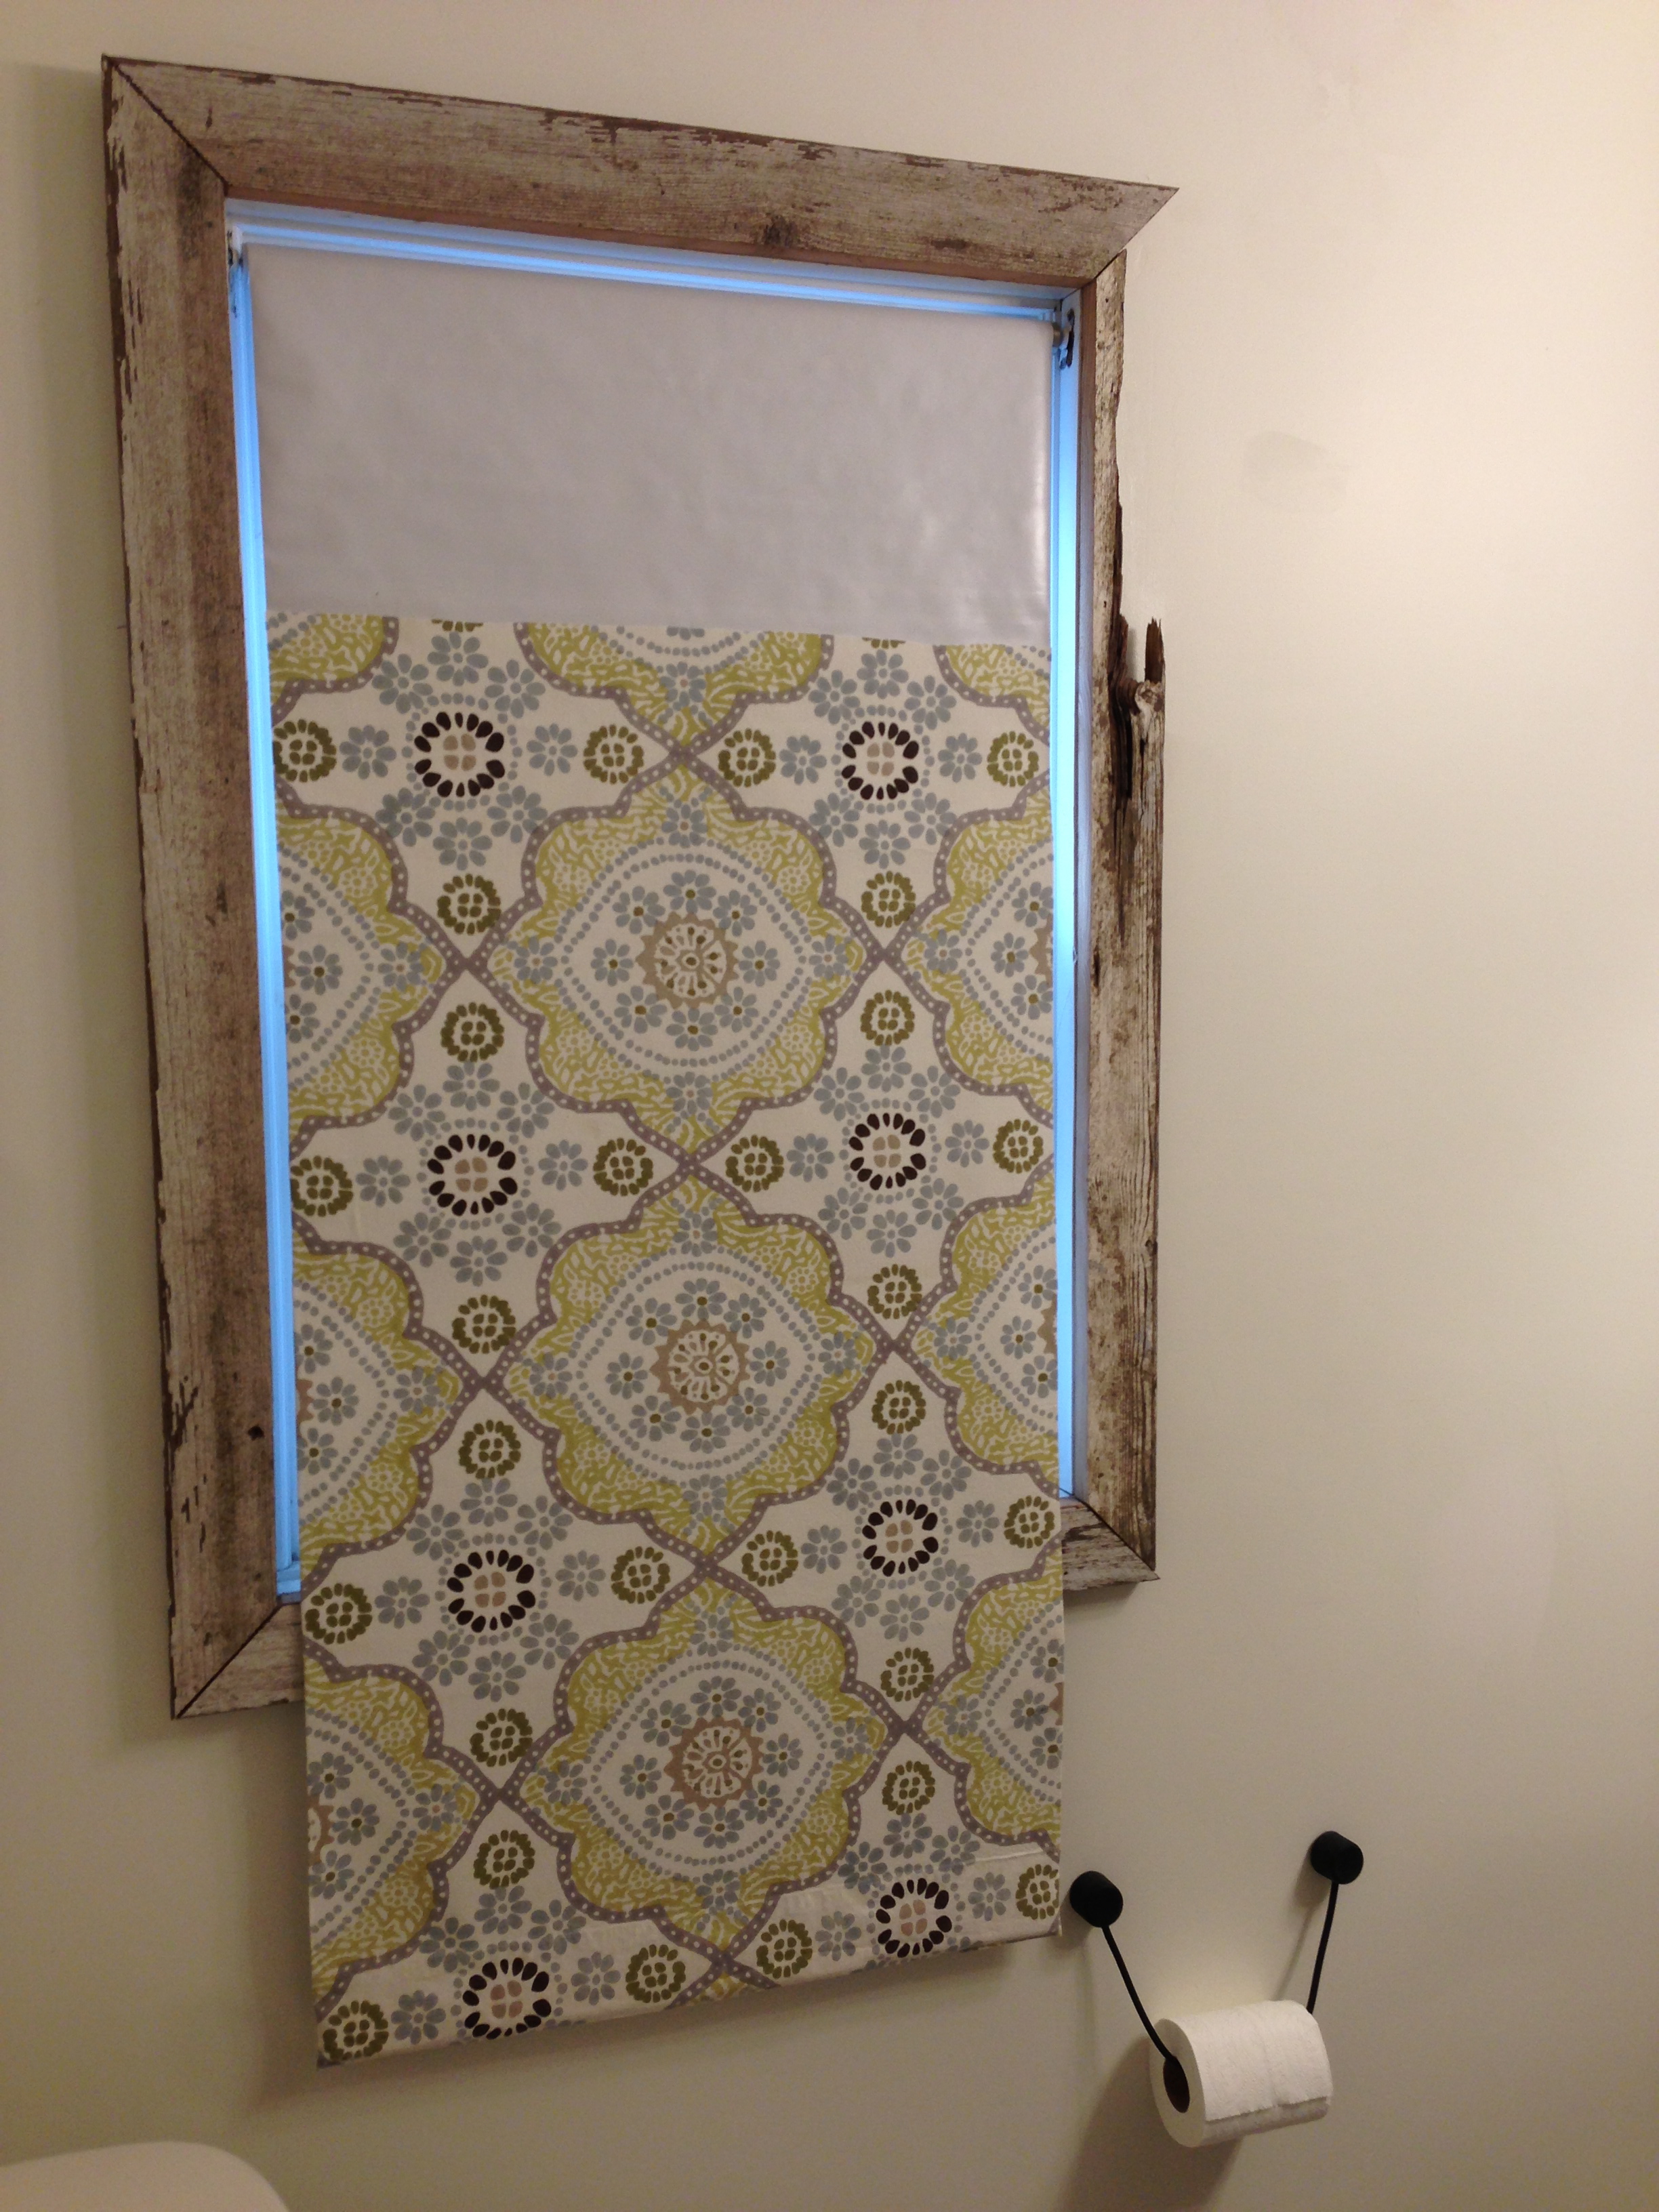 Here it is in its final version! A super easy project and a great way to recycle an old (or new) roller shade and use a favorite fabric as a modern, streamlined window treatment!
 At first, I thought I would want or need some sort of trim for the bottom of the shade. I love pom-pom trim or extra large ric-rac, but those are a little too cottage-cute for this room. Maybe gray grosgrain ribbon? I haven’t yet found the just-right thing, but I’m also not sure if it needs anything at all! What do you think?

Great job Lacey! Very impressive!
wow – that is a great improvement! As fro trim, I think I would hold out for the “perfect” one – it looks fine and works as is, but if you found the right thing, that would really finish it off beautifully. I agree pom-poms are cute but not right – for one thing, how will you clean them when they get dusty or otherwise grubby?
Ummm, I’m embarassed to say I had no idea this was even a possiblity for roller shades but, glad I know now 🙂 Beautiful job
Hi – this is such a good idea. Just a really stupid question – when did you hem the bottom of the fabric to slip the wieght in and how did you figure out how much you would need? Tah.
Not a stupid question at all! I hope I am understanding exactly what you are asking! If not, let me know. I didn’t hem the fabric—I used the hem that was already sewn into the shower curtain. I cut the curtain so that the hem would be at the bottom of the shade. I slipped the weights (wooden shims) into the cut edge of the hem and when I turned the edge and glued it down, the shims were “sewn” in. Does that make sense?
I’m not sure to answer your “how much you would need” question. Are you asking about fabric needs or weight needs? For fabric, I just used the existing shade as a template and literally laid it out and cut around it, allowing a couple inches on all sides for the turn-and-glue allowance.